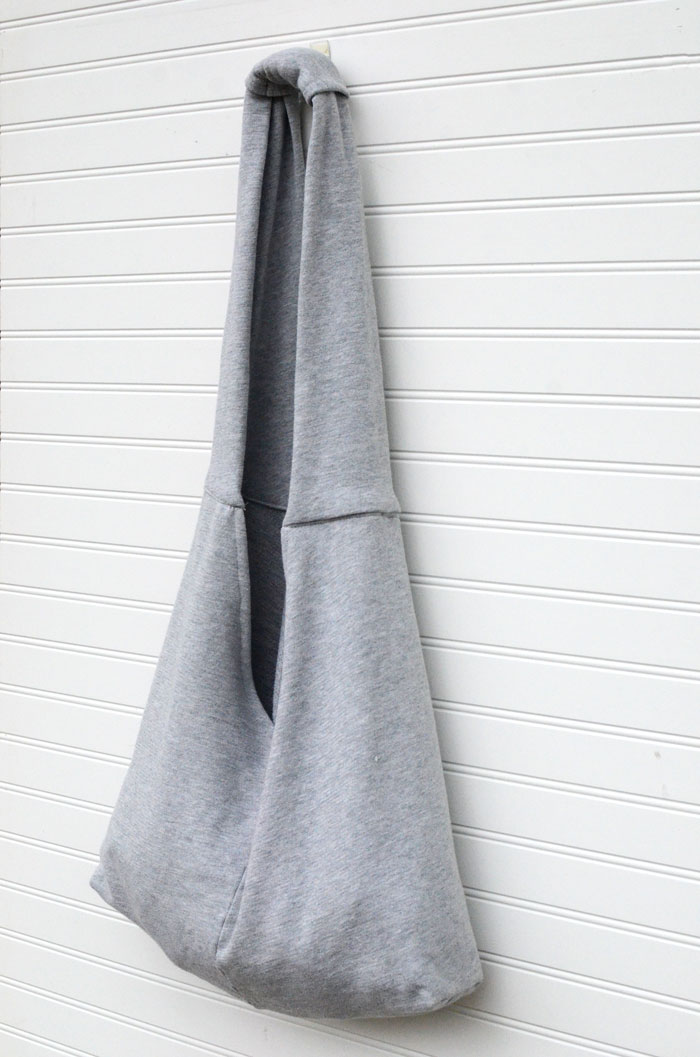
Don’t throw that old sweatshirt away! Use my tutorial to turn it into a cute cross body sweatshirt slouch bag. All you need is an old sweatshirt and about an hour to make this bag start to finish.
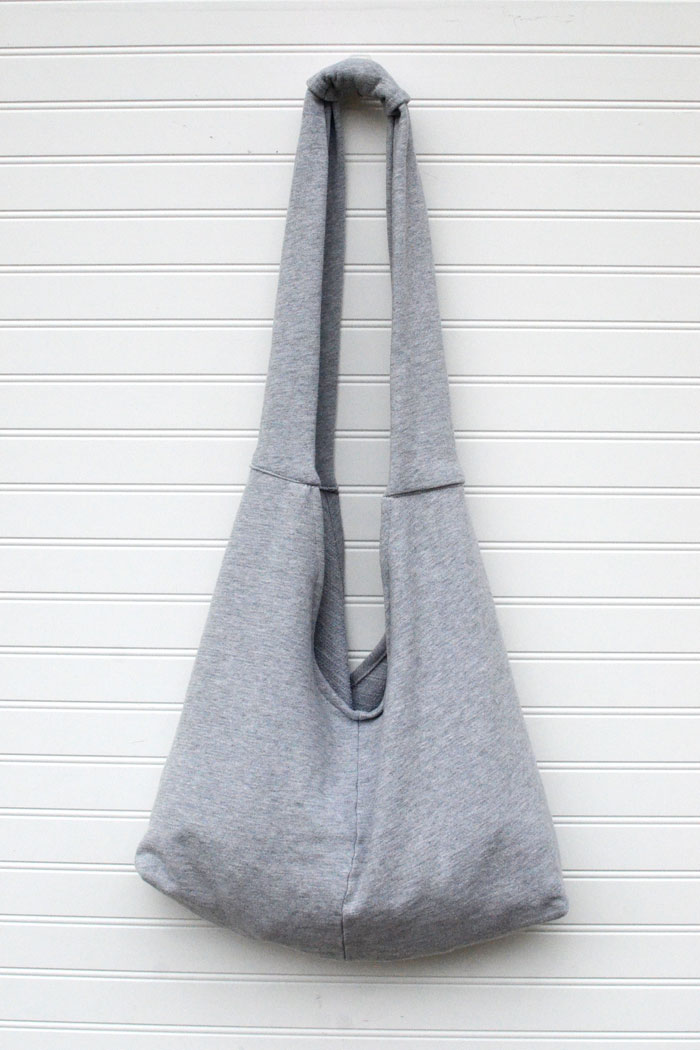
I do love a good cross body bag. They’re so comfortable to carry and the bag sits at such a convenient spot. This cross body slouch bag is soft and squishy just like your favorite sweatshirt. Because it IS a sweatshirt. At least it was before it was turned into a bag! I’ve got an easy sewing tutorial showing how to do it.
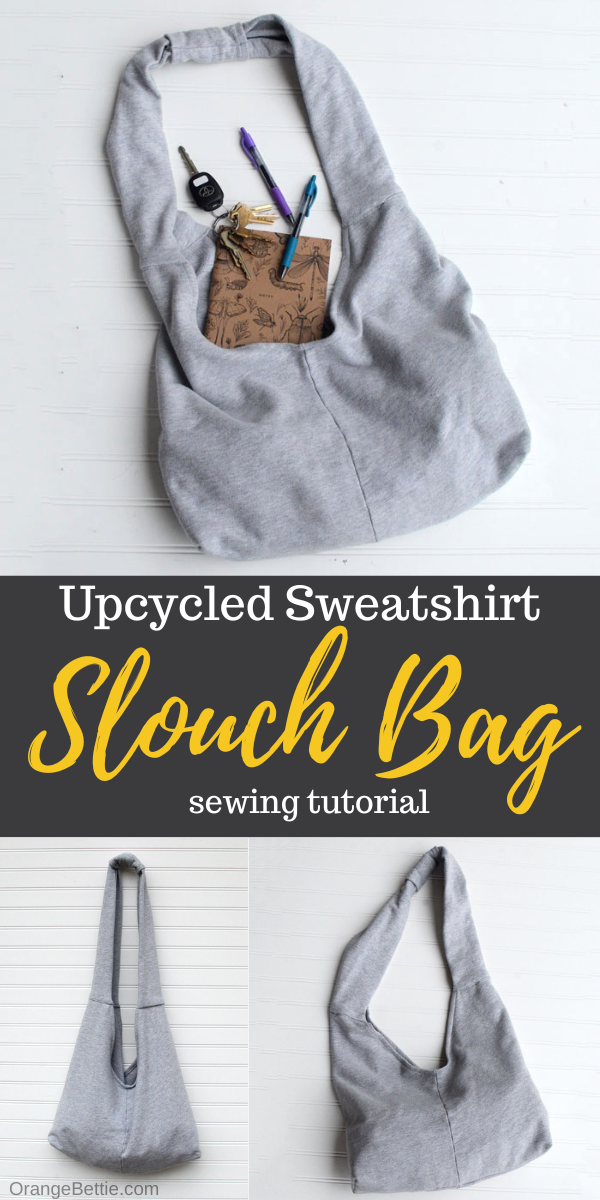
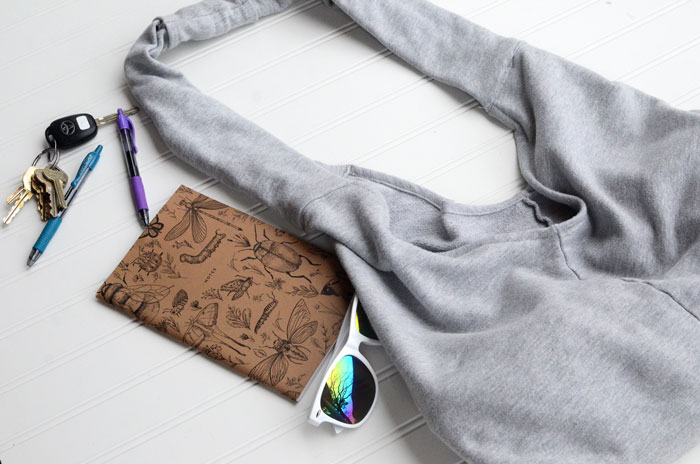
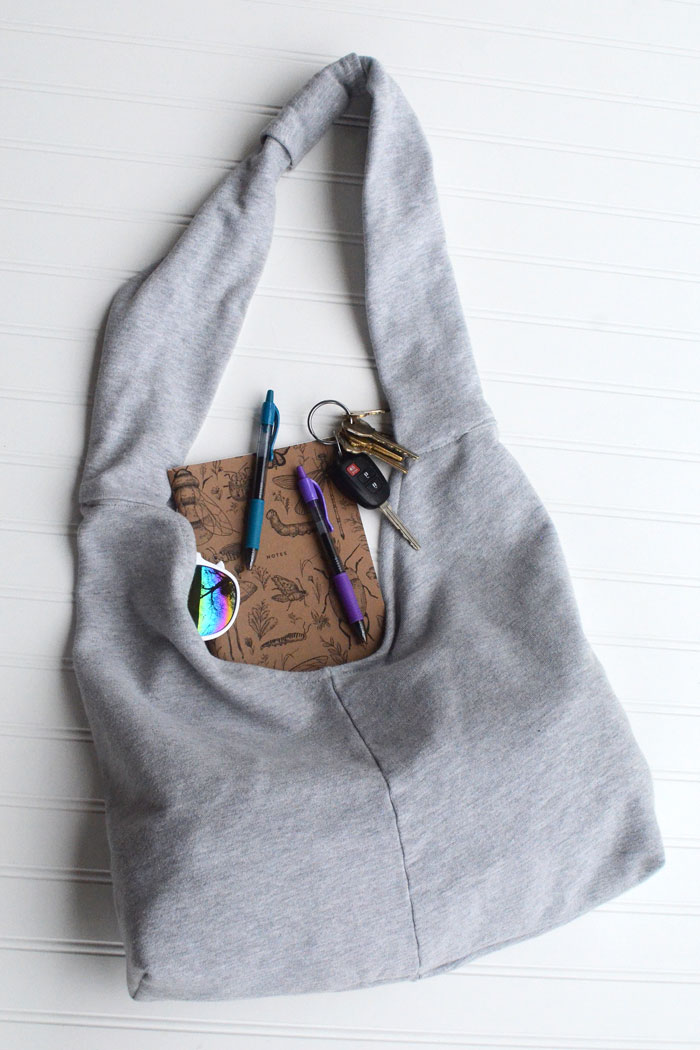
This bag is big enough to hold all your daily essentials – keys, phone, wallet, makeup bag, etc – but still small enough not to be cumbersome. There’s no closure to fuss with. Just drop your stuff inside and you’re ready to go.
And can I say how comfortable that wide strap made from sweatshirt fabric feels sitting on your shoulder?
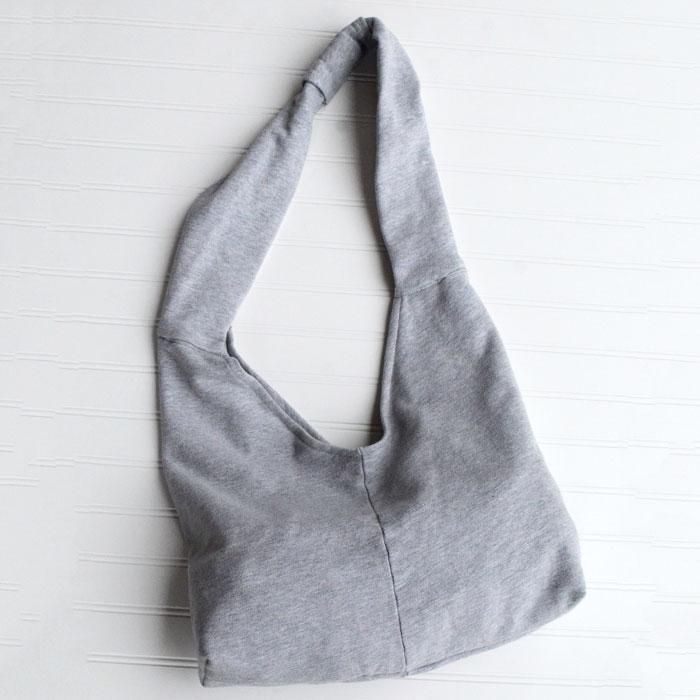
You can make this simple sweatshirt bag in less than an hour. The bag is left unlined which simplifies construction. Sweatshirt fabric has enough body that it’s not needed for structure, and the seam allowances won’t fray.
The corners are boxed to give plenty of room inside this slouchy sweatshirt bag.
You’ll need an adult sized raglan sleeve sweatshirt to make this project.
This is an almost zero-waste project. The only fabric you’ll need is found in the sweatshirt itself, with very few scraps left over.
What Kind of Sweatshirt Do I Need?
Look for a raglan sleeve sweatshirt, adult size Small or larger. If you don’t know what a raglan sleeve is, it’s one where the seam that attaches the sleeve is a diagonal line from the arm pit up to the neckline. (As opposed to a set-in sleeve that is a more structured sleeve attached at the end of the shoulder.) It’s a pretty standard sleeve for a sweatshirt so it shouldn’t be hard to find. Just look for the diagonal line from the armpit to the neckline.
One thing to know about the way the bag is constructed, is that the side seam of the shirt becomes the center seam of the bag. So if there’s anything printed on the front of the shirt, you’ll only actually see half of it on the finished bag. It could actually be a pretty cool look depending on the types of graphics on the shirt. Or, you can do like I did and just use a plain sweatshirt with no printing.
Finished dimensions will vary depending on the size of sweatshirt you use. I used an Adult Small sweatshirt and ended up with a bag roughly 17” wide x 10” tall.

RST = Right Sides Together
Cut the Sweatshirt
Whatever way your sweatshirt is finished at the bottom and cuffs, with a hem or with a band of ribbing, go ahead and cut that off. Use a rotary cutter and ruler if you have them, in order to get a nice straight edge.
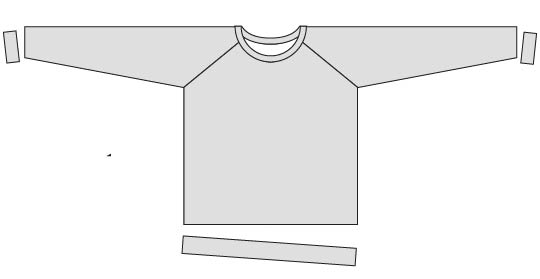
Cut the sleeves from the body of the sweatshirt along the seam that goes from the armpit to the neckline.
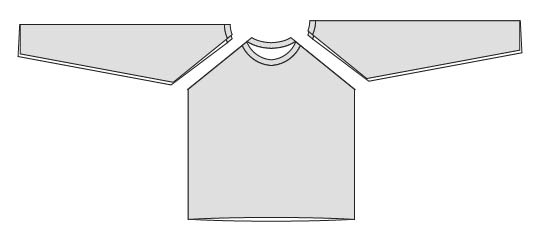
You’ve probably got bits of seam allowance here and there on the edges. That bulky seam allowance will make sewing more difficult so go ahead and trim all of that off.
Make the Bag Body and Strap Pieces
The body of the sweatshirt will become the Bag Body and the sleeves will become the Straps, but we need to do a bit of trimming first to get them the right size.
Fold the sleeves in half lengthwise. Trim off the tops, making your cut where the angled shoulder seam ends and the arm seam starts. These will be the Straps.
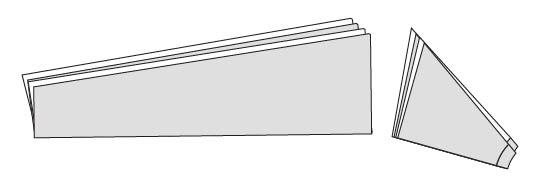
I like to stack the sleeves one on top of the other and cut both at the same time. It’ll be a thick cut through all those layers but cutting through both sleeves at the same time will ensure that they are the same length.
Now, fold the body of the sweatshirt in half lengthwise. Cut the top off, just below the neckline. This gives a straight edge across the top of the sweatshirt instead of that curved neck binding. This is the Bag Body.
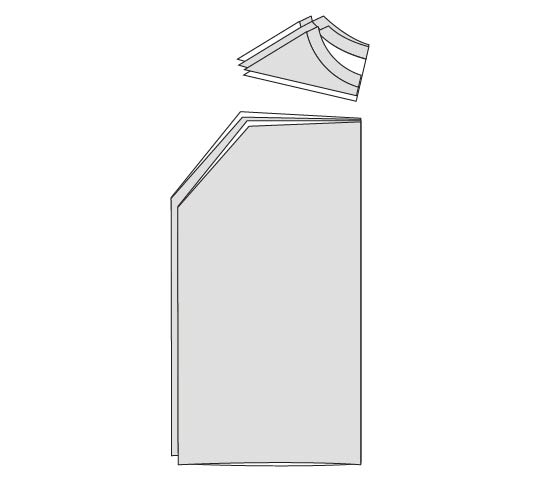
Later in this tutorial, you’ll sew this piece to the Straps together to create the slouch shaped bag. You’ll need to trim those pieces to fit, but it makes most sense to do it now before anything gets sewn together.
The tops of the Bag Body pieces will need to be 2” longer than the widest part of the Sleeves. You will probably need to trim down the Bag Body.
To do this, you’ll need to fold the Bag Body and one of the Sleeves in half lengthwise.
WHEN FOLDED IN HALF, the top edges of the Bag Body need to be 1” wider than the top (widest) edge of the Straps.
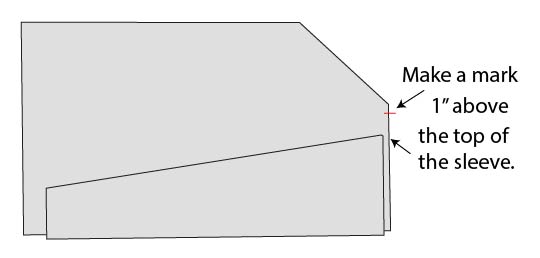
Make a mark on the top edge of the Bag Body at this point.
Then, cut a straight line from this mark to the bottom of that angled edge. Cut through all the layers in your folded Bag Body so they will all be symmetrical.
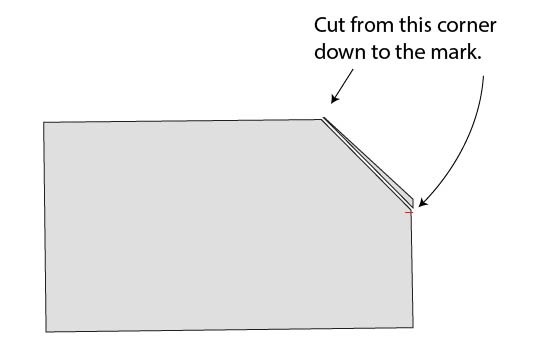
I’ve simplified the illustrations for this step so you can see where to cut. Even though the illustrations looks like there’s just one layer, the pieces are folded and you’ll be cutting through all the layers.
Sew the Bag Body
Now that all that cutting is done, it’s time to sew the bag!
Turn Bag Body inside out so right sides are together. Rotate the Bag Body so the side seams are in the middle. This creates kind of a V-shape, with the lowest point in the middle and the taller edges on the sides.
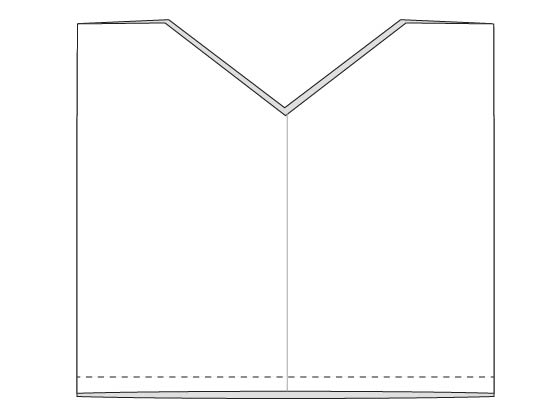
Sew across the bottom RST with a ½” seam allowance.
Box the corners to create a 3” bottom. (To make a 3” bottom, your boxing seam should be 1 1/2” from the tip of the flattened out side seam.) If you haven’t boxed corners before, here’s a good tutorial showing how.
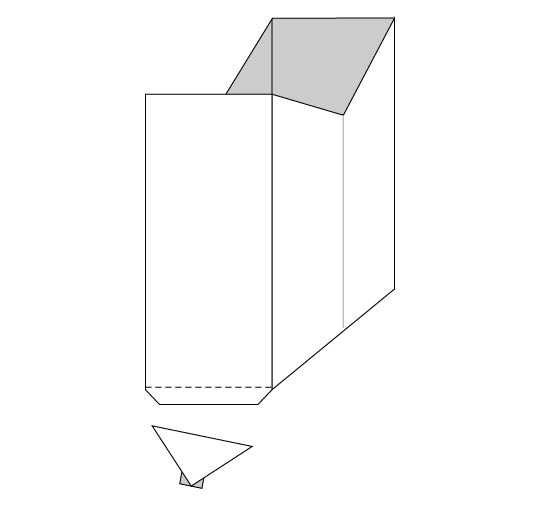
Hem the V-shaped opening in the Bag Body with a ½” double fold hem. Leave the tops at the sides unhemmed. That is where the Straps will be attached.
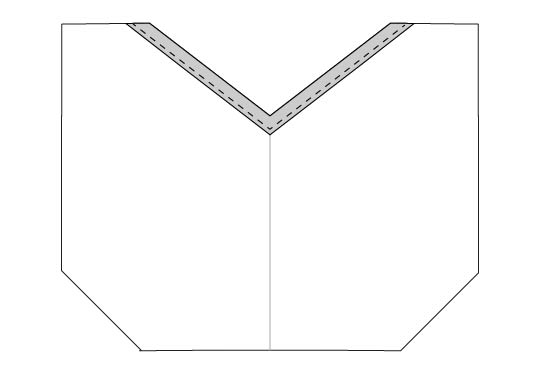
To create a double-fold hem, first fold the raw edge ½” to the back (wrong side ) of the bag. Press to crease. Then, fold another ½” to the back, enclosing the raw edge. Press again, then top stitch the hem in place.
Sew the Handle Cover
Remember those scraps you trimmed away from the top of the sleeves? Cut a 5” square from one of those scraps.
Press ½” to the back of the square along the top and bottom edges. Sew in place to create a single-fold hem.
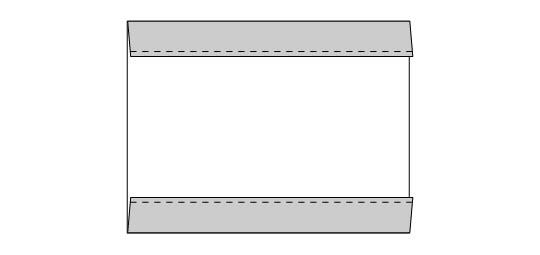
Fold this piece in half the short way, RST. Sew together along raw edges with ½” seam allowance to create a tube.
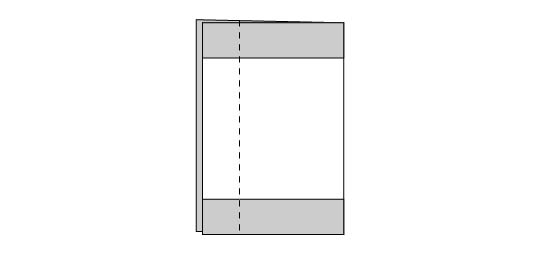
Turn the tube right side out. This is the Strap Cover.
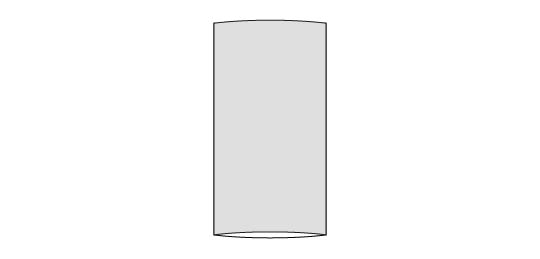
Attach the Straps
Position the Straps so they’re flat, with the seam line going down the middle of one side. The side that the seam line is on will be the Back. The side of the Strap without a seam line showing is the Front.
Turn the bag right side out.
Place the wide end of one of the Straps along one of the unhemmed side sections of the Bag Body, RST and raw edges aligned. Sew in place with ½” seam allowance, but only sew through the Front layer of the Strap. (Leave the Back layer of the Strap open.)
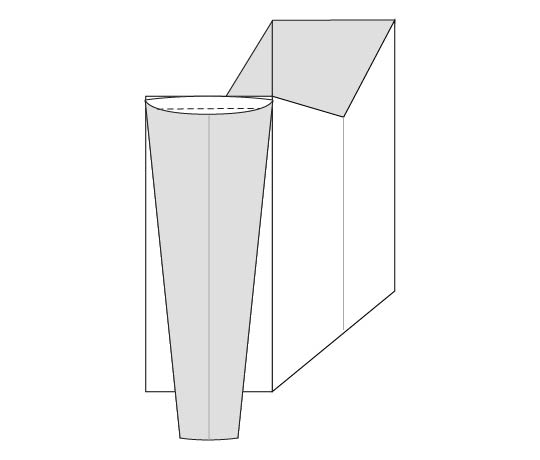
Press the seam allowance to the Strap side of the seam. The raw edge of the Strap Back will cover the seam allowance. Sew the raw edge down to encase the seam allowance. (The raw edge won’t fray so there’s no need to turn the edge under.)
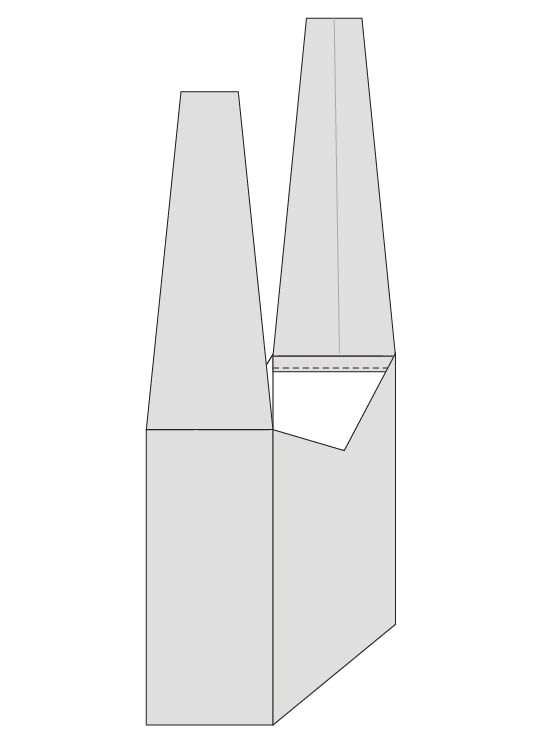
Repeat with remaining Strap and remaining side section.
Now you’ve got a bag with a Strap attached to both ends. Pull one of the Straps through the Strap Cover. Pull the Strap Cover down far enough that there’s at least a couple of inches of fabric sticking out.
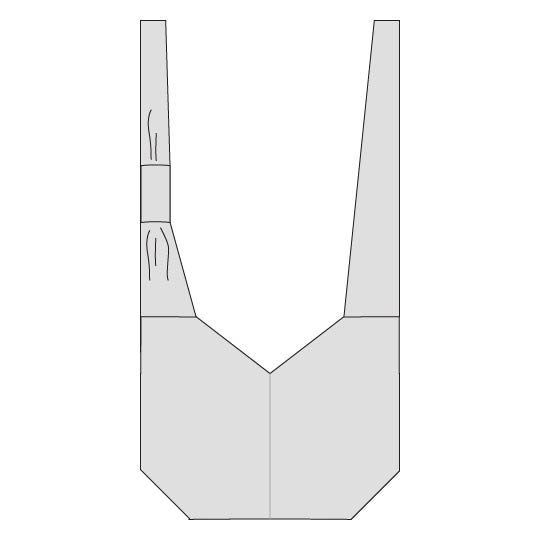
Place the end of one Strap in inside the other, overlapping by about an inch. Sew across the Strap several times to secure.
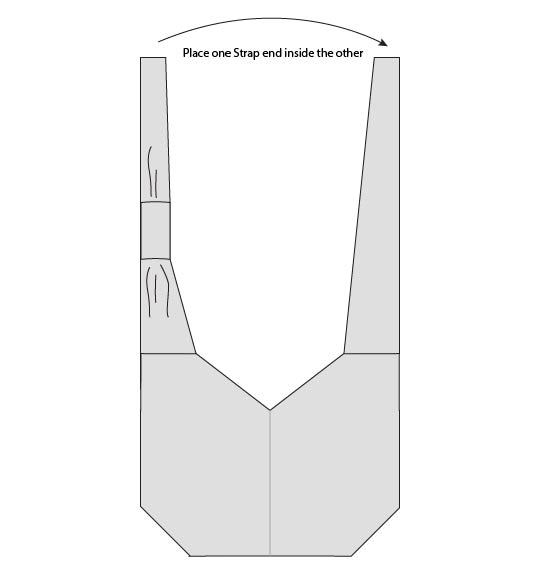
Slide the Strap Cover up over the seam you just sewed.
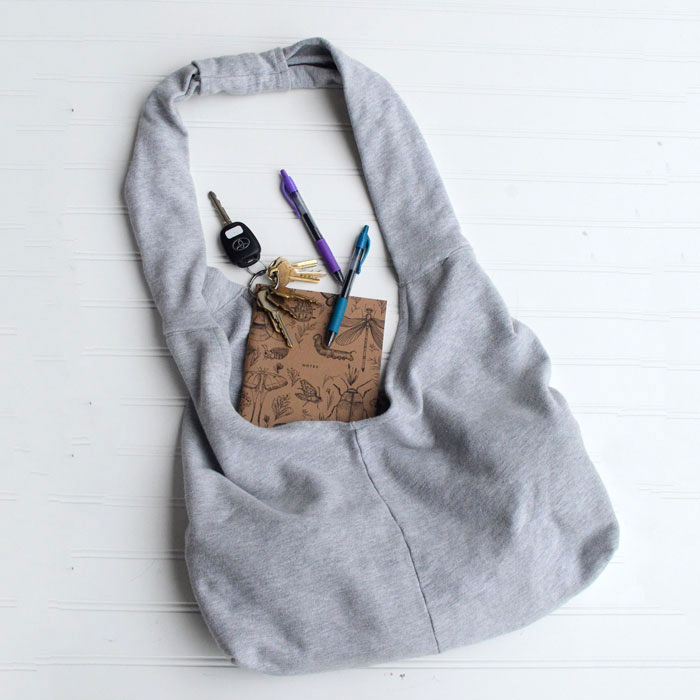
Your upcycled sweatshirt bag is finished!
If you enjoyed this sewing project from Anne then you will like these as well:
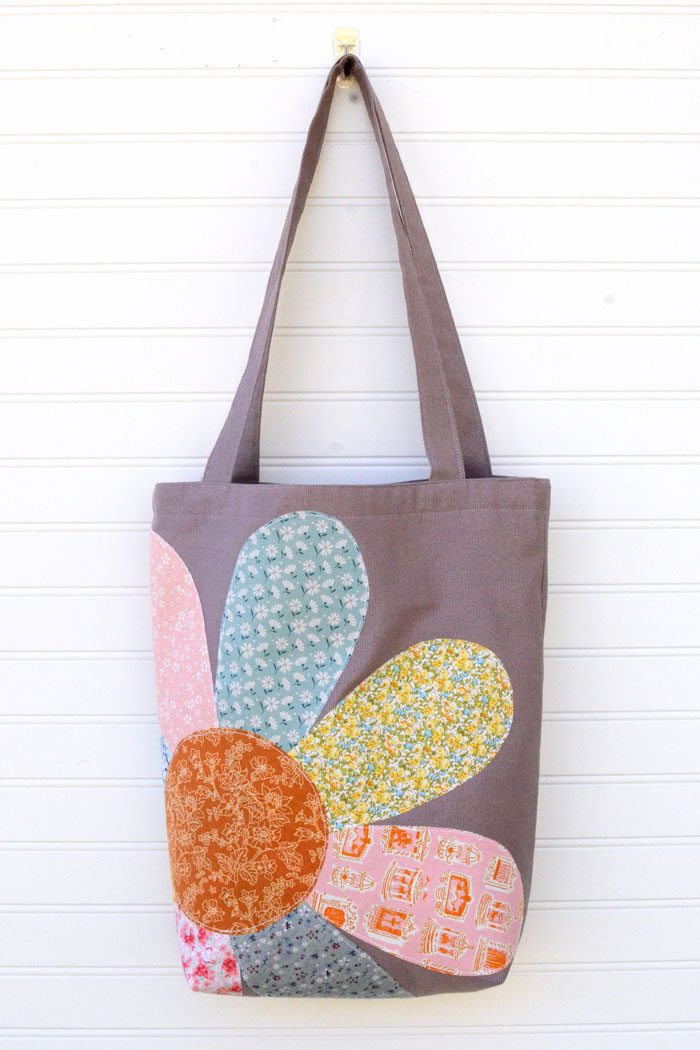
Spring Flower Tote Bag – Free Sewing Pattern

Water Bottle Crossbody Bag – Free Sewing Pattern
Upcycled Jeans Tote Bag – Free Sewing Tutorial

Latest posts by Anne Weaver (see all)
- Ruffle Throw Pillow – Sewing Tutorial - July 16, 2026
- Slouchy Market Bag with Veggie Prints – Free Pattern - May 14, 2026
- Flex Frame DIY Glasses Case Sewing Tutorial - April 18, 2026
[…] Upcycled Sweatshirt Slouch Bag Sewing Tutorial […]