 It’s almost the big day! HALLOWEEN!! I am excited, but also a little bummed that my beloved October will have come and gone. Good thing I can count on it to return every year! My little man is getting pretty jazzed up to go trick or treating on Wednesday, so the other day we decided to use the Halloween Duck Tape that we had leftover from our Duck Tape Pumpkins. And the best part? One of the tapes I found was glow-in-the-dark! Since it’s almost time to trick or treat we better talk through the process. It’s incredibly simple!
 To make this bag you will need a kitchen trash bag liner, scissors, and some super fun Duck Tape. Obviously, this can be adapted in size and color to fit any season!
 Begin by cutting your bag to the size that you want. I cut ours to be 12 inches by 24 inches.
 Now start taping! A couple of helpful tips: if you want to you can make your tape strips a bit longer than the width of the bag so that it sticks to the table and won’t move around. Also, be sure to slightly overlap the tape strips on top of one another. If you don’t the bag may tear where it isn’t completely covered with tape.
 Repeat until the kitchen liner is completely covered in tape.
 Leave the final strip hanging over the end of the bag and fold it back on itself to seal the edges that will be the top of the bag.
 If you pulling the bag up carefully to turn it over and it rips then you can tape it on the inside. Not that I know from experience or anything…. 😉
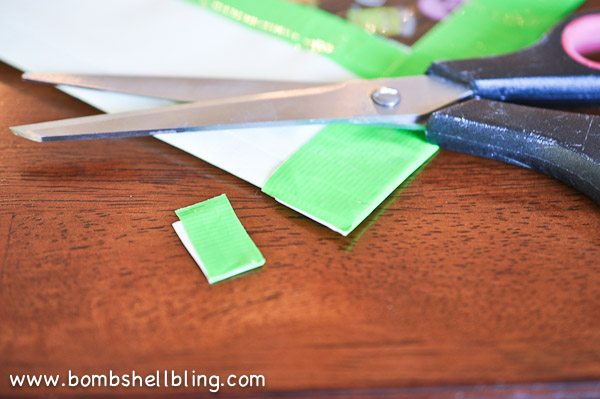
  Now trim the sides to make them even and to remove the excess tape. CUT ON TOP OF THE LINER A BIT! Cutting on the actual tape is a slow, sticky, inefficient mess. Just trust me on that!

 Close up the side by folding your bag in half and using a piece of tape to tape it shut, as shown below.
 Fold the excess over the top to seal it shut, and trim the excess off of the bottom.
 This next part is optional, but it opens up the bag nicely. Shove the two bottom corners into the bag with your finger, as shown below.
 This is what it looks like from the outside.
 This is what it looks like on the inside.
 Now use a small piece of tape to secure the corner into place.
 Time to make the handles! I cut a strip of tape about 15 inches long, and then folded it in half.
 Now tape the handles to the inside of the bag.
 Ta-da! All done! Now it’s about time to go out to trick or treat! And it glows in the dark! Funnest!!


Leave a Reply