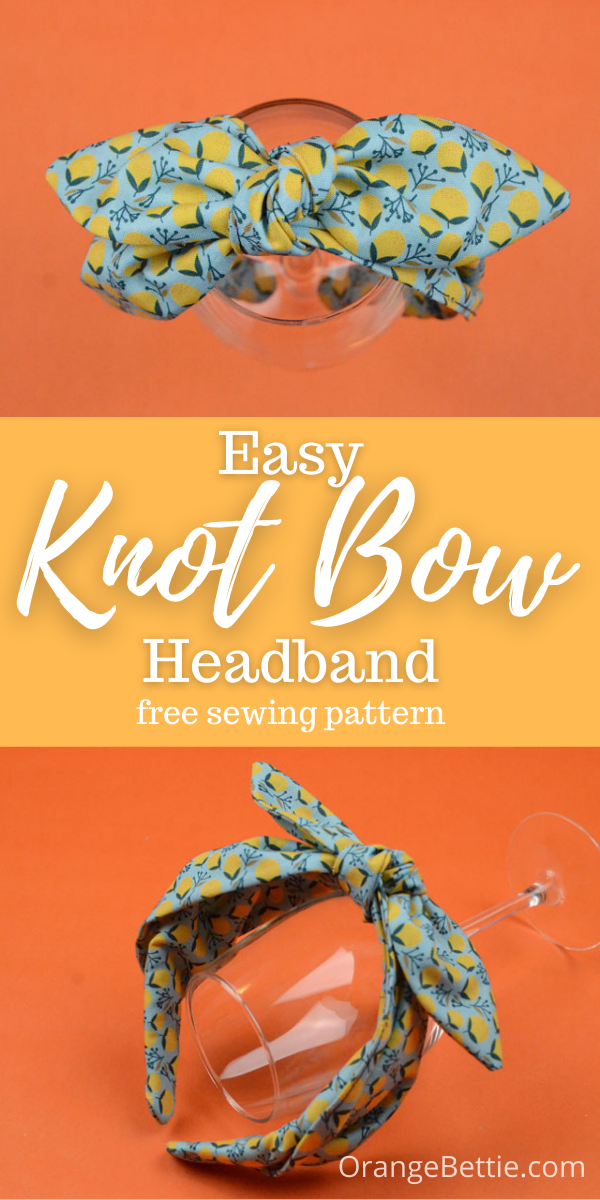
I’m loving the knot bow headband trend! (You may have seen my KNOT BOW SCRUNCHIE TUTORIAL HERE.) They give the look of a perfectly tied scarf, but with the simplicity of a headband. Just slide it on and you’re ready to go! Instant cute hair!
You can find these knot bow headbands in all of the trendy stores right now. But why buy them (and pay the trendy store price) when you can make them yourself? This knot bow headband is so easy to make, and takes just 15 minutes to sew! The only problem you may have is trying to make just one.
You might also want to sew up a few knot bow scrunchies. You can get the free pattern here. Like the headband, they’re super easy to sew and there’s no such thing as too many scrunchies.
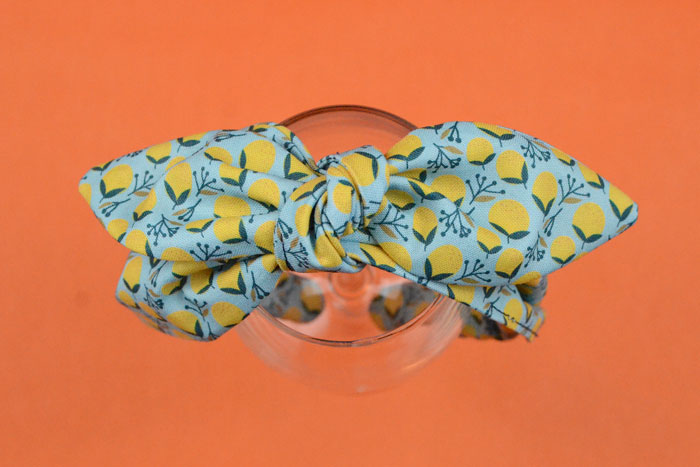
This headband is a great project to show off a cute fabric print! I used a fun blue and yellow summery print I picked up on a whim at my local quilt shop.
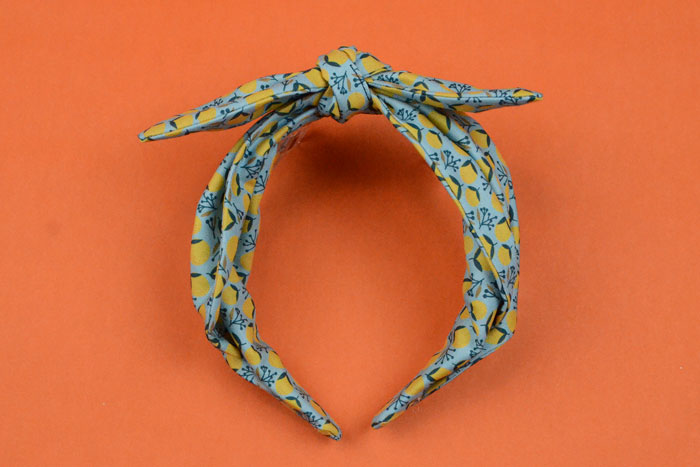
You can use just about any kind of fabric, but I prefer quilting cotton. Quilting cotton has enough body to hold the bow and headband shape, but is still lightweight enough that it’s easy to tie into a knot.
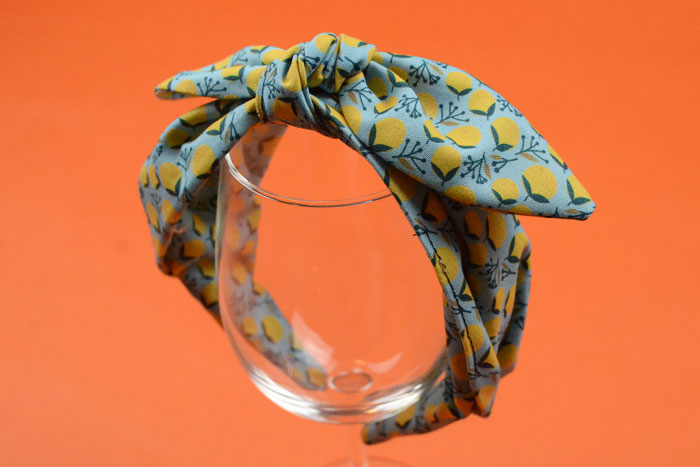
You’ll also need some hot glue and a plastic headband. You can usually find them in the jewelry making section of the craft store. If you can’t find them there, you can use inexpensive headbands from the dollar store or discount store.
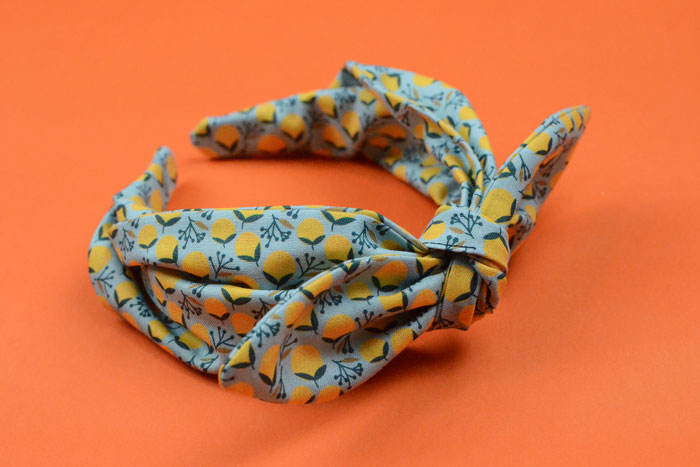
The fabric headband covers the plastic headband entirely, which gives a nice clean finish (even on the underside).
Supplies
- Fat quarter (or large scraps) quilting cotton. You could also use a lighter weight fashion fabric, though the headband wouldn’t have as much body as one made with quilting cotton.
- ½” wide plain plastic headband, preferable without teeth
- Hot glue
- Free pattern – Knot Bow Headband
All seam allowances ¼”. RST = right sides together.
Sew the Headband
Place the Headband pieces RST, and sew around all sides leaving 2” open at one end (between markings on the pattern piece) to turn.
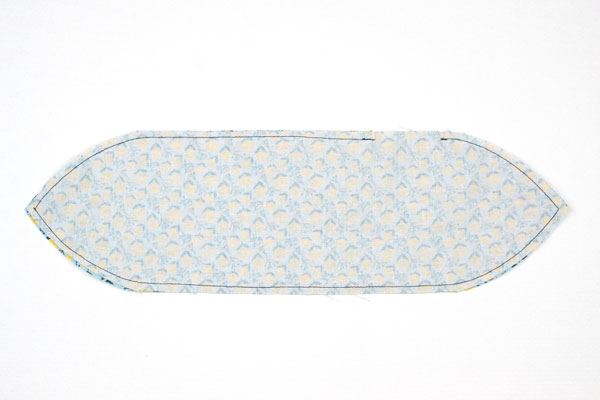
Clip curves, then turn right side out.
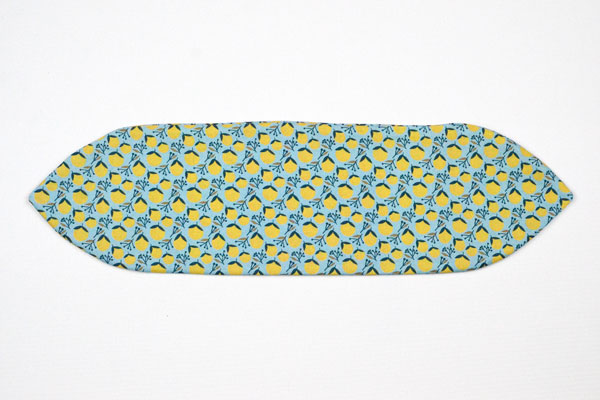
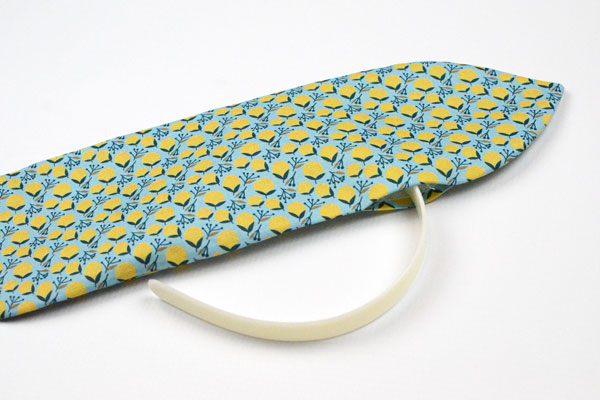
At the turning hole, press the raw edges to the inside to be even with the sewn edges. Don’t close the hole just yet.
Insert the plastic headband into the fabric headband piece, through the turning hole. It will be a tight fit to get it through, but it’ll fit.
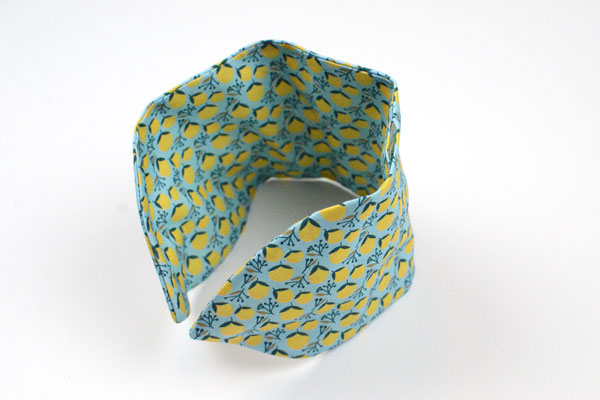
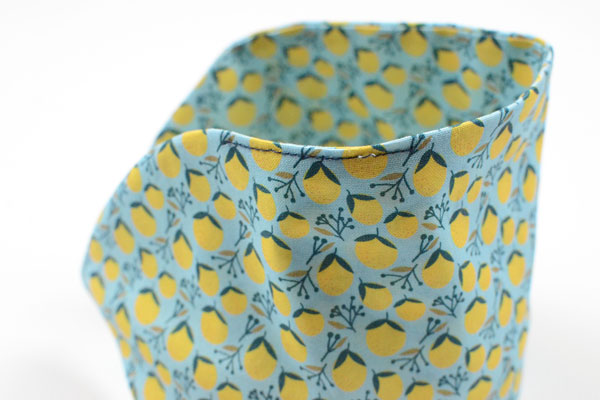
Now, with the plastic headband inside the fabric headband, top stitch the turning hole closed. This seam will show on the finished headband, so it’s best to use a matching thread if you can. (I used a contrasting thread in this photo so you can see the seam.)
Sew the Bow
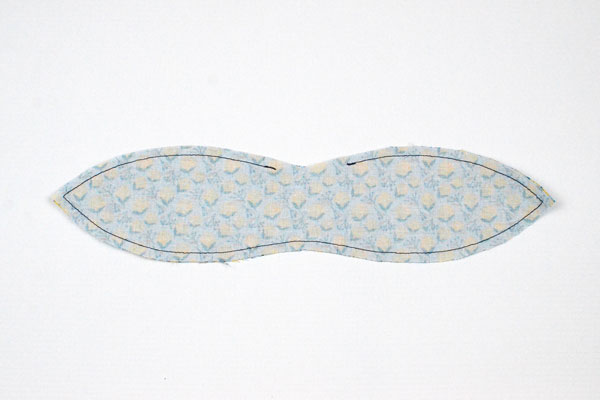
Sew the two Bow pieces together, RST, leaving 2” at the middle to turn.
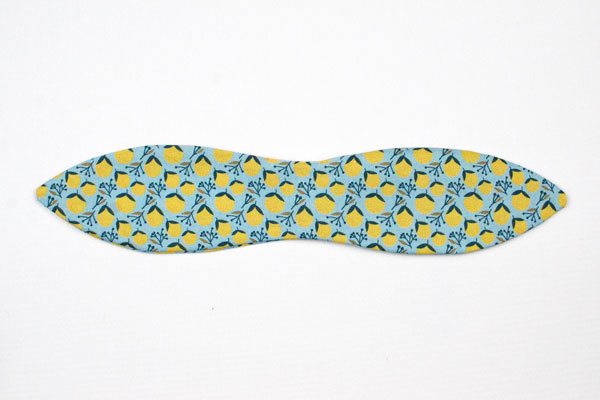
Clip curves, then turn right side out.
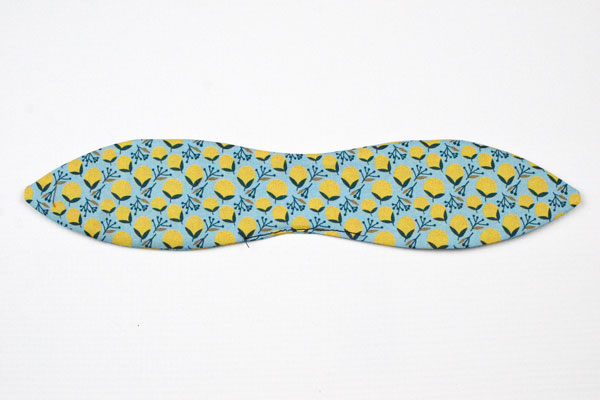
At the turning hole, press the raw edges to the inside to be even with the sewn edges.
Top stitch the hole closed close to the edge.
Put it All Together
Tie the Bow around the Headband, either at the center or at a spot that is slightly off-center. Don’t stress too much about getting perfect placement as you can easily adjust that after the headband is done.
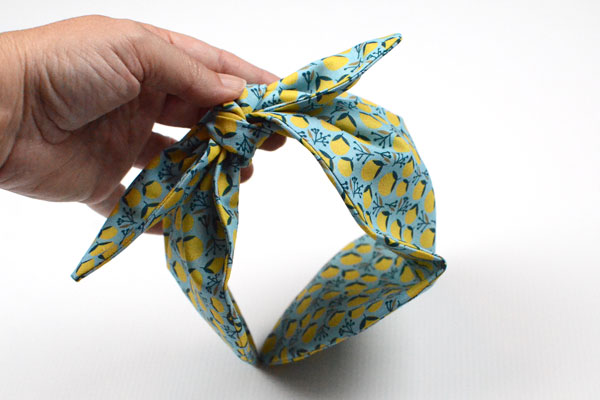
Now all you need to do is fold and glue the extra fabric at the ends of the headband. Folding the fabric at the ends helps create the shaping on the top of the headband. At each end, first fold one side of the fabric over to the front. Hot glue in place.
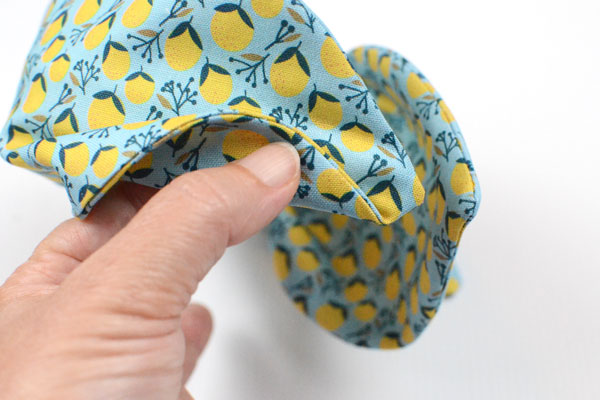
Then, fold the other side of the fabric over to the front and glue in place.
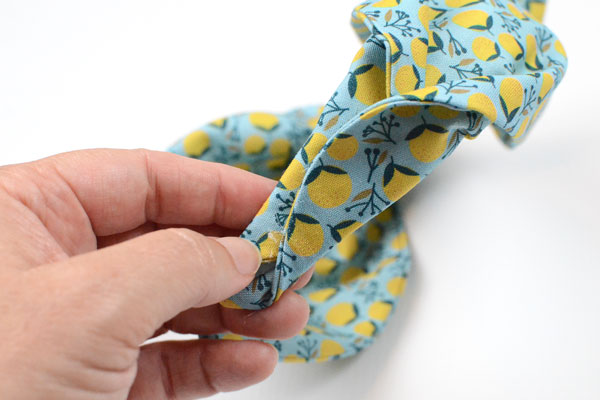
Your knot bow headband is done!
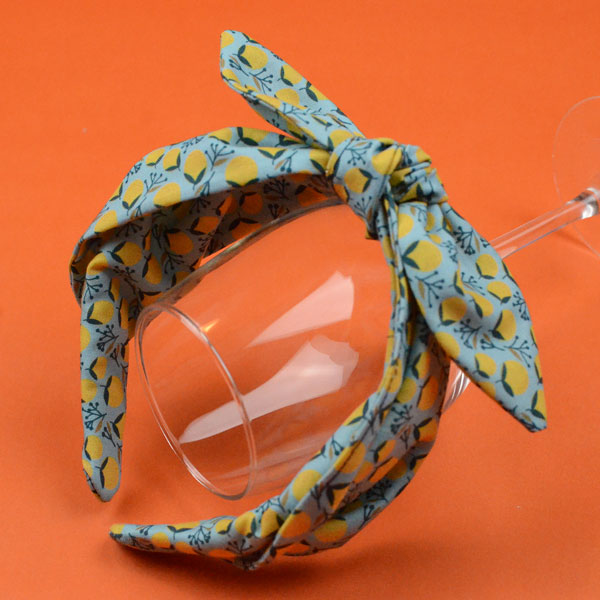
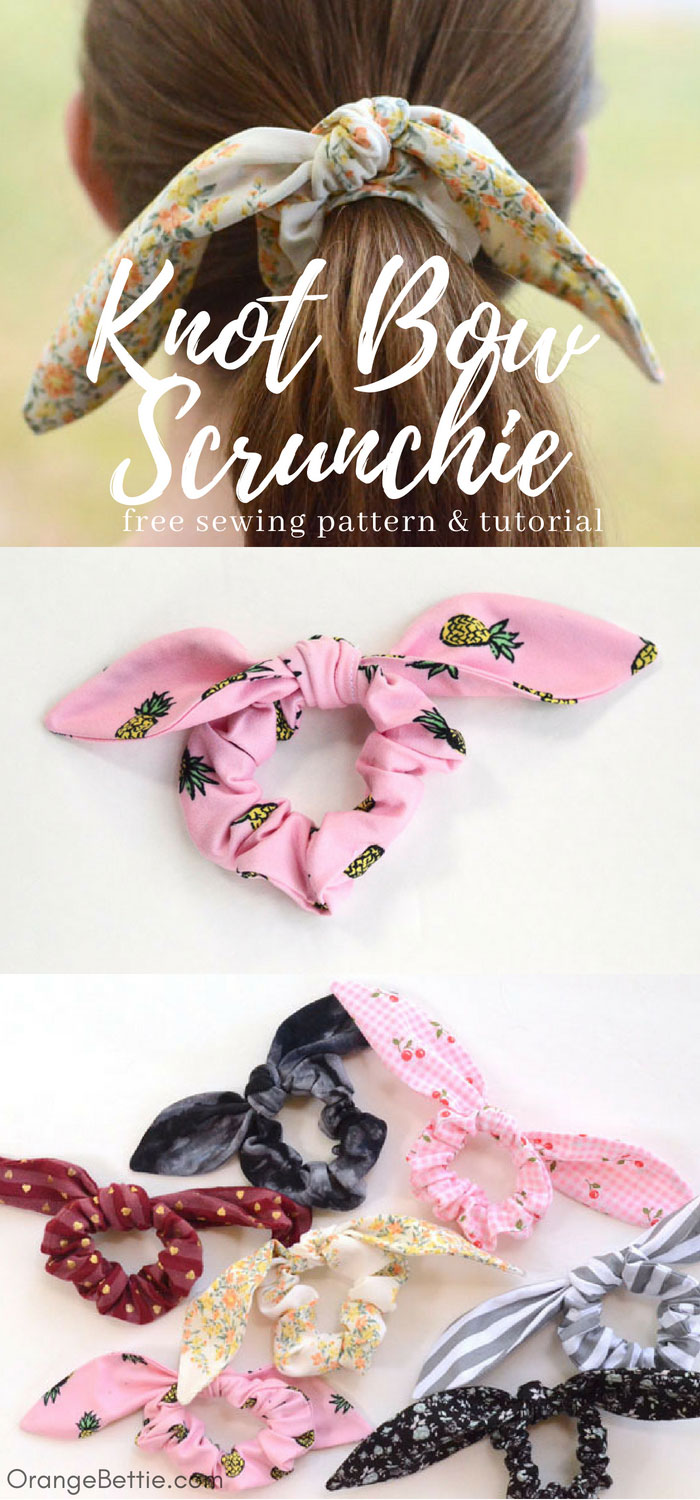
Love this headband? You will love this SUPER simple knot bow scrunchie tutorial too!!


Latest posts by Anne Weaver (see all)
- Fall Pumpkin Placemats – Free Sewing Pattern - September 27, 2026
- Quilted Binder Cover DIY Sewing Tutorial - September 27, 2026
- Ruffle Throw Pillow – Sewing Tutorial - July 16, 2026
Hi! Where to buy the headbands? I got some on Amazon and they seem small like for little kids
I found mine at Hobby Lobby but I think you could find them at Michaels or Joann also. –Anne
Can this be done sewing by hand or does it have to use a sewing machine??
Yes, you can sew this project by hand! A sewing machine will be faster but you can also sew this by hand. –Anne
Love this! I’ve already made two. Thanks so much for the pattern and tutorial!
Could this be reformatted for a wider head band? I like them closer to an inch wide
I think you could absolutely adjust this for a wider headband! There’s just a half inch different between the recommended headband and an inch wide one that you want to use, so you may not need much of an adjustment, if any, to make this work. I’d try it first out of some scrap fabric to see if it works as is. And if it doesn’t work, you’ll get an idea of how much width to add. The exact shape of the piece isn’t super important so you could probably hand draw a wider pattern using the original pattern as a guide.