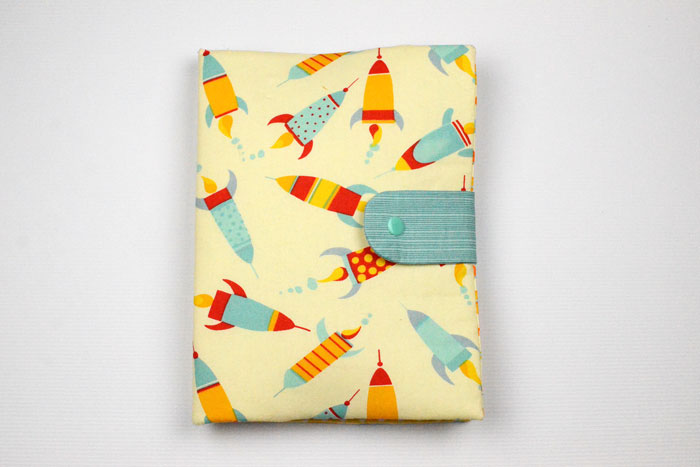
If you have any travel with kids planned for this summer, I’ve got a sewing project just for you! This Child’s Travel Art Folio is just the thing to help keep kids entertained on a long trip. And for the rest of the year, it’s super handy for any time that kids need a quiet activity to help pass the time.
I’ve got a tutorial for you below.
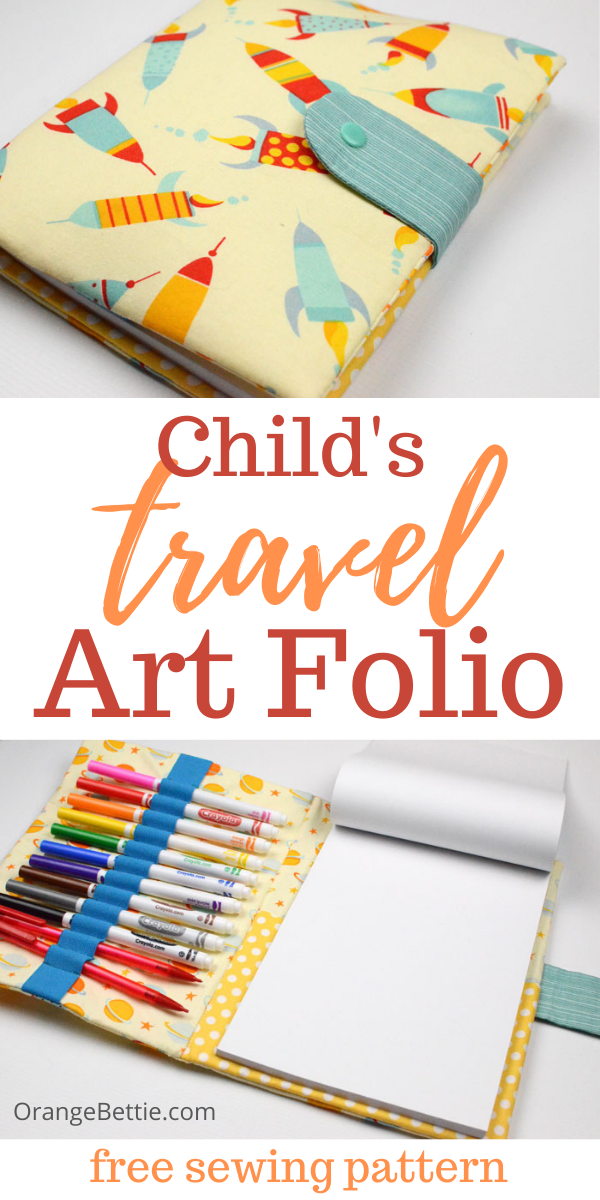
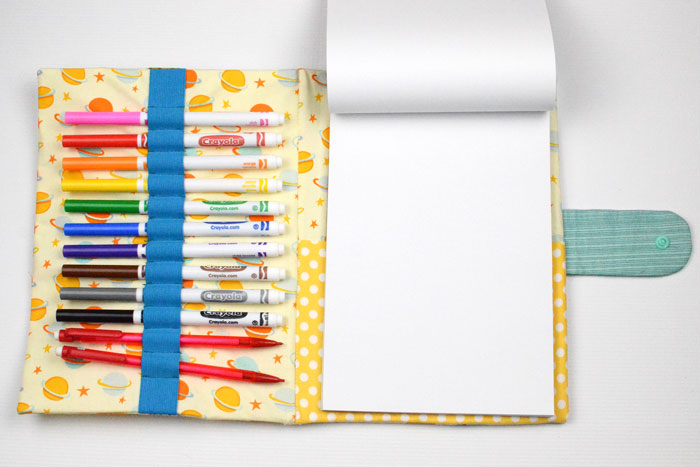
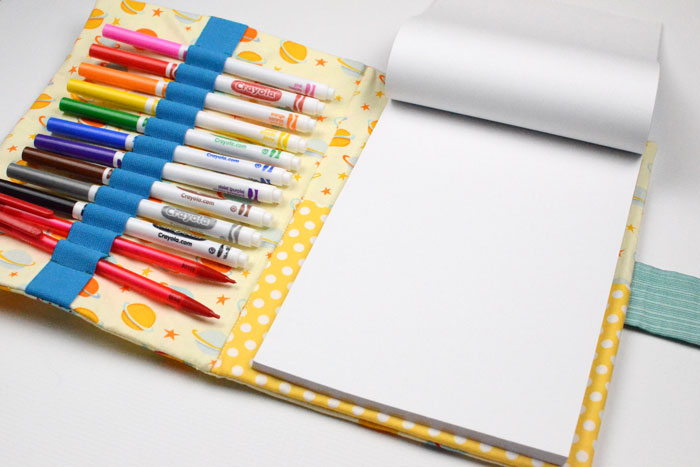
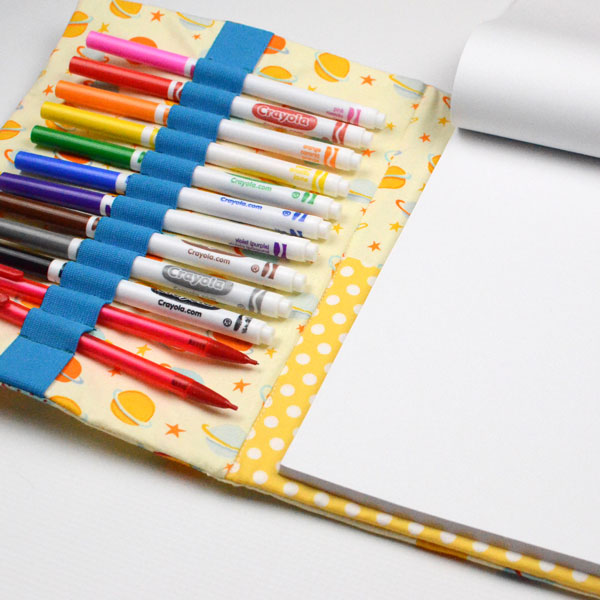
The travel art folio folds up like a notebook for easy storage and transport, with an easy snap tab to keep it closed. Inside the folio is a large pocket to hold a standard 6” x 9” notepad, along with 12 elastic pockets to hold slim markers. You can easily find the notepads at dollar stores and discount stores. The one I used cost me all of $1.50.
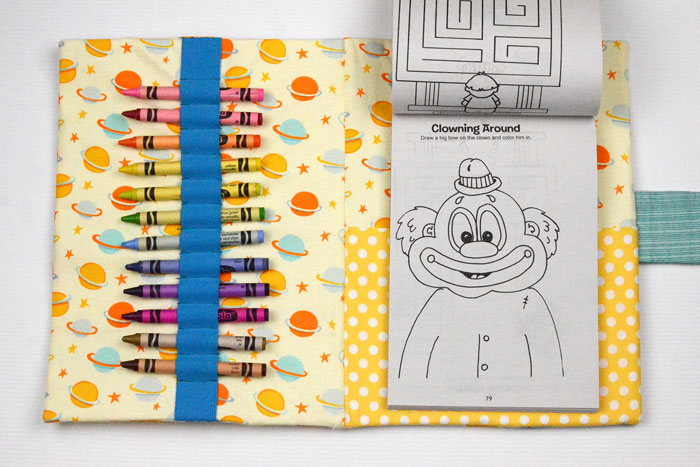
You could also pack the travel art folio with crayons and a Fun Pad sized coloring book.
Finished dimensions are approximately 7.5” wide x 10” tall. This smaller size is easy to tuck into a bag or large purse.
The smaller size also makes it easier for kids to balance in their laps – great for coloring in a car! A snap closure is easy for young hands to manage. (If you don’t have snaps, you could also use hook & loop tape for a closure.)
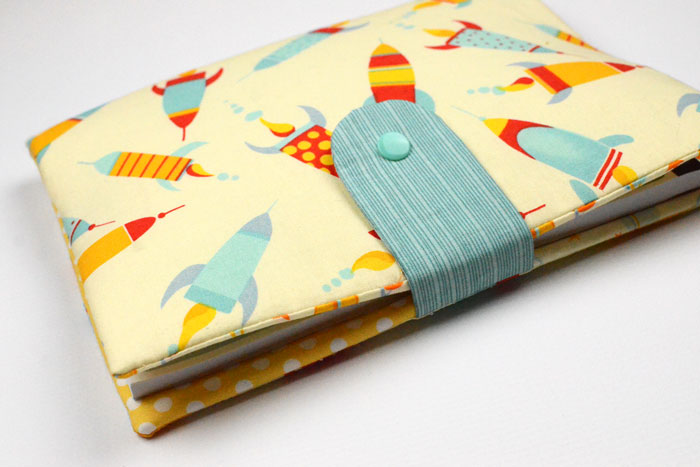
Plastic canvas between the cover and the lining helps keep the folio keep its shape. All those markers on the inside can make the outside look wonky if you don’t have some pretty firm stabilizer between the layers. Plastic canvas does just that, and it’s readily available at most craft stores. There are different sizes of plastic canvas available. I used a size 7 mesh (meaning 7 holes per inch) to get a nice firm stabilizer for this project.
How to Sew a Child’s Travel Art Folio
Supplies
- Folio Cover – I piece, 15.5” wide x 10.5” tall from quilting cotton or home dec weight cotton
- Fusible Fleece – 1 piece, 15” wide x 10” tall
- Lining (inside) fabric – 2 pieces, 8” wide x 10.5” tall from quilting cotton or home dec weight cotton
- Lightweight fusible interfacing – 2 pieces, 7.5” wide x 10” tall
- Notepad Pocket – 1 piece, 8” wide x 10.5” tall from quilting cotton for home dec weight cotton
- Snap Flap – scraps from quilting cotton
- 1” wide elastic – 1 piece, 12” long (I was able to find some 1” elastic in a fun bright blue color.)
- 1 set plastic snaps
- Plastic canvas – 2 pieces 7.5” wide x 10” tall (If possible, use 7-mesh size which has holes slightly smaller than ¼”.)
- Free Pattern
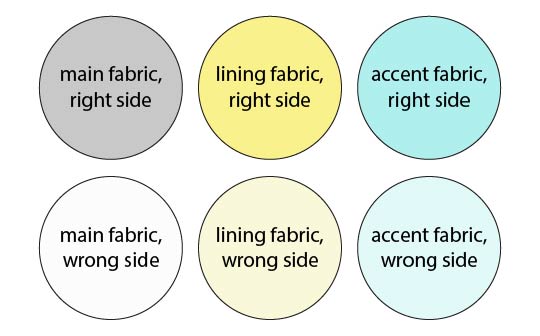
Prep
Fuse the fleece to the back of the Cover fabric piece.
Fuse the interfacing to the back of the Lining piece.
Fuse the interfacing the back of the Snap Tab piece.
Make the Notepad Pocket
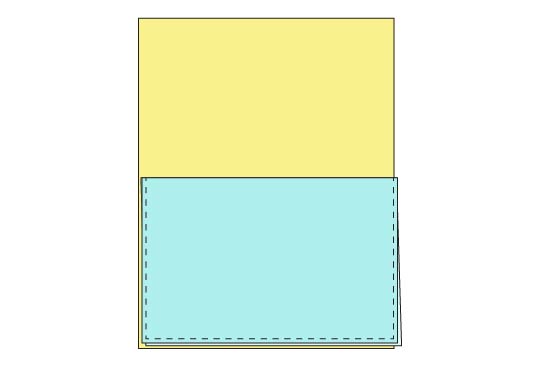
Fold the Notepad Pocket piece in half the short way, creating a piece that’s 8” wide x 5.25” tall.

Place the Notepad Pocket across the bottom of one of the Lining pieces, right sides up and with raw edges aligned. Baste around the raw edges with a 1/8” seam allowance.
Make the Pen Pockets
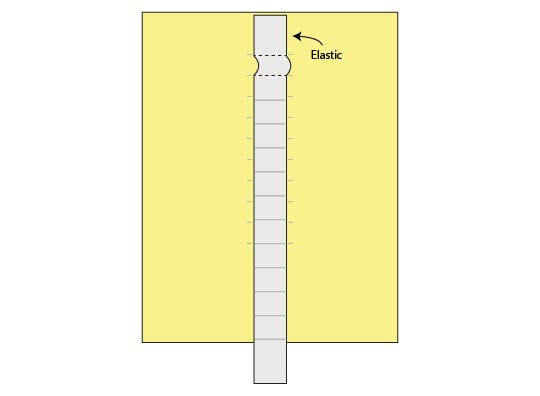
Place elastic on the Elastic Marking Guide. Use a temporary marking pen to transfer markings from Elastic Marking Guide on to your elastic piece.

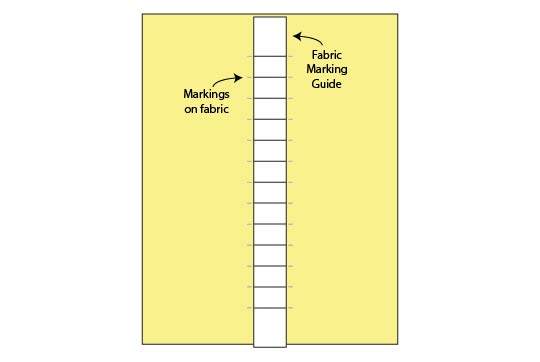
Place the Fabric Marking Guide down the center of the other Lining piece. Use a temporary marking pen to mark small lines on the Lining where indicated, to the left and the right of the marking guide.
Sew the Elastic down the center of the Lining, matching the lines on the Elastic with the lines on the Lining. The space between the lines on the Elastic is slightly longer than the space between the lines on the Lining, creating raised loops for the pens (or crayons) to slide in. Start at one end of the Elastic and work your way to the other side, matching lines as you go.
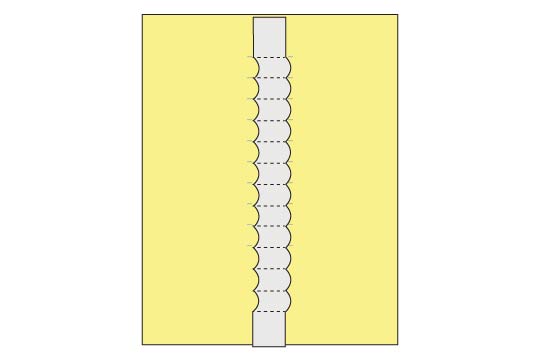
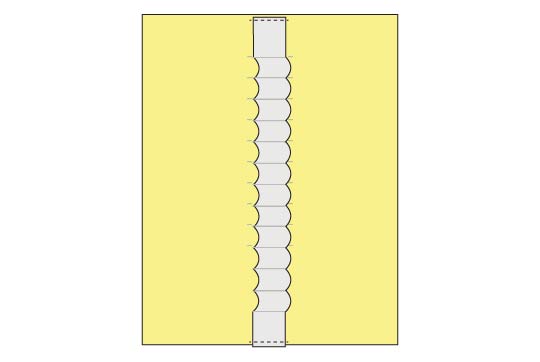
Baste the ends of the Elastic to the top and bottom of the Lining with a 1/8” seam allowance.
Sew the Snap Tab
Place the snap tab pieces RST. Sew around the two long sides and the curve, leaving the short side open.
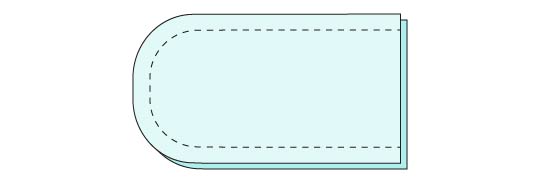
Clip curves, turn right side out.
Follow manufacturer’s instructions to set the stud side of the snap where indicated on the pattern.

Assemble the Travel Art Folio
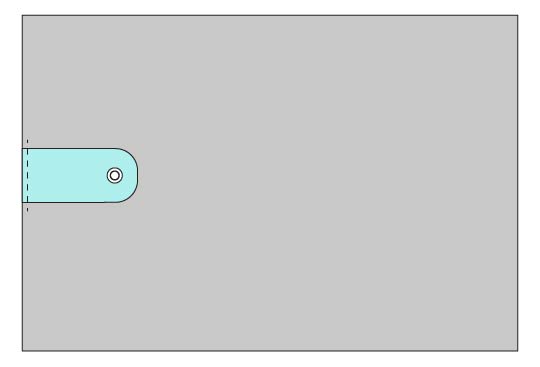
Place the snap tab on the left edge of the Cover, right sides together (smooth side of the snap facing down), centered vertically and raw edges aligned. Baste in place with ¼” seam allowance.
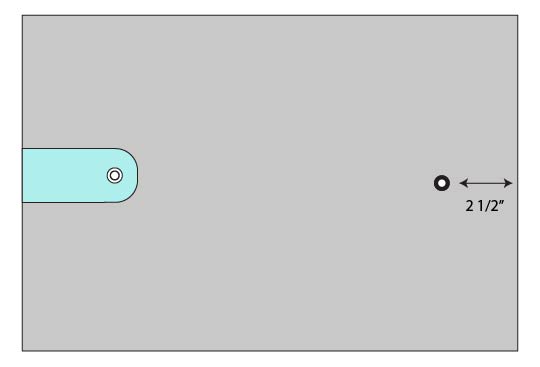
Follow manufacturer’s instructions to set the socket side of the snap on the right side of the Cover, centered vertically and 2 1/2” from right edge.
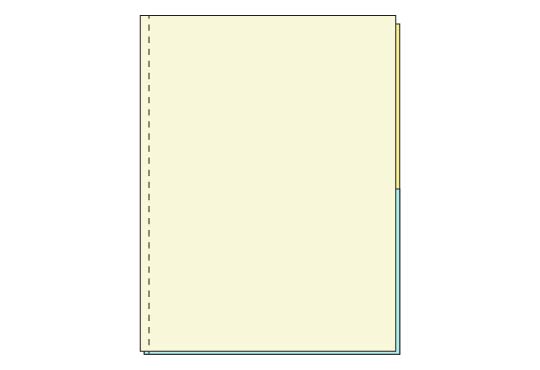
Place the Lining piece that has the Notepad Pocket on it Right Side Up. Then place the Lining piece that has the Pen Pockets on top of it, Right Side Down.
Sew down the left edge with ¼” seam allowance.
You should now have one large lining piece with the Pen Pockets on the left side, and the Notepad Pocket on the right side.
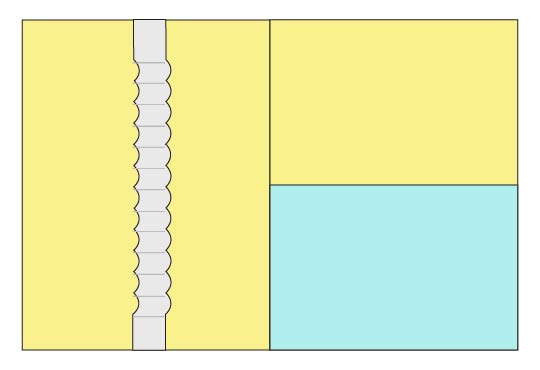
Now, place the Cover on top of the Lining, RST. (Make sure you’ve got both pieces oriented the same way. The Snap Tab and the Notepad Pocket should be together. The snap you set into the Cover should be on the same side as the Pen Pockets.)
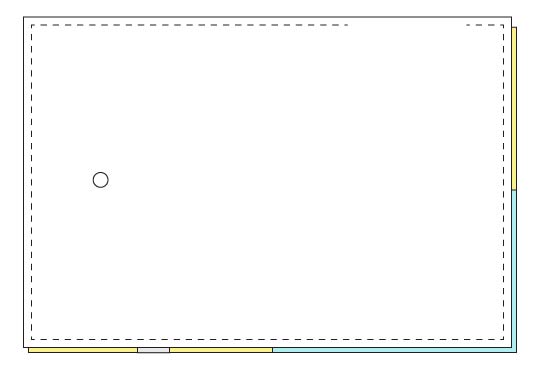
Sew around all 4 sides with a ¼” seam allowance, leaving 4” open to turn.
Clip corners, then turn right side out.
Insert one of the plastic canvas pieces through the hole and work it to the end farthest from your hole. You’ll need to roll it up to get it through the hole. It’ll be a tight fit as you work the canvas down the inside of the folio.
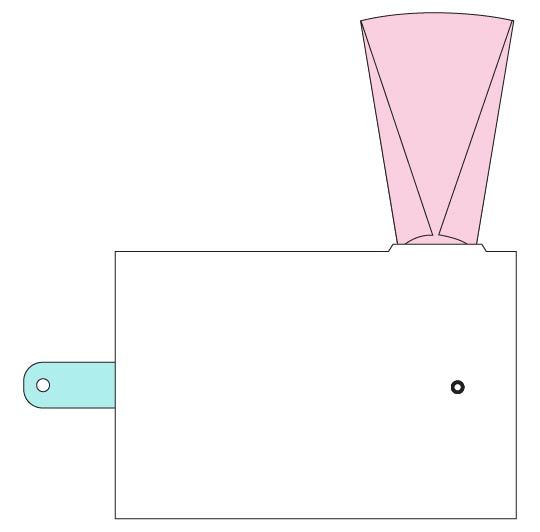
Using a zipper foot, sew a line down the center of the folio to hold the plastic canvas in place.
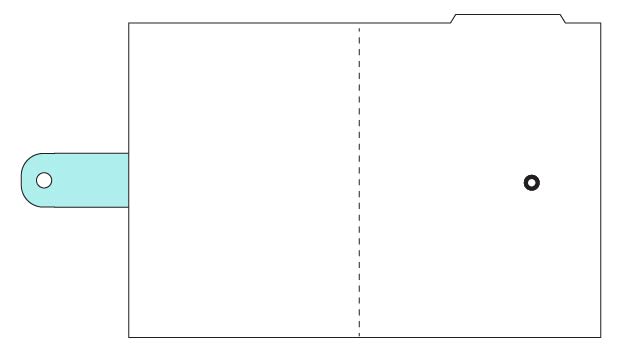
Though the illustration shows the Cover, I actually turned the folio over so I could stitch in the ditch on the seam going down the center of the Lining.
Now insert the second piece of plastic canvas through the hole.
Use a ladder stitch to hand sew the hole closed.
Your Child’s Travel Art Folio is finished! Fill it with a notepad and markers and it’s ready to go!
If you love this project, be sure to check out some of Anne’s other fun sewing projects:
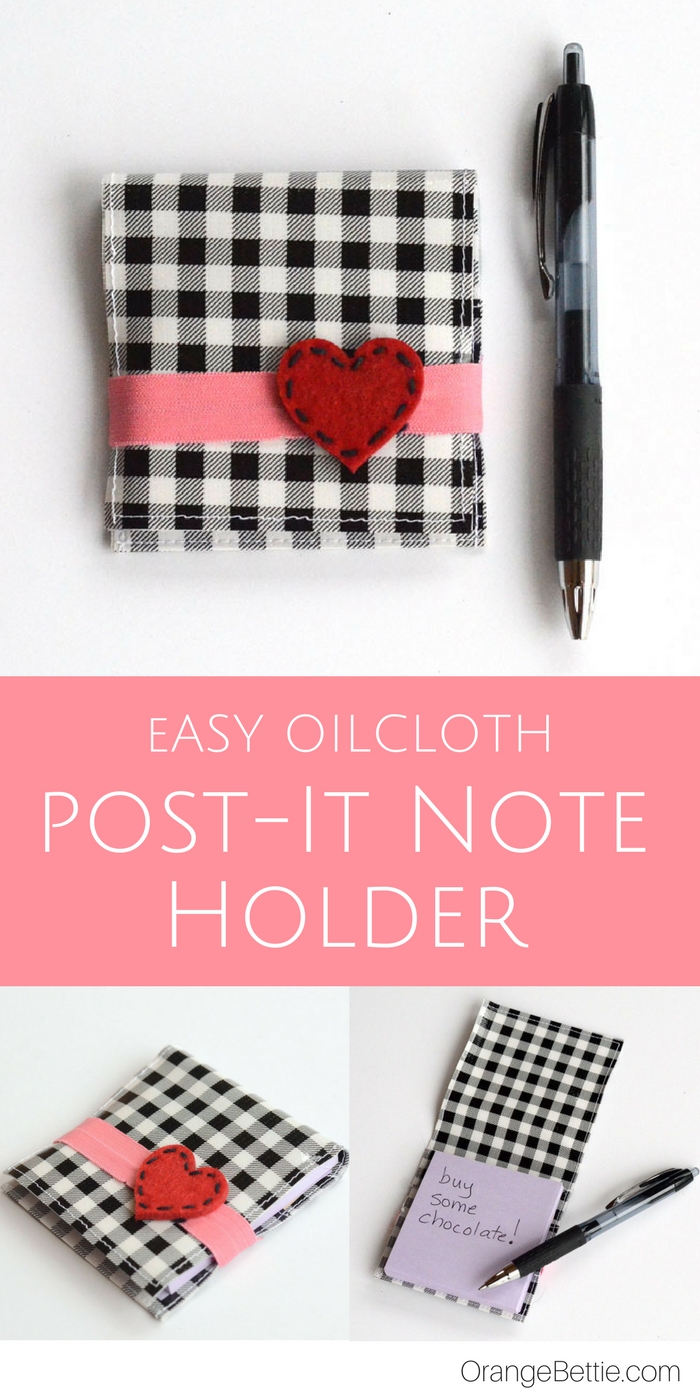
Easy Oilcloth Post-It Note Holder
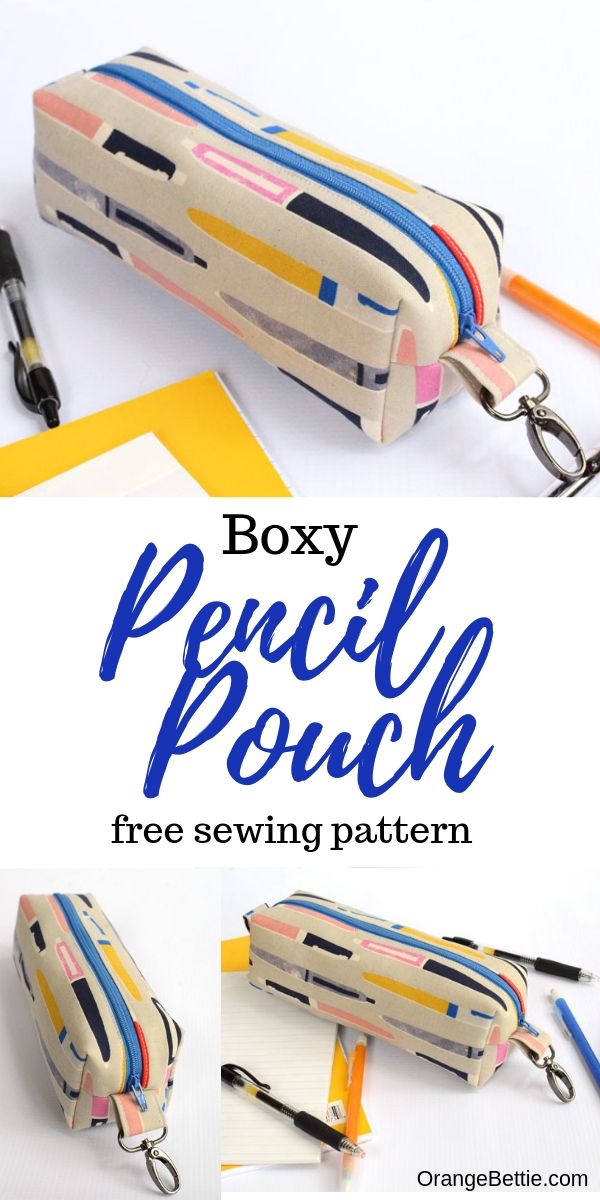
Boxy Pencil Pouch Free Sewing Pattern


Latest posts by Anne Weaver (see all)
- Fall Pumpkin Placemats – Free Sewing Pattern - September 27, 2026
- Quilted Binder Cover DIY Sewing Tutorial - September 27, 2026
- Ruffle Throw Pillow – Sewing Tutorial - July 16, 2026
[…] Keep a drawing pad and markers (or crayons) at the ready with this kid travel art folio! It folds up like a notebook and is easy to tuck into a tote or travel bag. Inside the folio are pockets to hold markers or crayons, and a pocket to hold a notepad or small coloring pad. Get the sewing tutorial at Bombshell Bling. […]