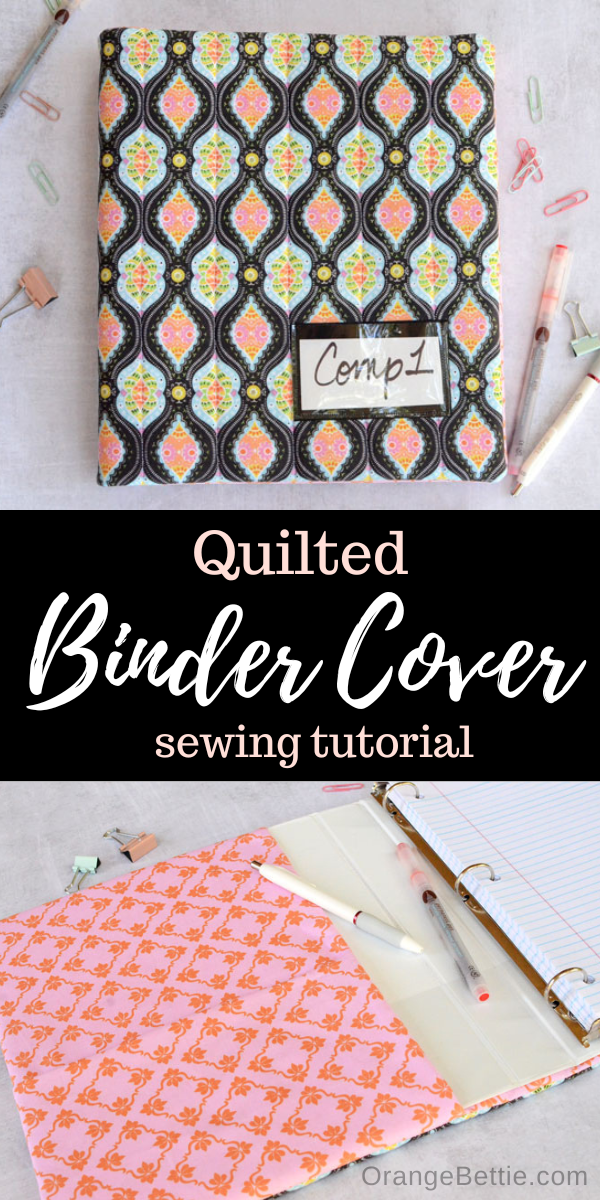
Give a plain 3-ring binder a little personality with a quilted binder cover. Whether it’s for school, home, or office organization, this cover is an easy way to dress up a basic binder. Use my tutorial to make one for yourself with your favorite fabric.
Summer is coming to an end, and that brings all things back-to-school. I feel like back-to-school doesn’t have to be just for kids or anyone actually heading back to a classroom. For me, it’s a time to reset my office and organization and take stock of supplies I need, or just maybe want.
It was in this spirit of back-to-school that I made this quilted binder cover. This project takes a plain, inexpensive binder and turns it into a special place to hold your notes.
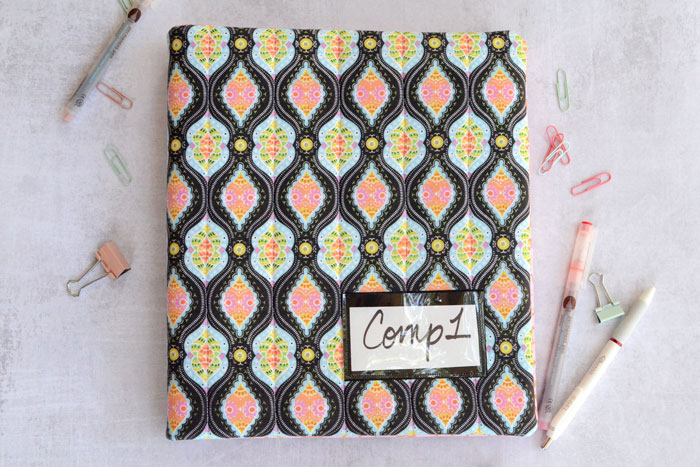
And while I made it for myself to hold my knitting patterns, this quilted binder would also make a nice gift for a new college student, especially if sewn up in college or sorority colors.
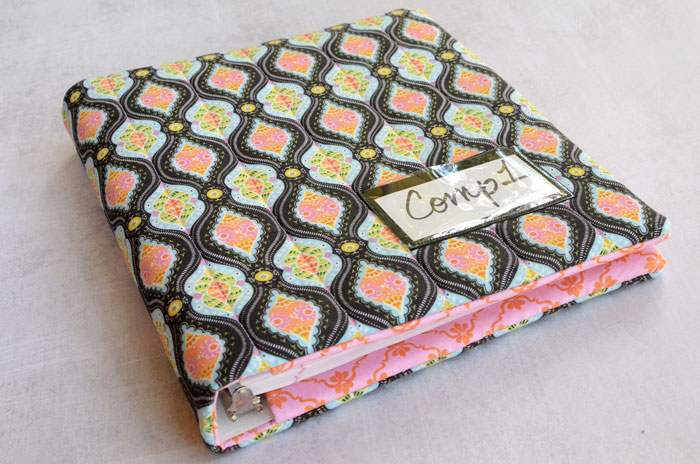
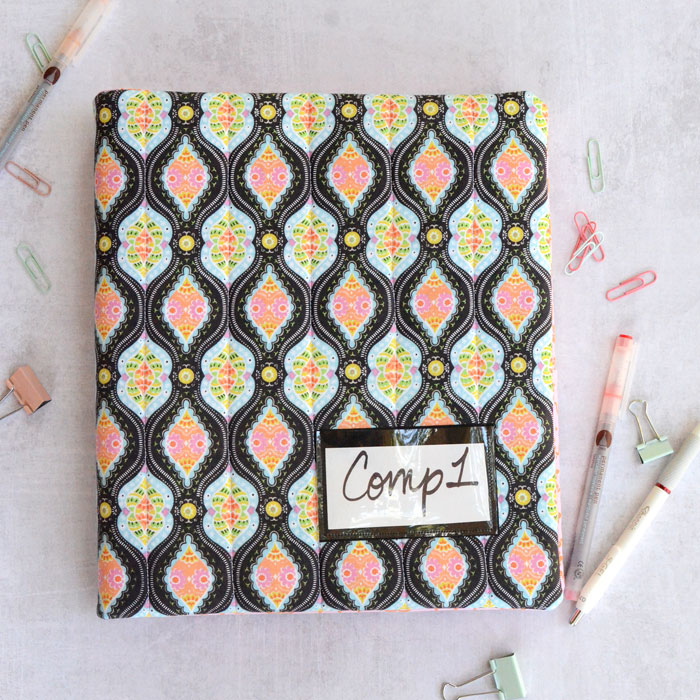
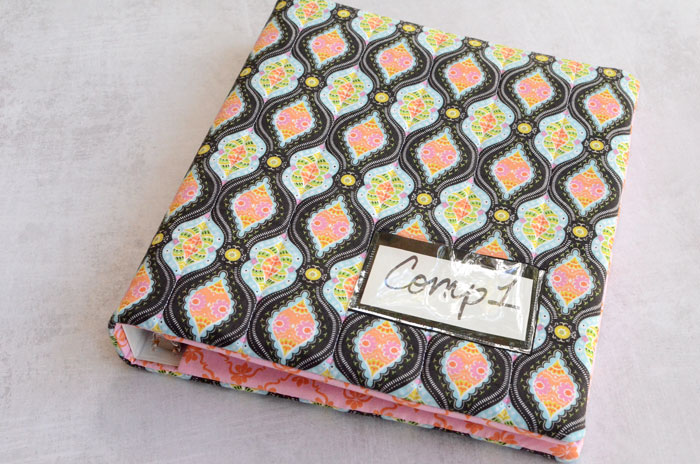
I dug this beautiful black and pastel print out of my fabric stash for this project. I’m loving how the quilting lines show off the stripes in the design. Two layers of fusible fleece really make the quilting stand out and give the cover nice, dense padding.
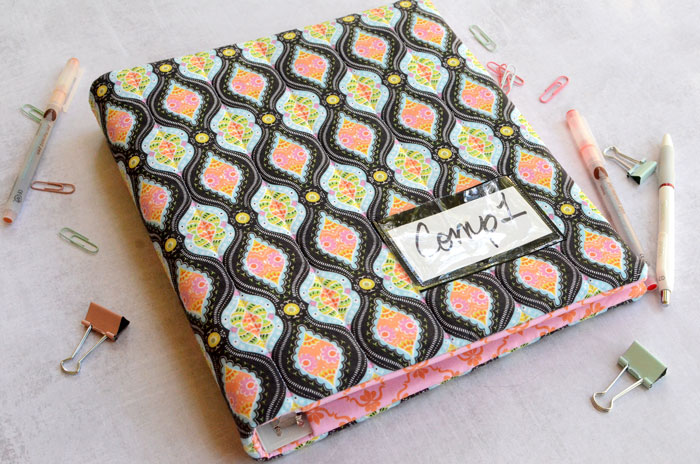
There’s also a handy little pocket on the front for a binder label. The label is totally optional, but I like having an easy way to identify what’s inside. And because I’m an overthinker, I like being able to change the label if I change my mind.
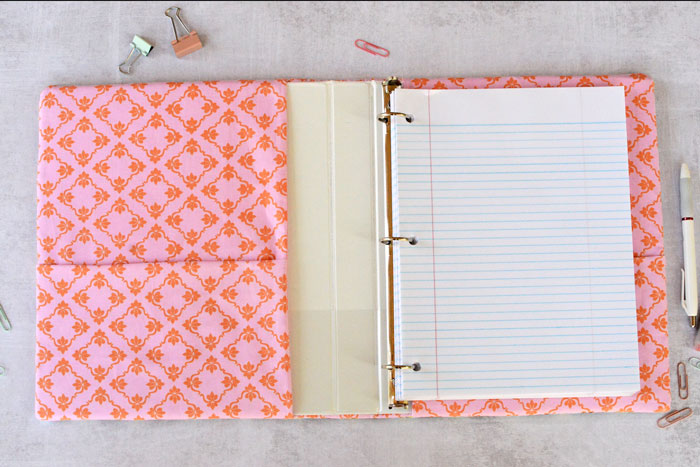
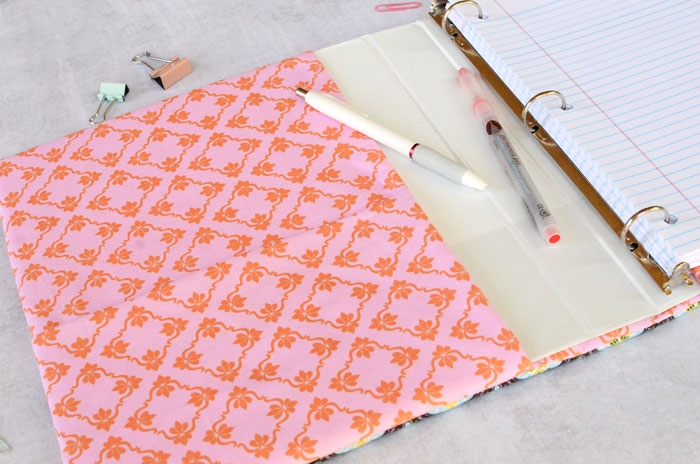
On the inside, wide pockets on the flaps are just big enough to hold an 8 ½ x 11” sheet of paper. Perfect for class handouts or other loose papers.
If a smaller journal is more your style, my Summer Strawberry Journal Cover is a free pattern sized to fit a 5 1/8” x 8” basic journal from Michaels.
Check Your Binder Measurements
This tutorial is designed to fit a basic 1” binder, but not all basic 1” binders are exactly the same size. The binder I used measures 11 5/8” tall × 10” wide × 1 5/8” deep.
The quilted binder cover is designed to fit fairly snugly, so if your binder has different measurements, you’ll need to adjust the fabric cutting dimensions accordingly.
- If your binder is taller than mine, add that difference to the height of the Exterior, Lining, and Flap pieces.
- If your binder is wider than mine, multiply that difference by 2 and add that to the width of the Exterior and Lining pieces.
- If your binder has a wider spine than mine, add that difference to the width of the Exterior and Lining pieces.
Supplies
Be sure to check the measurements of your binder before cutting your fabric pieces. If your binder has different measurements than the ones listed here, you’ll need to adjust the measurements of the pieces you cut to account for those differences.
1” 3-ring binder that measures 11 5/8” tall x 10” wide x1 5/8” deep (spine)
Exterior – 1 piece, 14” all x 24” wide from quilting cotton
Batting – 1 or 2 pieces, 14” tall x 24” wide from fusible fleece
You can choose to use 1 or 2 layers of fusible fleece for the batting. 2 layers will create more padding and more pronounced quilting lines, but sewing through two layers may cause puckers if you don’t have a walking foot.
Lining – 1 piece, 13” tall x 23” wide from quilting cotton
Flaps – 4 pieces, 13” x 9 ¾” wide from quilting cotton
Interior Pockets – 2 pieces, 12” tall x 9 ¾” wide from quilting cotton
For optional Front Label Pocket:
Background – 1 piece, 2 ½” tall x 4” wide from quilting cotton
Interfacing – 1 piece, 2 ½” tall x 4” wide from fusible webbing
Vinyl Pocket – 1 piece, 2 ¼” tall x 4” wide from clear vinyl
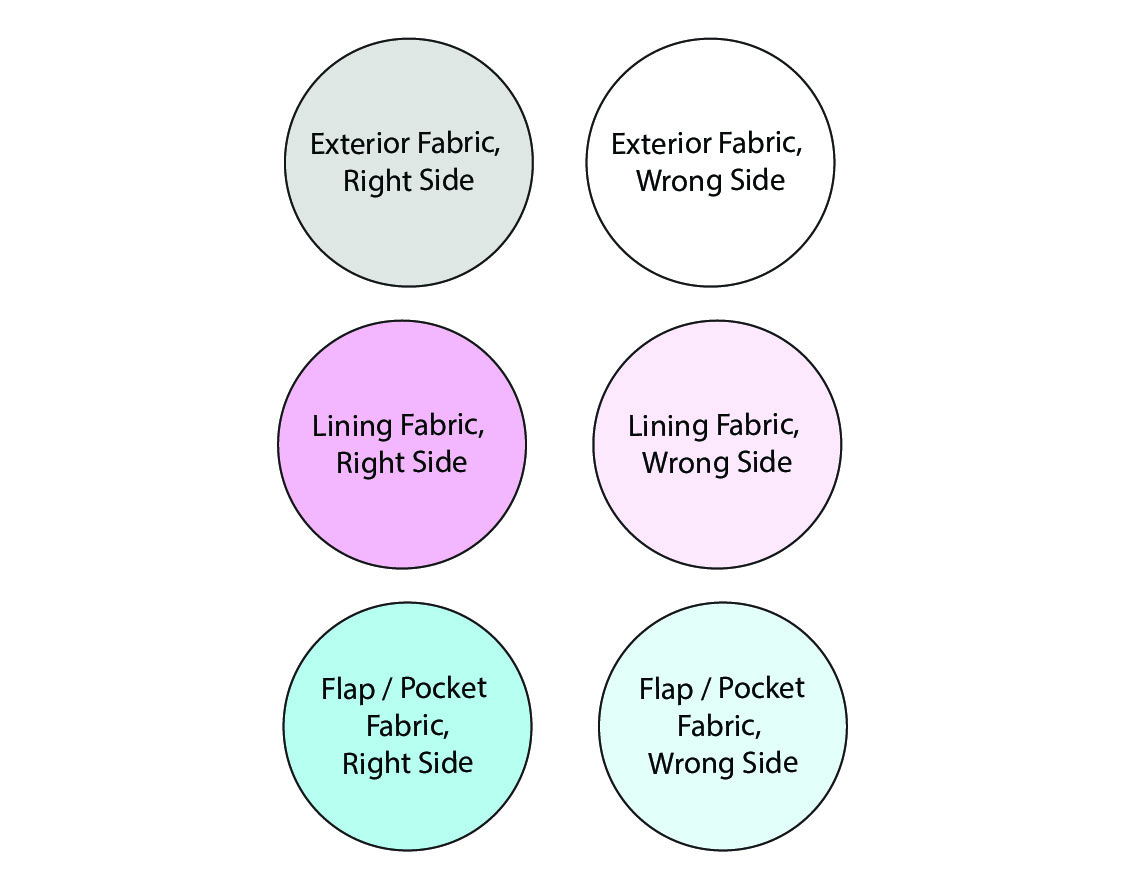
Quilt the Exterior Fabric
Follow manufacturer’s instructions to fuse the fusible fleece to the back of the Exterior fabric piece.
In this illustration I’m using 2 layers of fusible fleece, but you can use just 1 layer if you prefer.
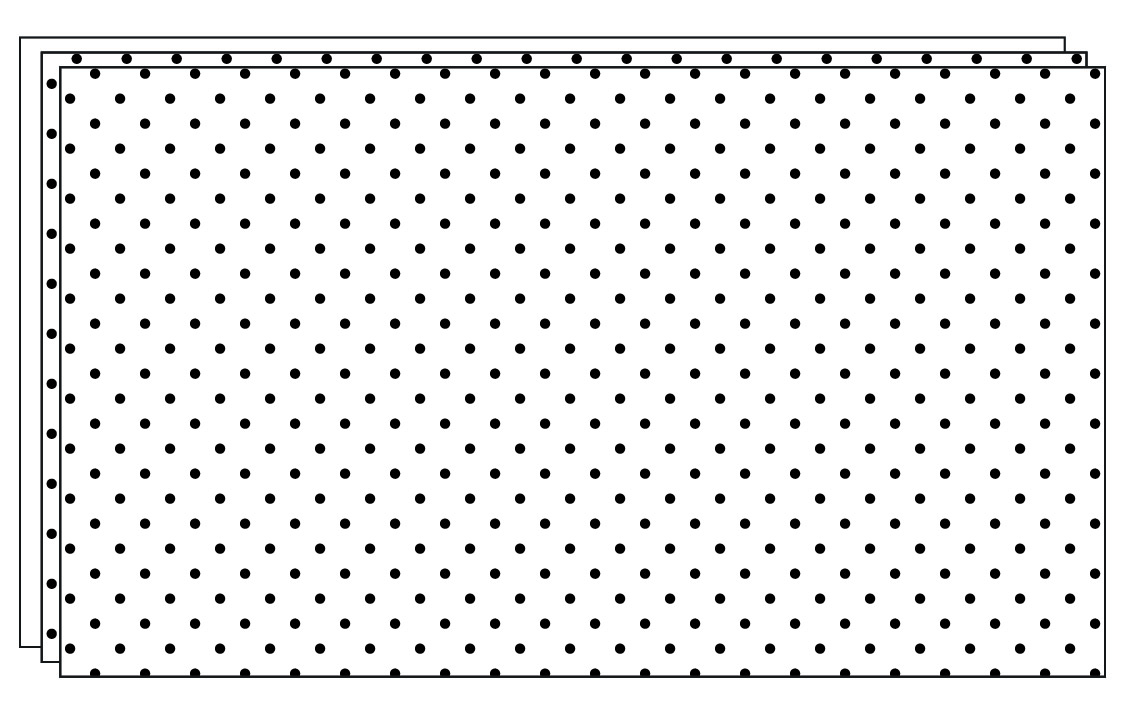
Place the Exterior fabric piece right side up. Use a temporary fabric marking pen to mark quilting lines on the Exterior piece.
You can quilt whatever design you like. The best pattern will depend on your fabric print, though I like to keep things simple with either vertical lines or squares.
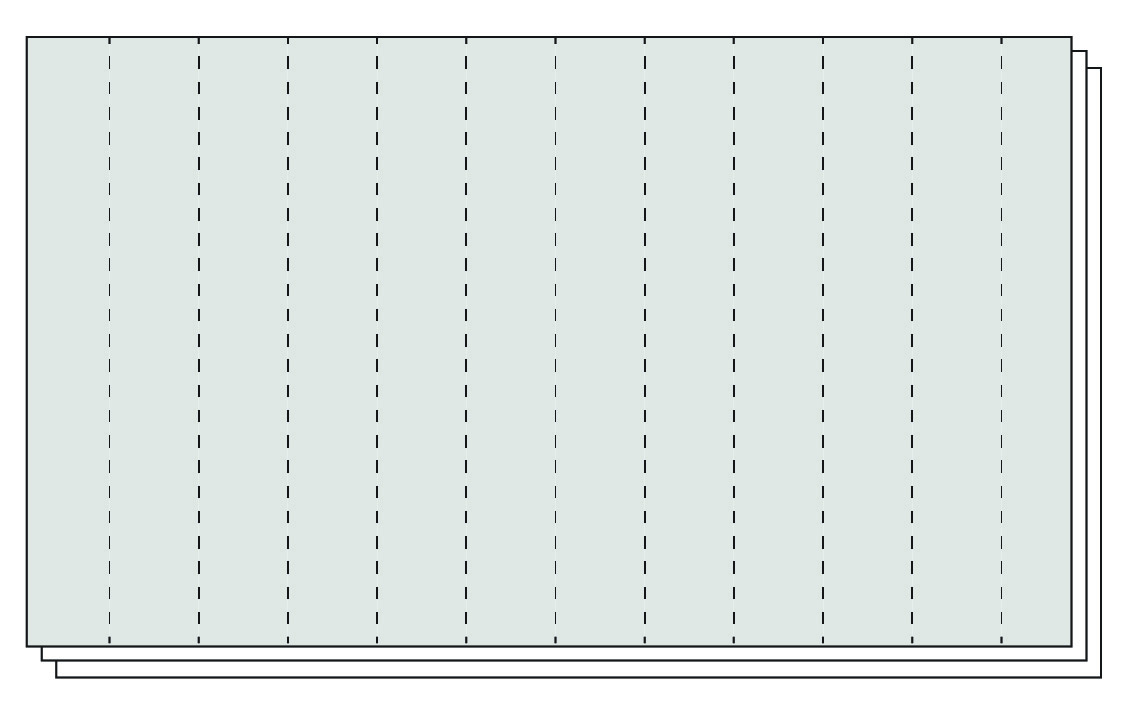
Sew along those quilting lines.
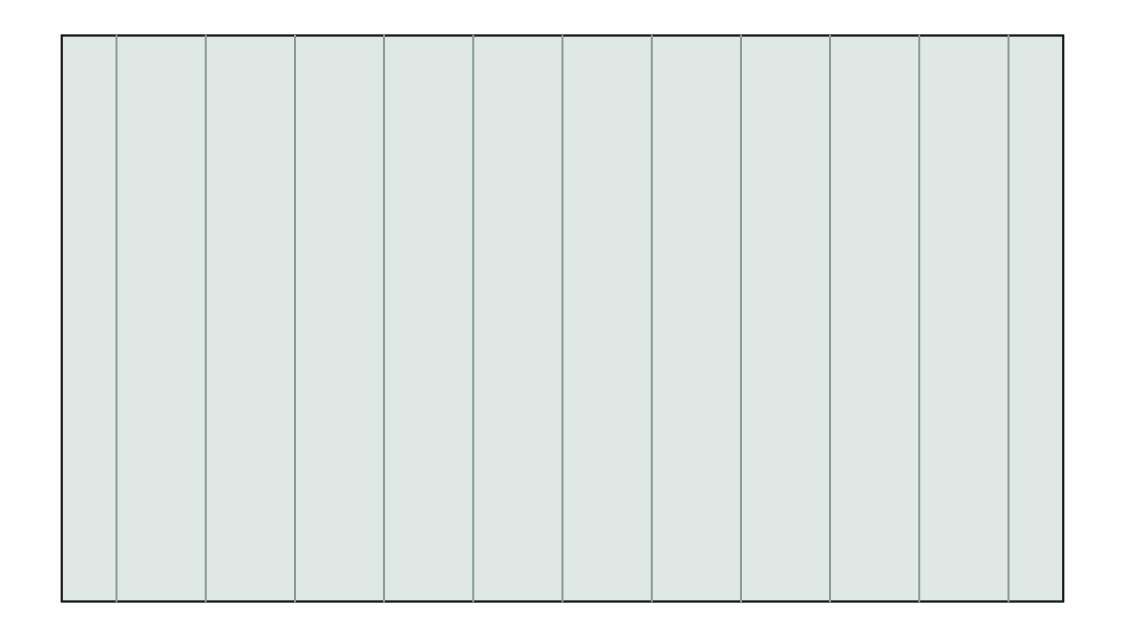
Trim the quilted Exterior piece down to 13” tall x 23” 23 wide.
Sew the Front Label Pocket (optional)
The Front Label Pocket is optional. If you want to include one, you’ll need to sew it to the Exterior now, before the binder is assembled.
Follow manufacturer’s instructions to fuse the fusible webbing to the back of the Front Label Pocket Background.
Place the Background on the Exterior piece, right sides up and 2” from the right edge and 2 ¼” from the bottom edge of the Exterior piece.
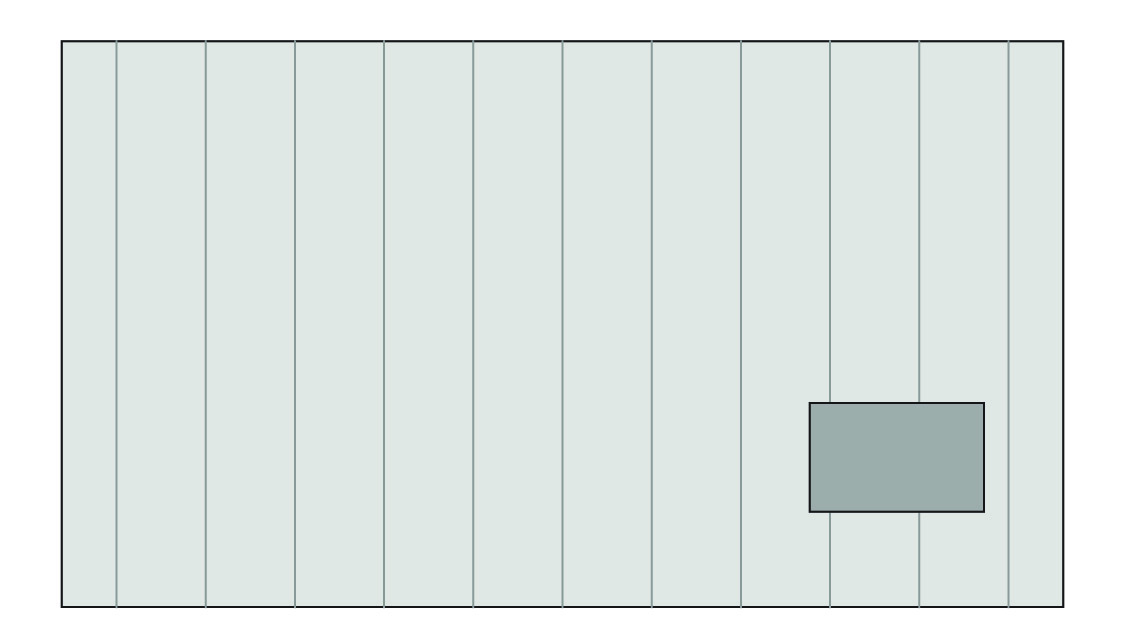
Follow manufacturer’s instructions to fuse the Background in place.
Place the Vinyl Pocket piece on top of the Background, aligned along bottom and sides. The Vinyl Pocket will be ¼” shorter than the background.
Use masking tape or washi tape to hold the Vinyl Pocket piece in place. Do not use pins, as they will puncture the vinyl.
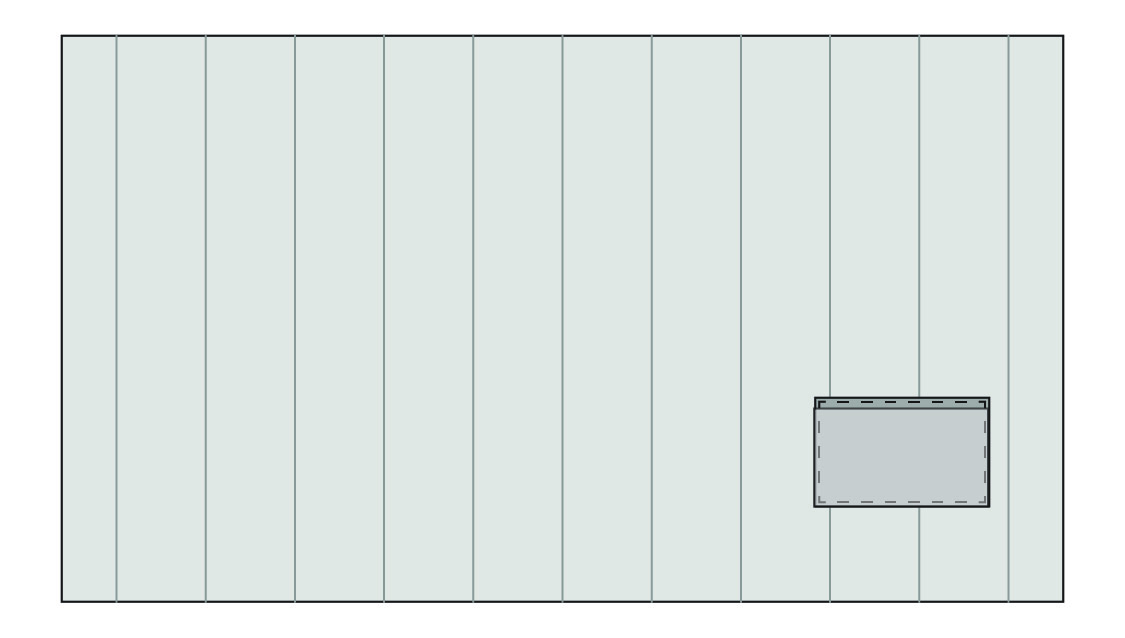
Sew around all 4 sides of the Background. This will secure the Background and also the Vinyl Pocket. (Leave the top edge of the Vinyl Pocket unsewn.)
Sewing on vinyl can be tricky because the vinyl likes to stick to the bottom of your presser foot. If you have a Teflon foot for your machine, use that for this step. If you don’t have a Teflon foot, you can put some Scotch tape on the bottom to make it sew smoothly.
Sew the Interior Pockets
Fold the Interior Pocket pieces in half the short way and with WRONG sides together, creating a piece that is 6” tall x 9 ¾” wide. Press.

Place one of the Interior Pocket pieces on top of one of the Flap pieces, with raw edges aligned along bottom and sides. Baste in place along sides and bottom with 1/8” seam allowance.
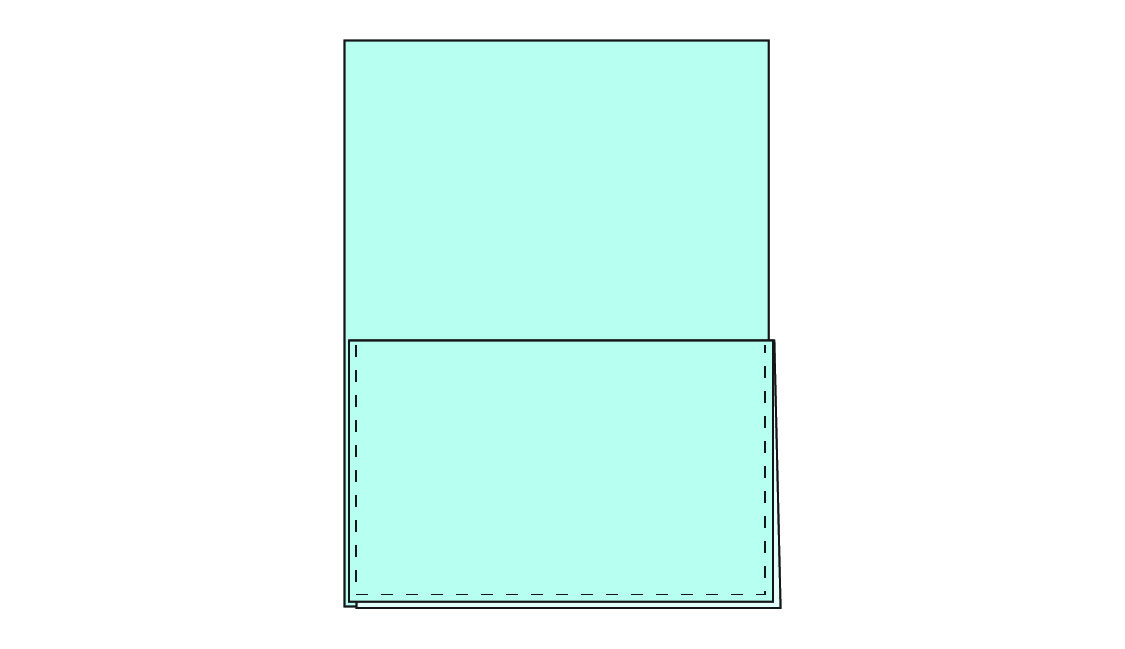
Repeat with remaining Interior Pocket piece.
Sew the Flaps
Place the remaining plain Flap pieces (with no pocket sewn on them) on top of the Interior Pocket / Flap pieces, RST.
Sew a seam along the left side of one of these Flap pairs with a ¼” seam allowance. Sew a seam along the right edge of the other Flap pair, also with a ¼” seam allowance. This will create left and right Flap pieces that mirror each other.
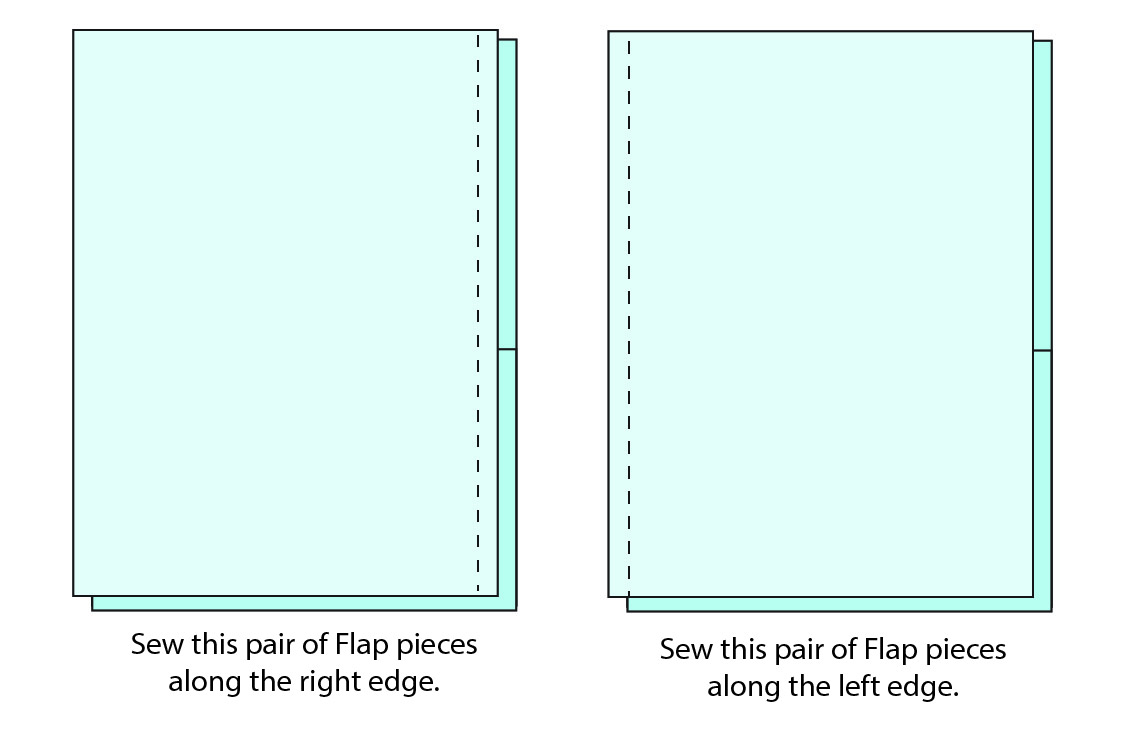
Turn Flaps right side out. Press.
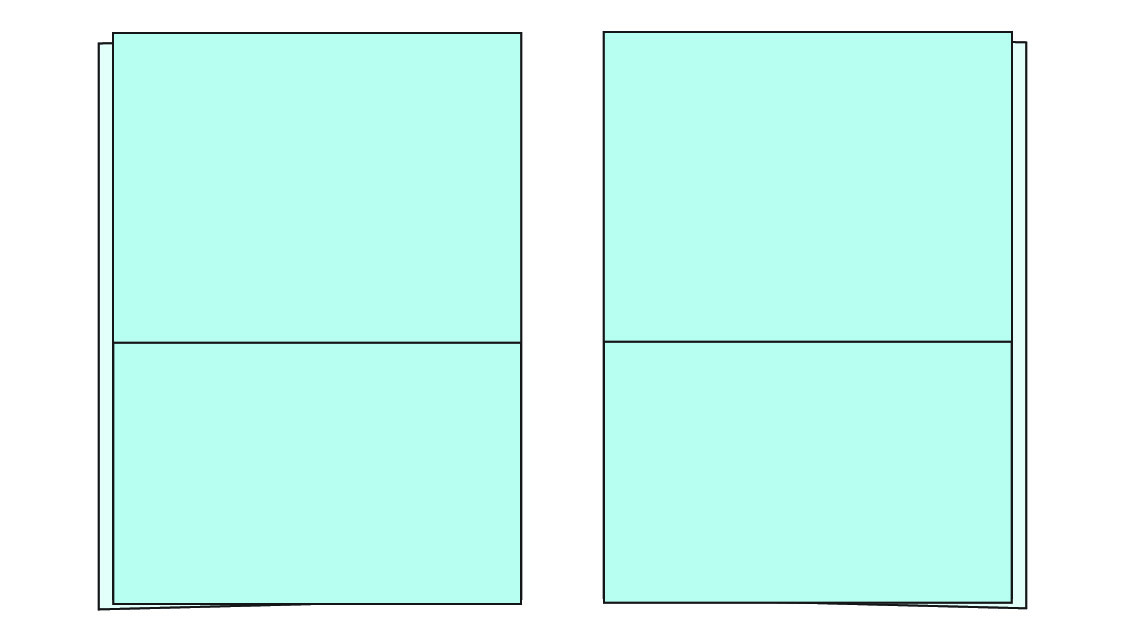
Turn Flaps right side out. Press.
Assemble the Quilted Binder
Place the Flap pieces on top of the Lining, right sides up. Baste in place with ¼” seam allowance.
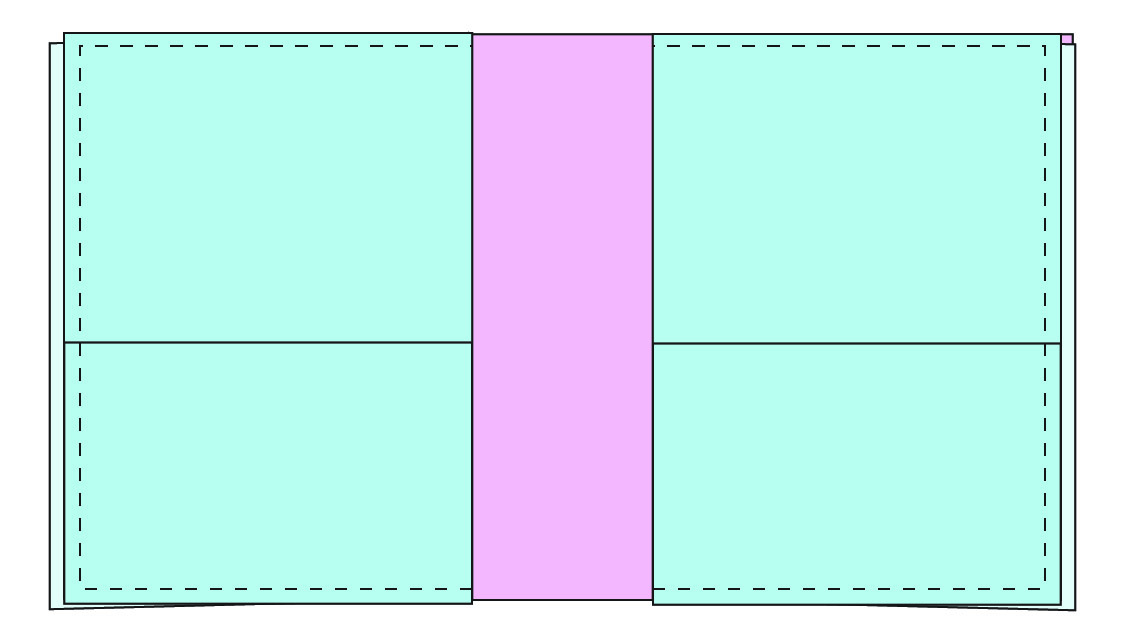
Place Exterior and Lining pieces RST. Sew around all 4 sides with a ½” seam allowance, leaving 4” open along bottom edge for a turning hole.
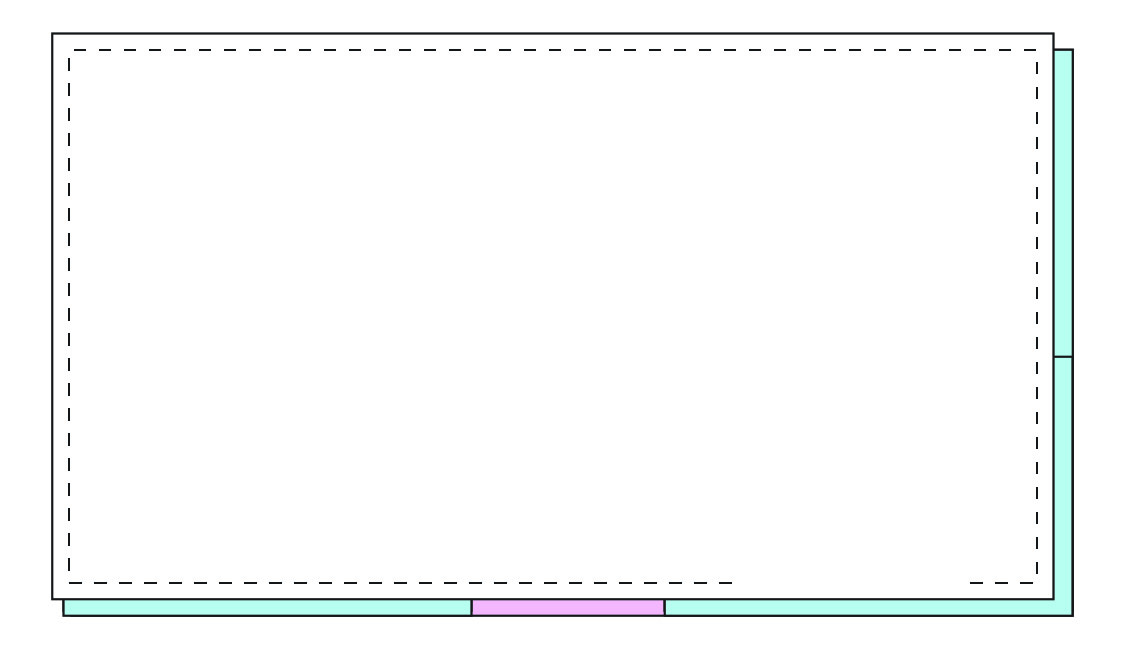
Sometimes the finished edge can end up a little wonky at a turning hole, so I make sure I leave the hole on a portion that will end up on the back of the binder cover.
Clip corners. Trim seam allowance of the thicker (quilted) layers to ¼” to reduce bulk.
Turn right side out.
Hand sew the turning hole closed using a ladder stitch.
To place the binder inside the cover, stand the binder upright and fold the front and back covers outward as far as you can, so the binder is almost inside out. This will make it easy to slide the cover over the binder.
Your quilted binder cover is finished!!
If you love this quilted binder cover tutorial from Anne, you are sure to love these as well:
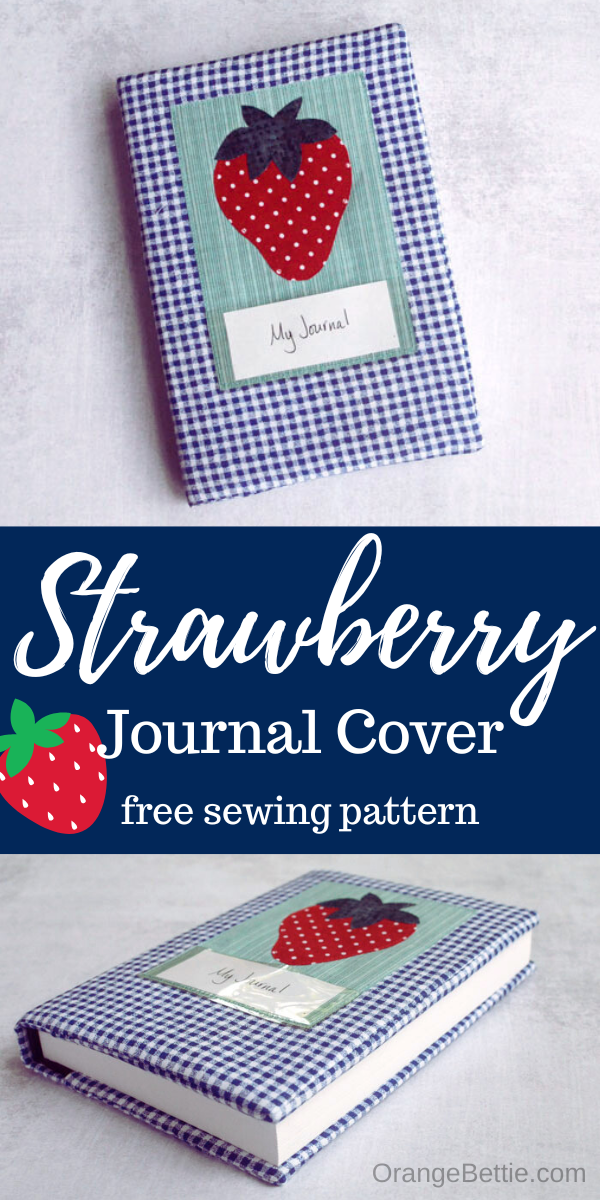
Summer Strawberry Journal Cover


Latest posts by Anne Weaver (see all)
- Fall Pumpkin Placemats – Free Sewing Pattern - September 27, 2026
- Quilted Binder Cover DIY Sewing Tutorial - September 27, 2026
- Ruffle Throw Pillow – Sewing Tutorial - July 16, 2026
Leave a Reply