Set a pretty fall table with a set of pumpkin placemats. They’re easy to sew using my free pattern and step-by-step tutorial. Sewn up in cute calico prints, the pumpkin design works all season long, from Halloween through Thanksgiving.
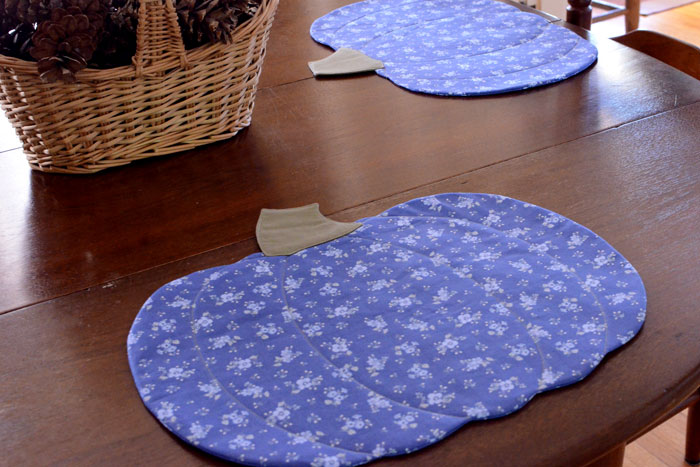
Every year sometime in mid to late September something magical happens. Pumpkins start appearing. Everywhere. Outdoors, you can see them decorating porches and front doors. And inside, they show up on tabletops and mantels.
This year I decided to bring some pumpkin décor to my dining room with a set of pumpkin placemats. And I’ve got a free sewing pattern for you below.
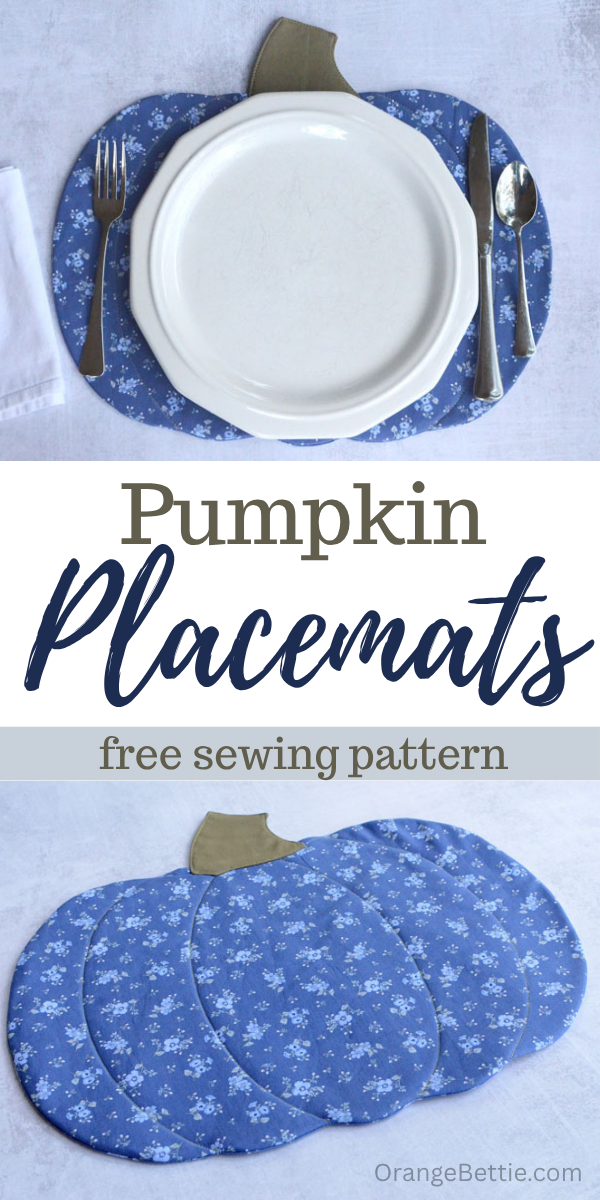
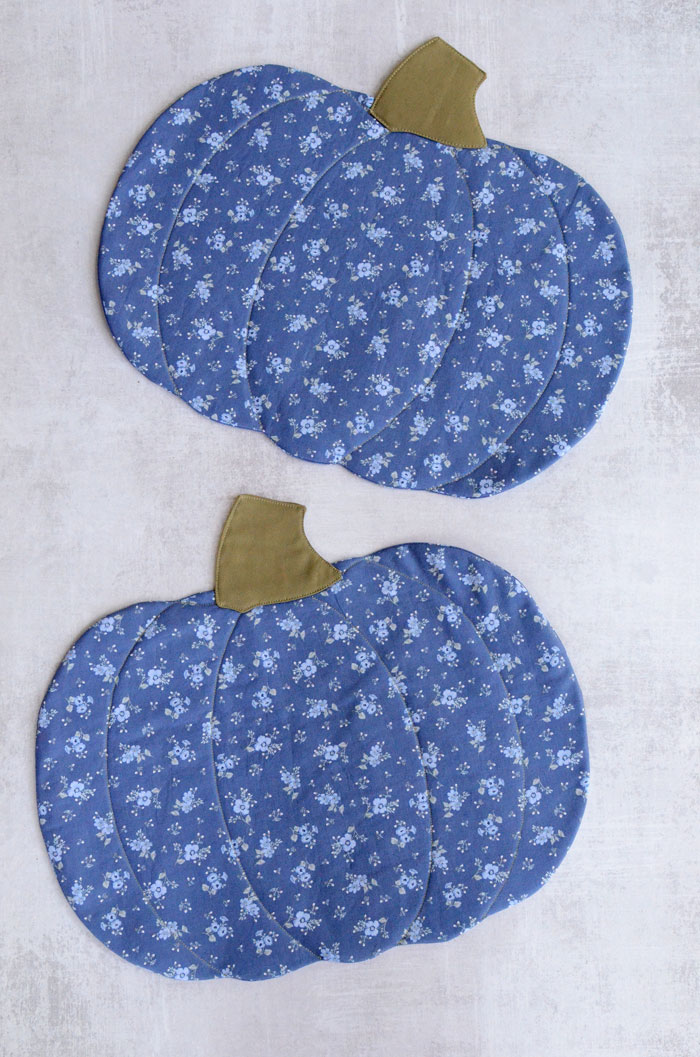
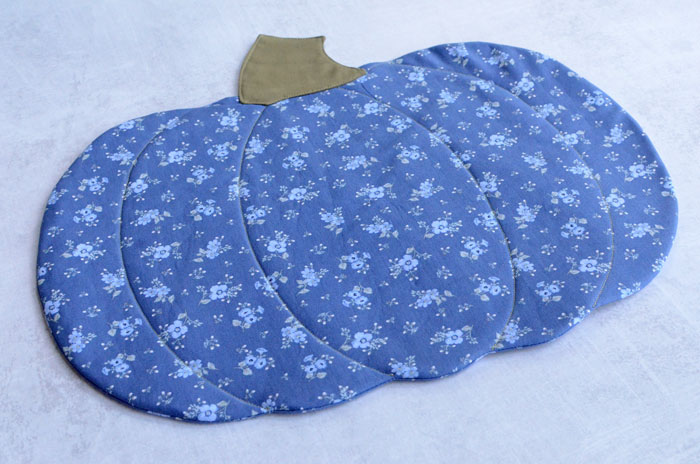
These pumpkin placemats really do set a pretty fall table! Pull them out for a nice dinner, or let them decorate your dining table between meals. They would be pretty made in traditional pumpkin colors, but I liked the idea of going full vintage-y floral and this blue calico just called to me.
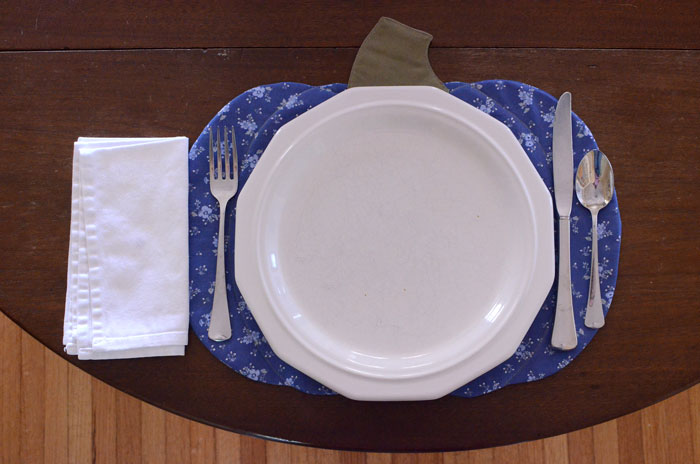
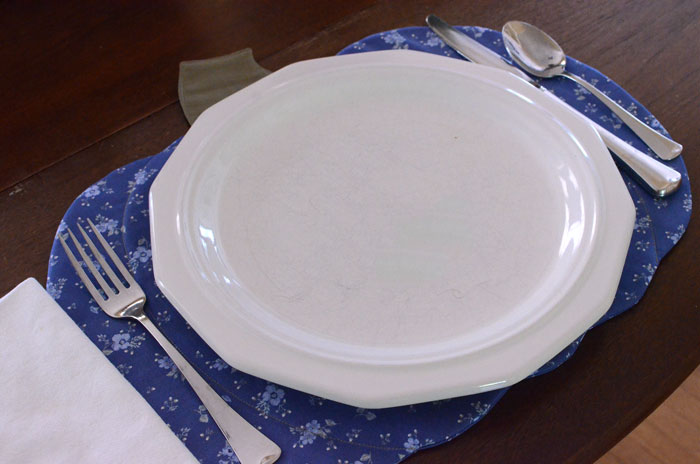
It turns out the blue calico make a beautiful contrast with my white plates and dark wood tabletop. And they’re just the right size to hold a dinner plate and cutlery and still letting that pretty pumpkin shape peek out all around.
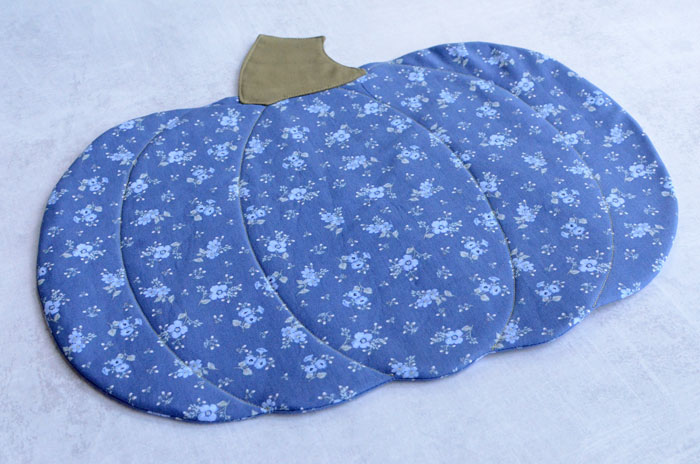
They’re fairly quick and easy to sew using my free pattern. The project only takes a few steps, and the materials list is nice and simple. They’re made with quilting cottons and fusible fleece, which gives the placemats a little body and thickness.
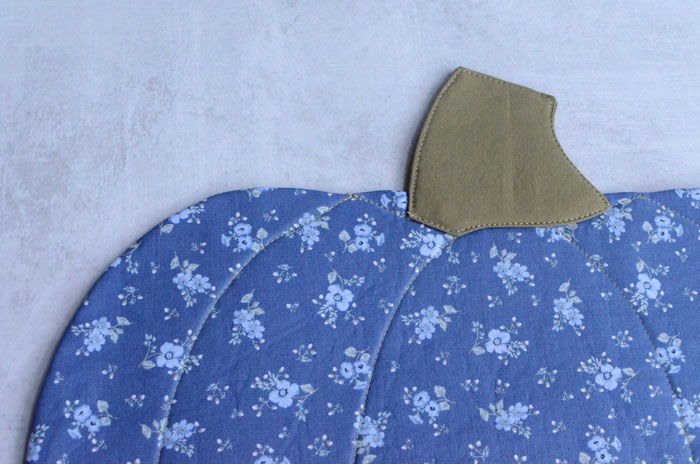
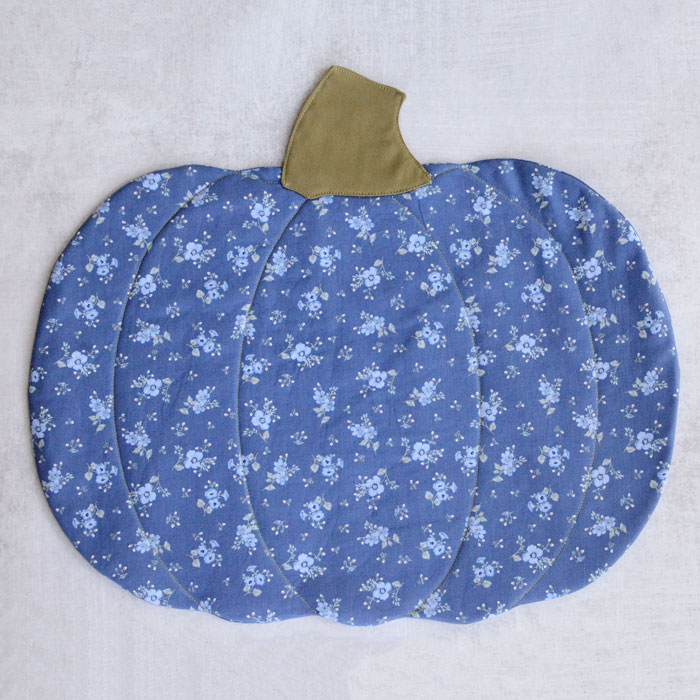
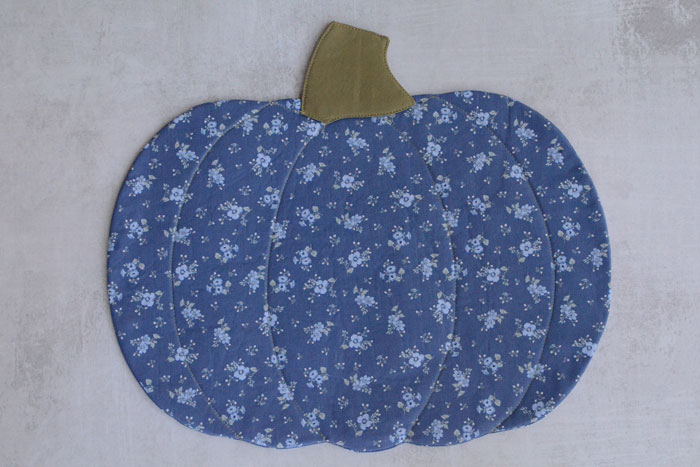
Finished dimensions are 13” tall x 15 ½” wide, including the stem. Without the stem, they’re 11” tall.
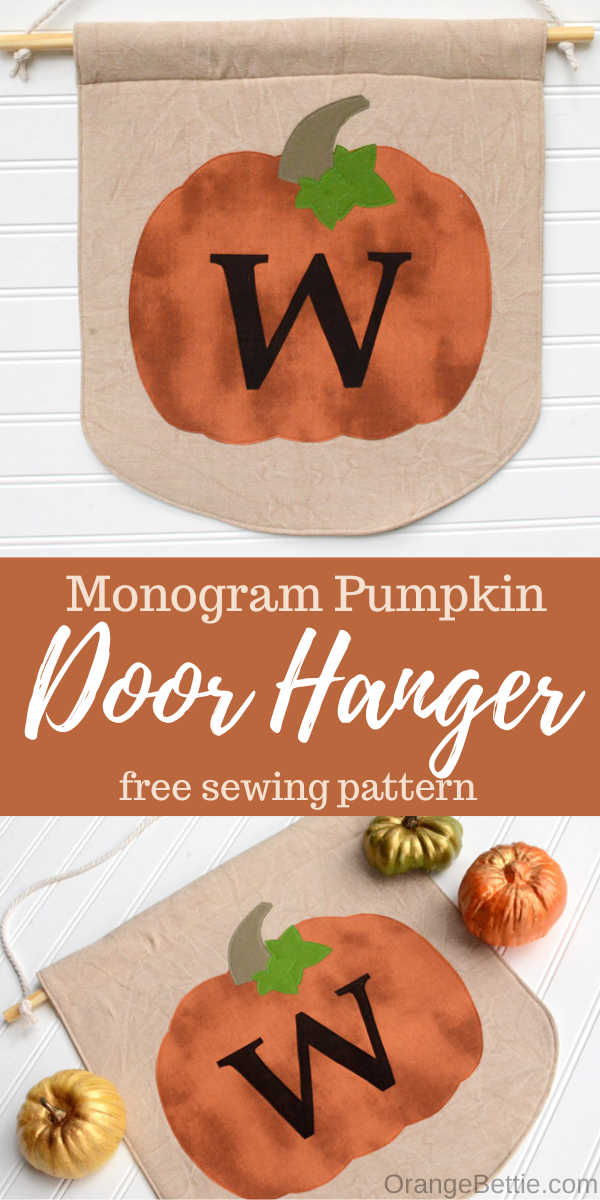
If you’re looking for some pretty pumpkin décor for your front porch, check out my free pattern for a monogram pumpkin door hanger.
How to Sew a Pumpkin Placemat
Supplies (to make one pumpkin placemat)
Main Fabric – ½ yard quilting cotton
Interfacing – ½ yard fusible fleece
Stem Fabric – scraps
Glue stick or fabric glue
Free Pattern – Fall Pumpkin Placemat
To make 6 pumpkin placemats, you’ll need 2 yards of Main fabric, a fat quarter of the Stem fabric, and 1 ½ yards of fusible fleece.
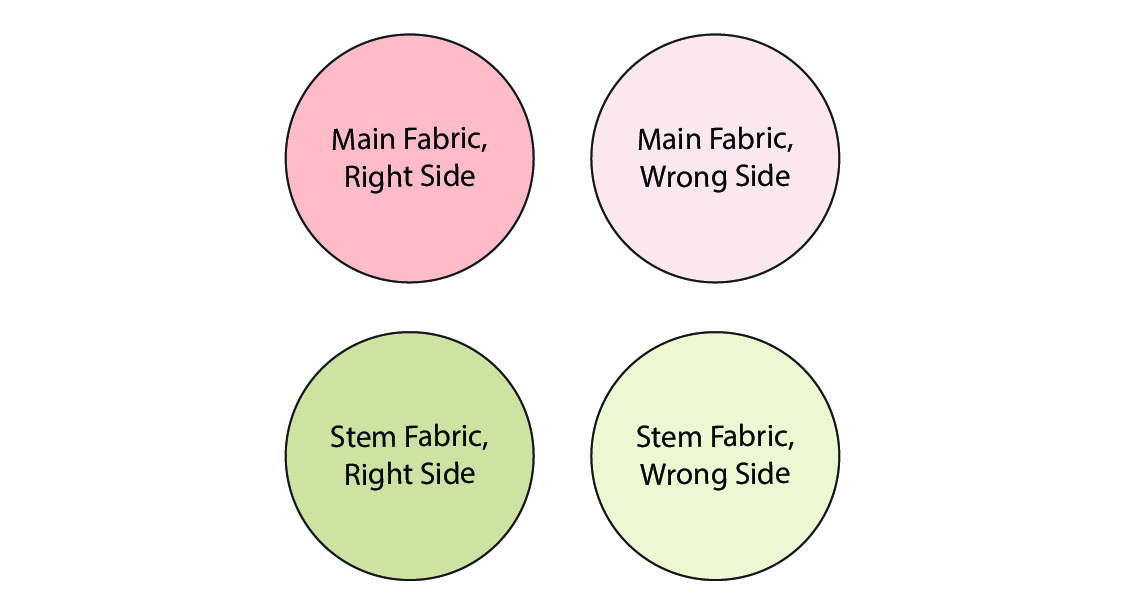
RST = Right Sides Together. All seam allowances are ¼”.
Prep
Follow manufacturer’s instructions to fuse the Pumpkin Interfacing (fusible fleece) to the back of one of the Pumpkin pieces, and the Stem Interfacing (fusible fleece) to the back of one of the Stem pieces.
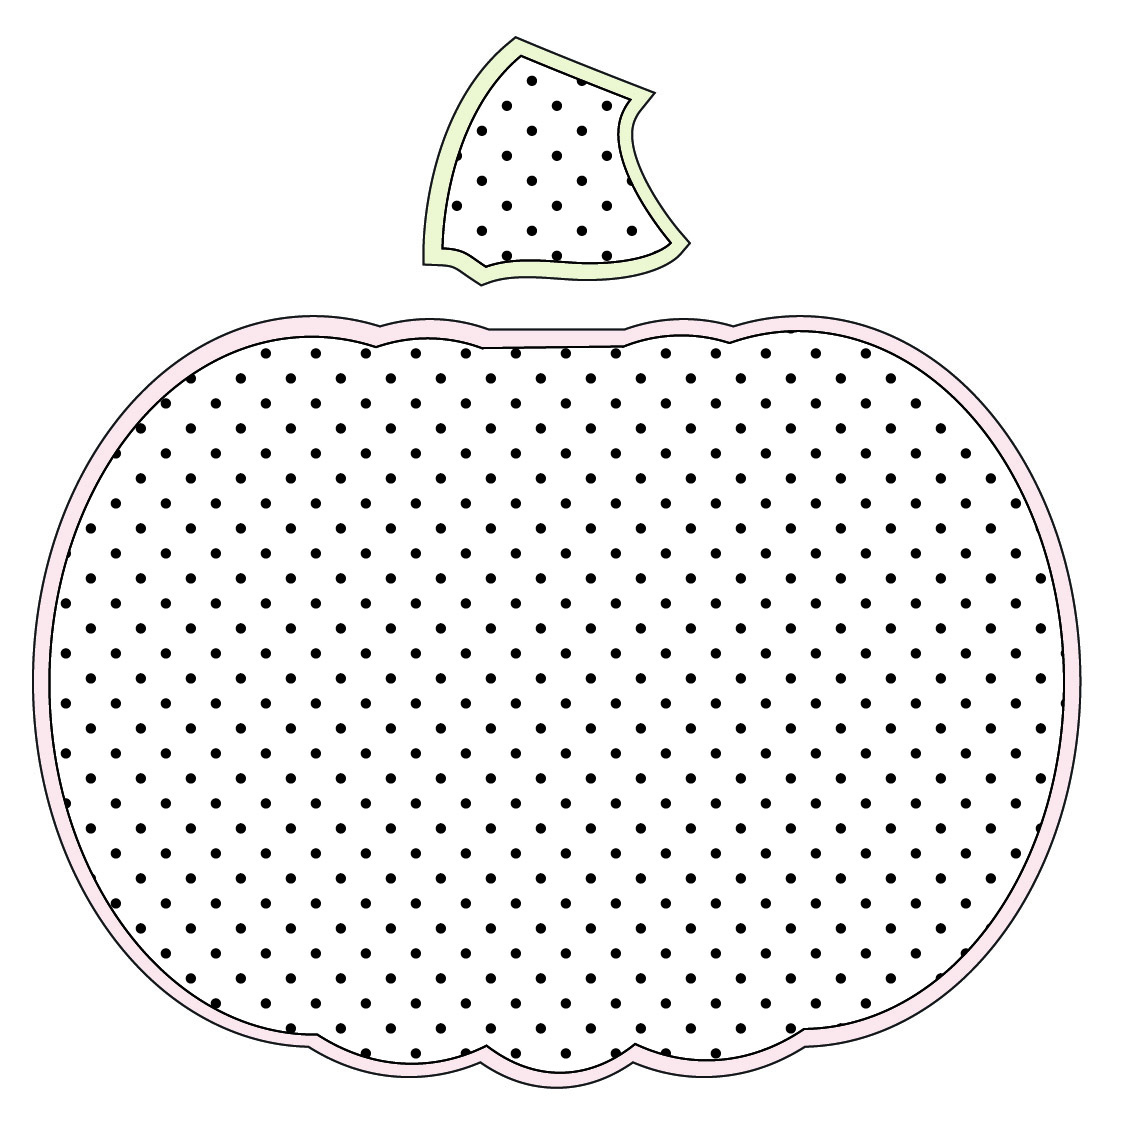
Sew the Pumpkin
Place the Pumpkin pieces RST.
Sew around all sides with a ¼” seam allowance, leaving that small straight section at the middle of the top open as a turning hole.
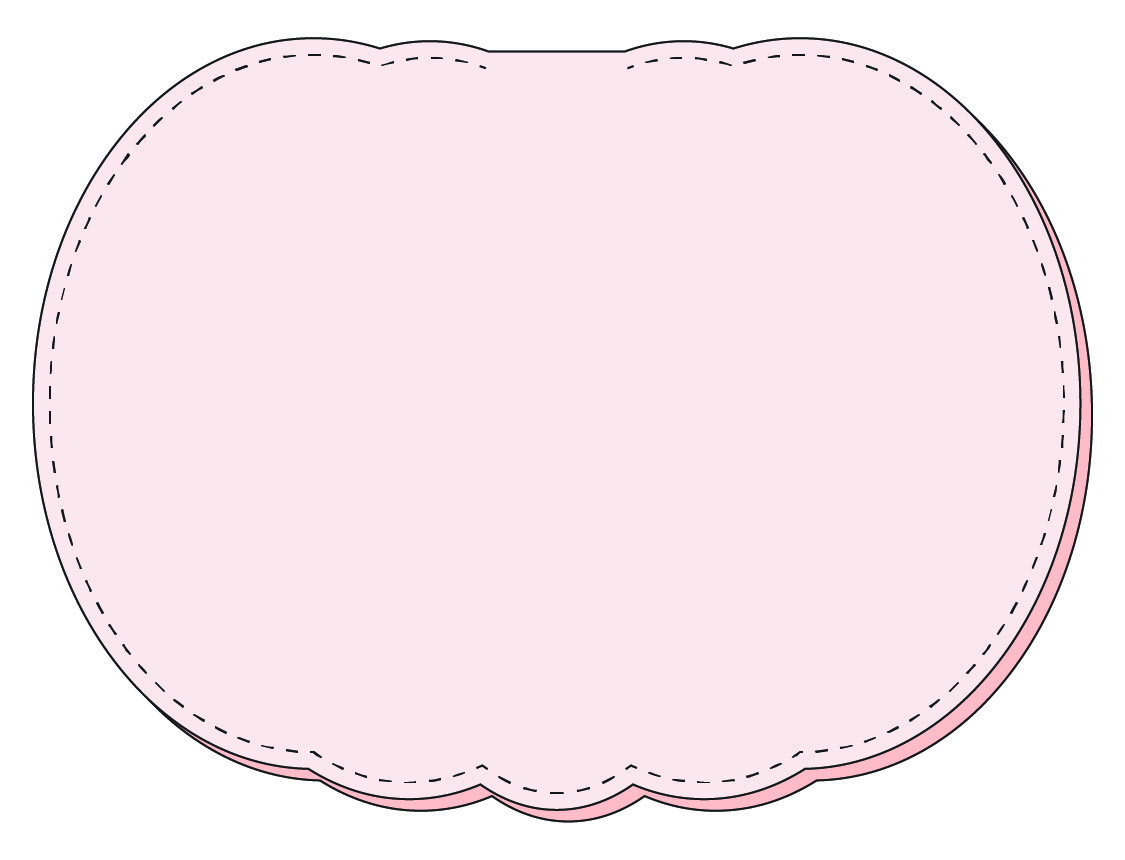
Clip curves. Turn right side out.
Pinking shears are my best friend for clipping curves. Use them to trim your seam allowances and they do all the notching for you.
At the turning hole, press the raw edges to the inside.
Sew across the turning hole close to the edge to close the hole.
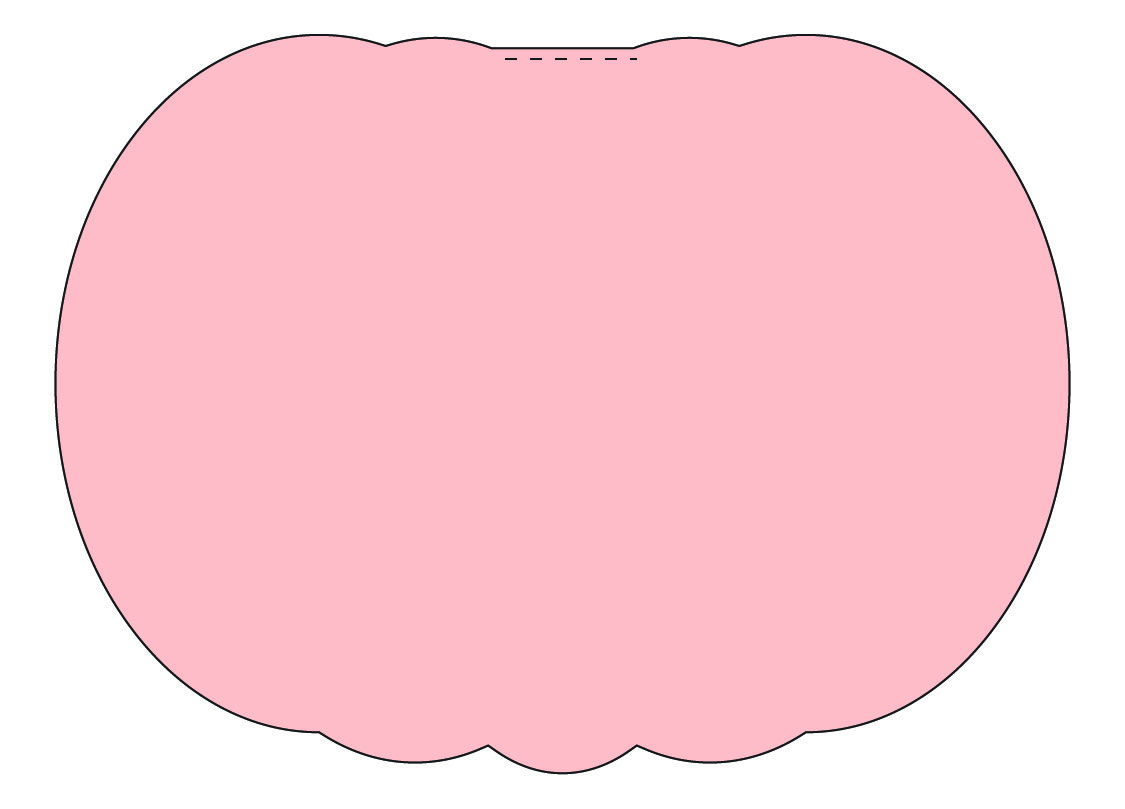
Use a temporary marking pen and the Placement Guide included in the pattern to mark the stitch lines on the Pumpkin.
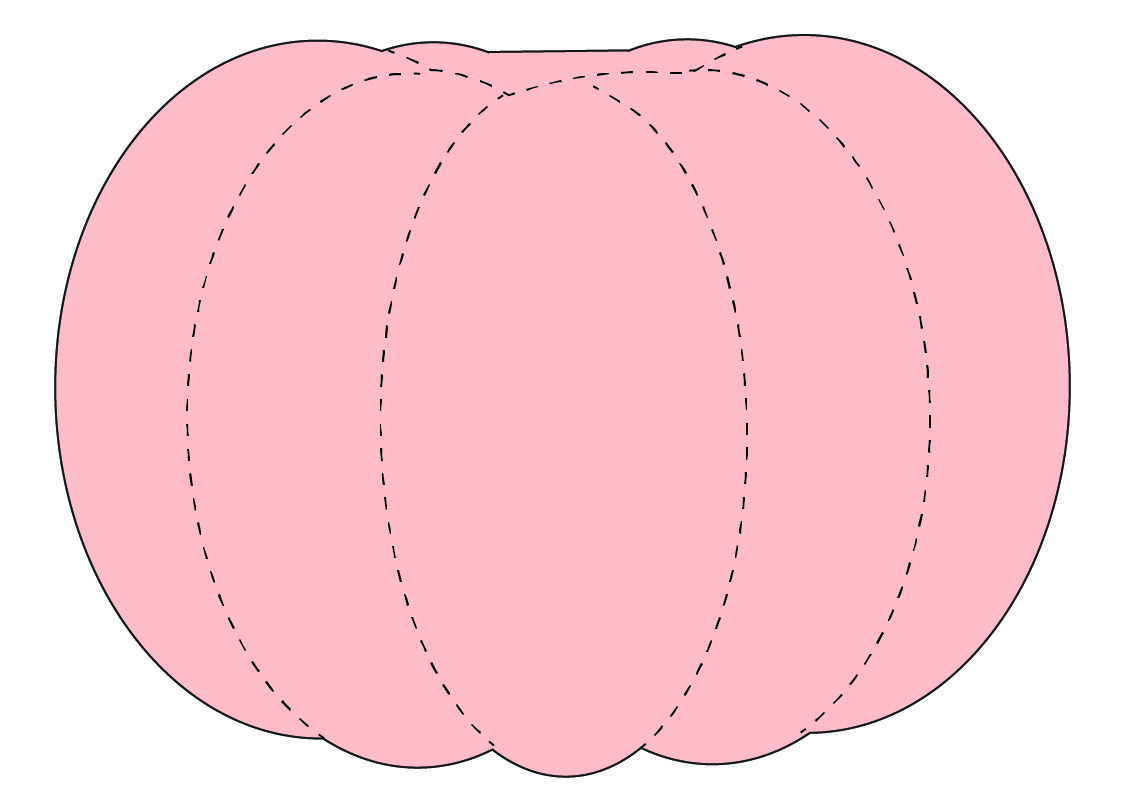
Sew the marked lines.
Sew the Stem
Place the Stem pieces RST.
Sew around sides and bottom with ¼” seam allowance. Leave the top open for a turning hole.

Clip curves, then turn right side out.
At the top, press the raw edges to the inside. Take some time to make sure the finished edge is nice and straight, then use a little glue stick or fabric glue to hold it in place.

After you glue the top edge, give it a good press with a hot iron to dry the glue.
Place the Stem on top of the Pumpkin, right sides up, where indicated on the Placement Guide.
Pin or glue baste in place.
If you glue baste, press the area with a hot iron to make sure the glue is dry before the next step.
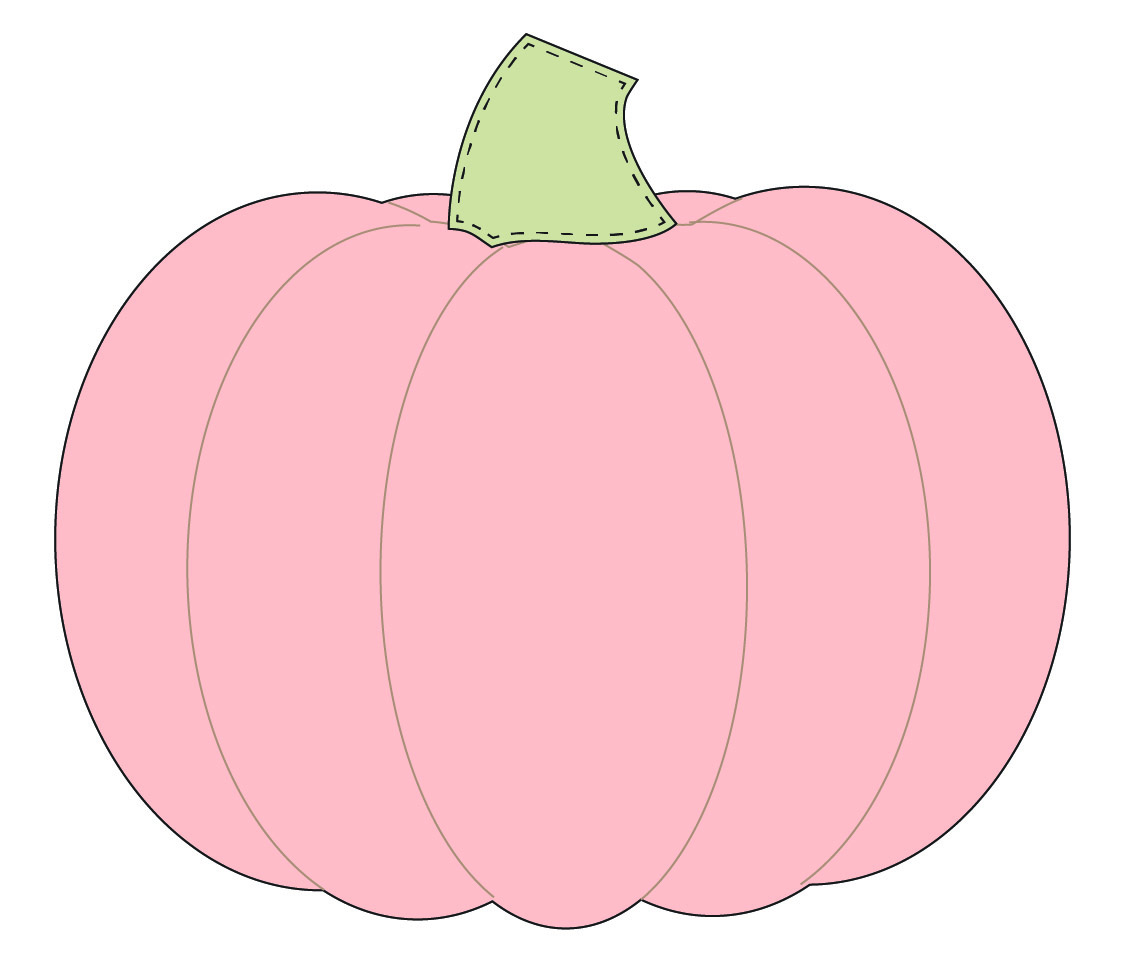
Top stitch around all sides of the Stem close to the edge, securing the Stem to the Pumpkin and also closing that turning hole.
Your Fall Pumpkin Placemat is finished!
If you love this fall pumpkin placemat tutorial from Anne, you are sure to love these fall sewing tutorials as well:


Latest posts by Anne Weaver (see all)
- Fall Pumpkin Placemats – Free Sewing Pattern - September 27, 2026
- Quilted Binder Cover DIY Sewing Tutorial - September 27, 2026
- Ruffle Throw Pillow – Sewing Tutorial - July 16, 2026
Leave a Reply