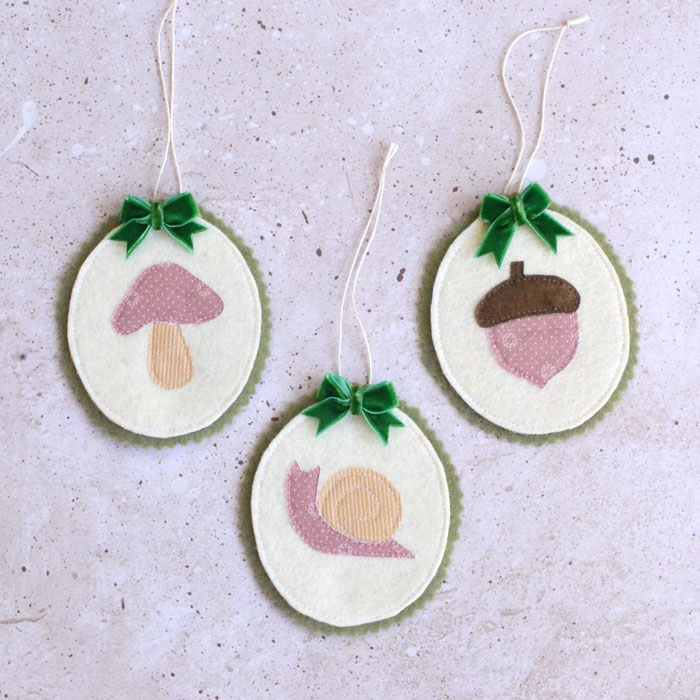
Add a cozy woodland feel to your Christmas tree with these sweet woodland felt Christmas ornaments! Use my free pattern to sew up a set of woodland themed Christmas ornaments with a mushroom, snail, or acorn applique for your tree.
As much as I love a Christmas tree decked out in glitter and lights, my heart is always with the handmade ornaments. These woodland themed felt ornaments lend a vintage vibe to your tree. They’re quick to sew from felt and scrap fabric. I’ve got a free sewing pattern for you below.
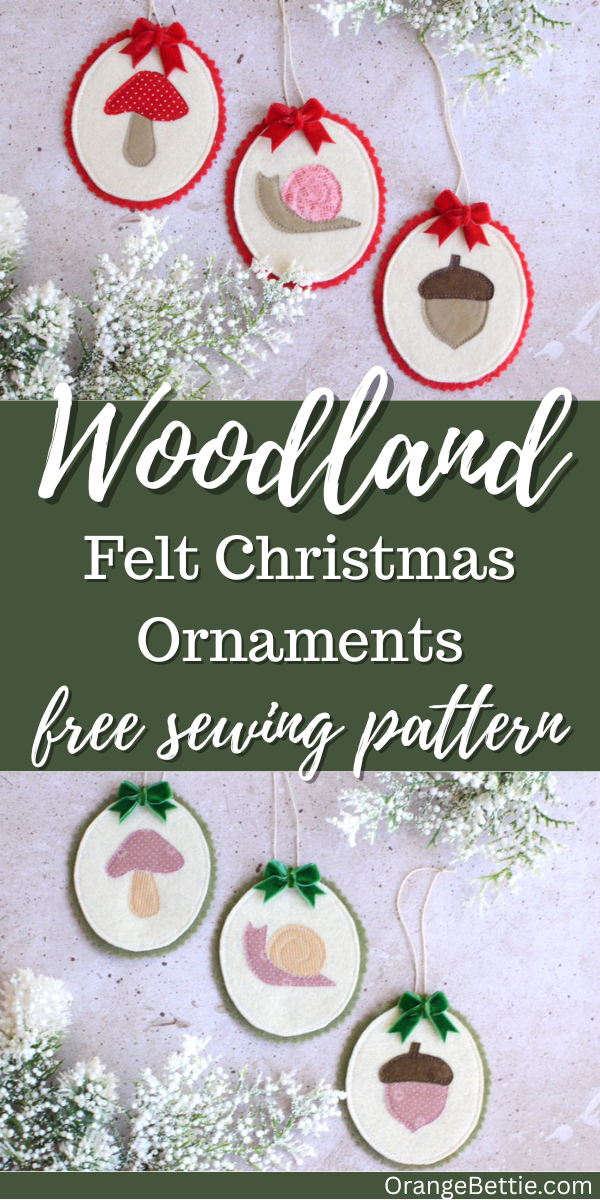
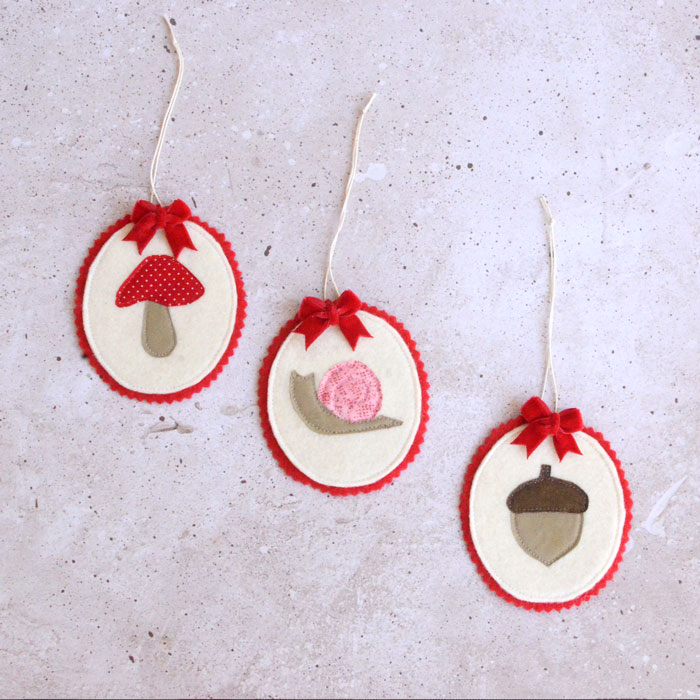
These felt ornaments have an oval background with a contrast pinked edge. And within that frame there’s an applique design made from scrap fabrics. The mix of felt and fabric applique gives them a cozy, handmade charm perfect for Christmas!
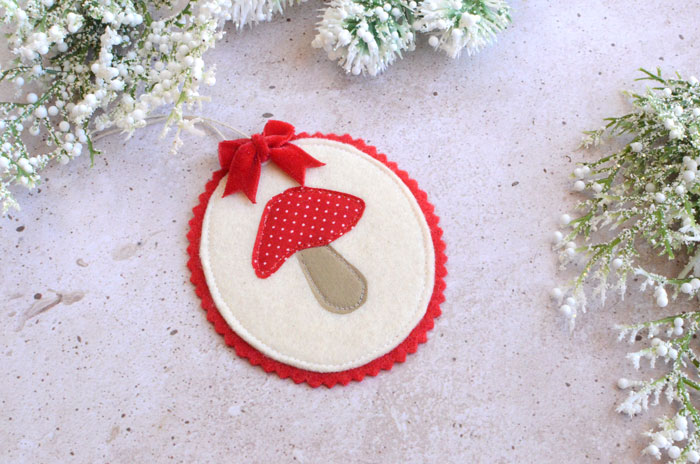
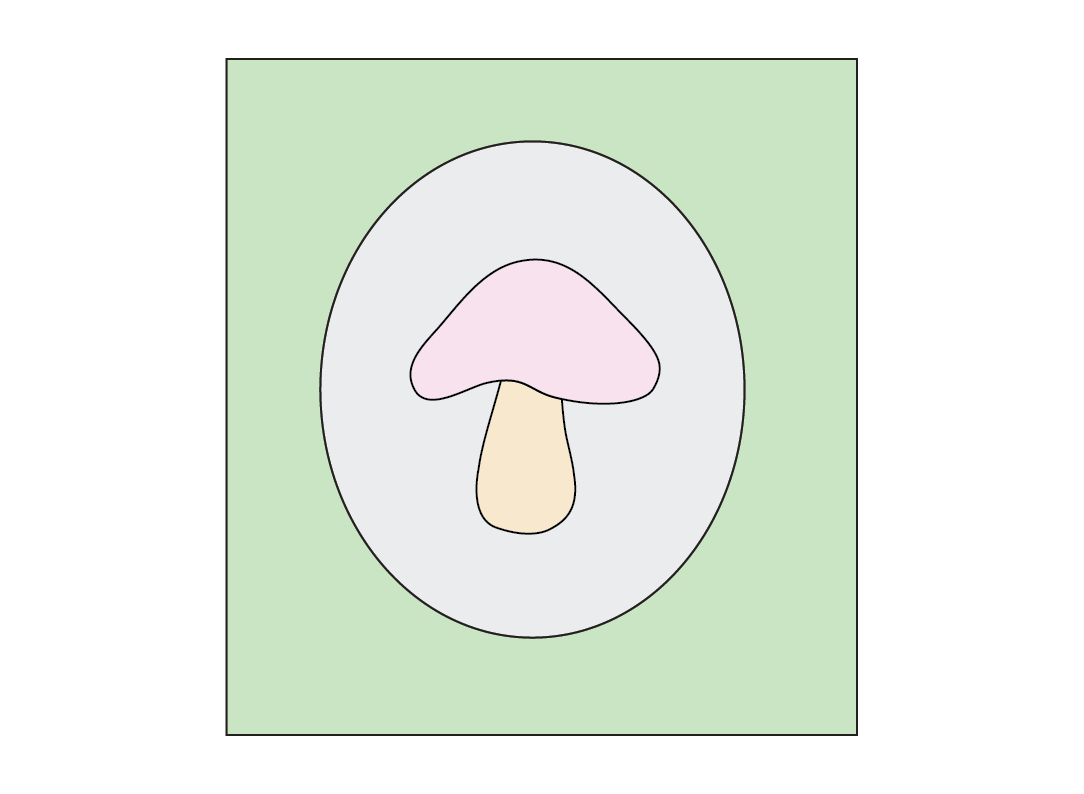
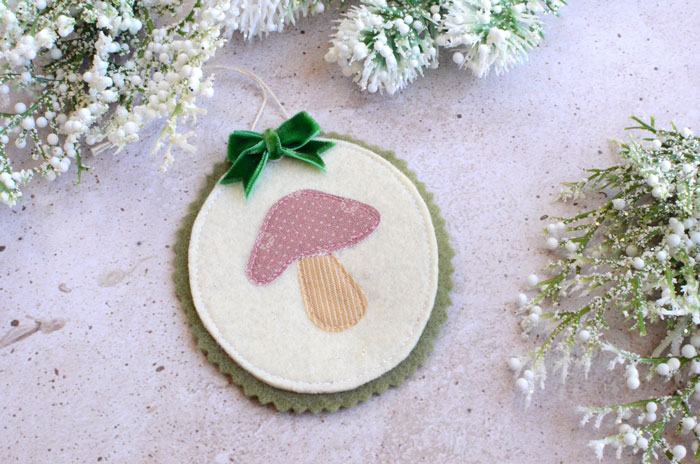
The free pattern includes options for a mushroom,
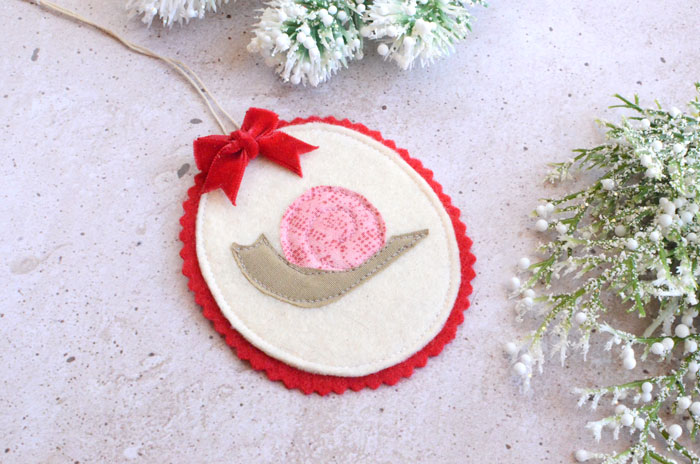
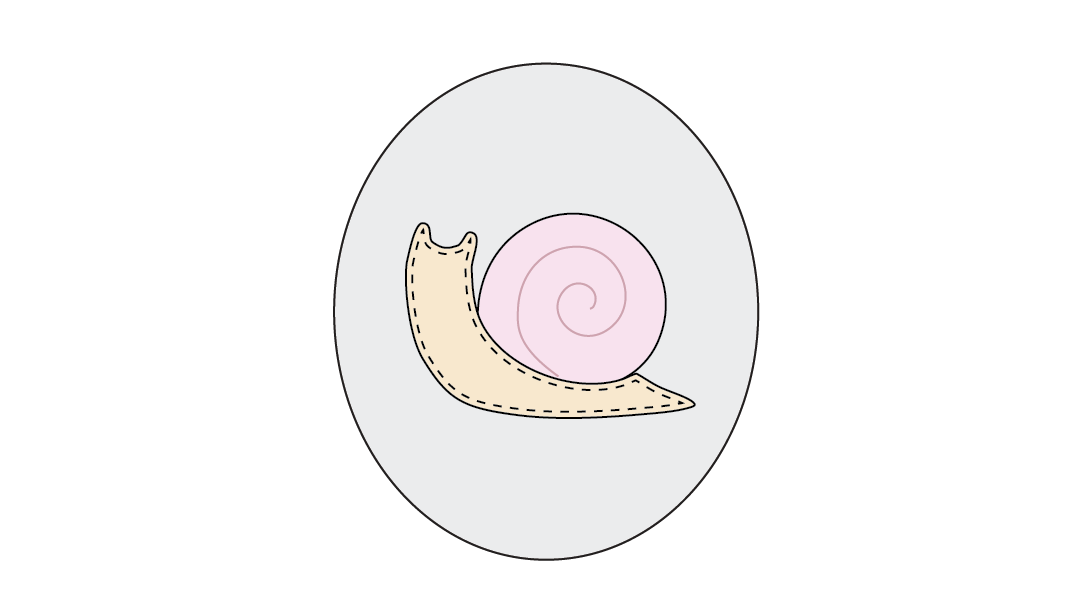
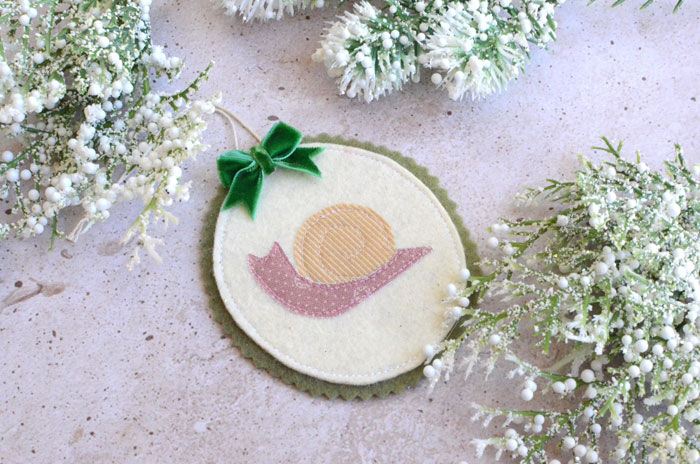
a snail,
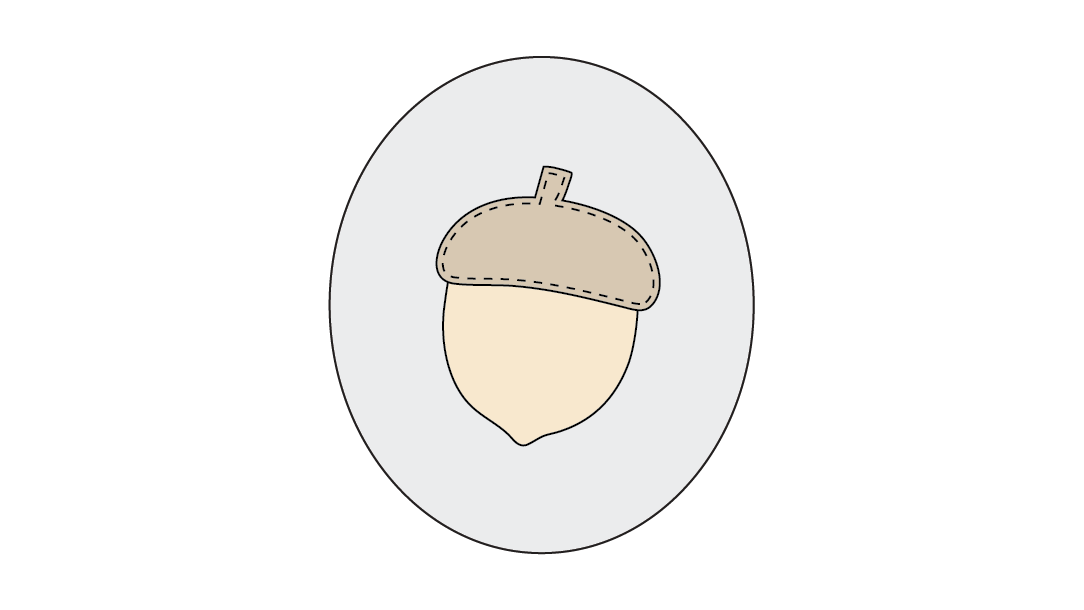
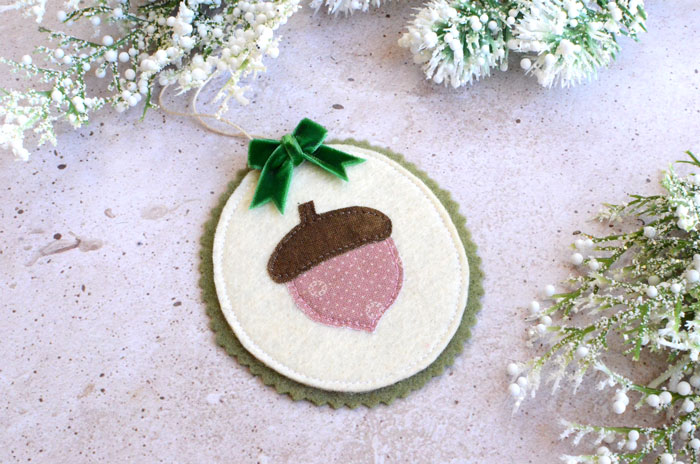
or acorn applique.
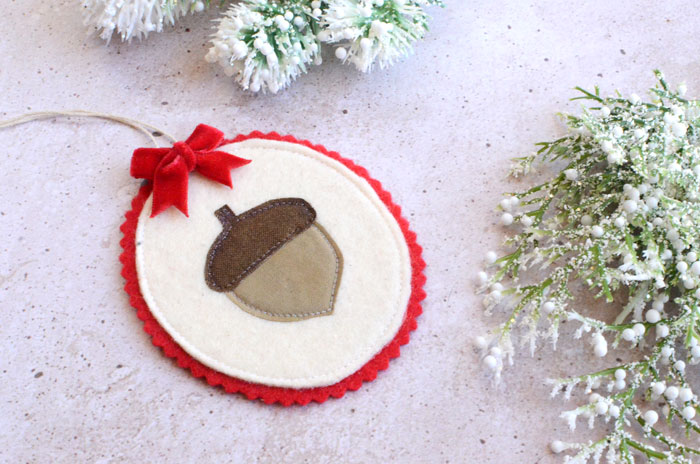
Make one or make them all for a coordinated ornament set!
I couldn’t decide which colors I liked best for my ornaments, so I made two sets. One in a retro pink/red color scheme.
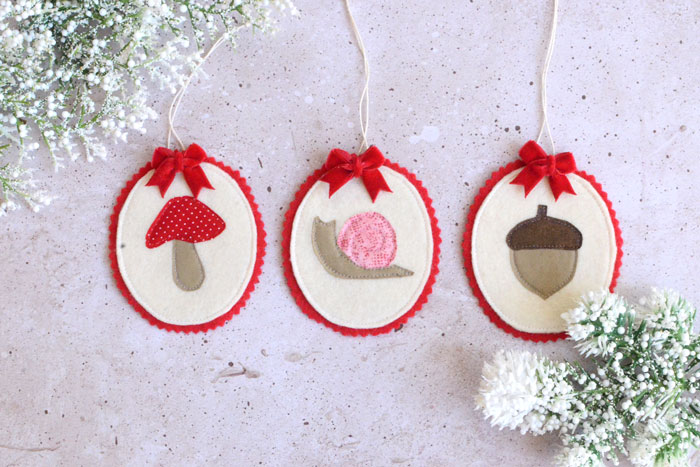
And one with a soft green and mauve color scheme for a cottage core look.
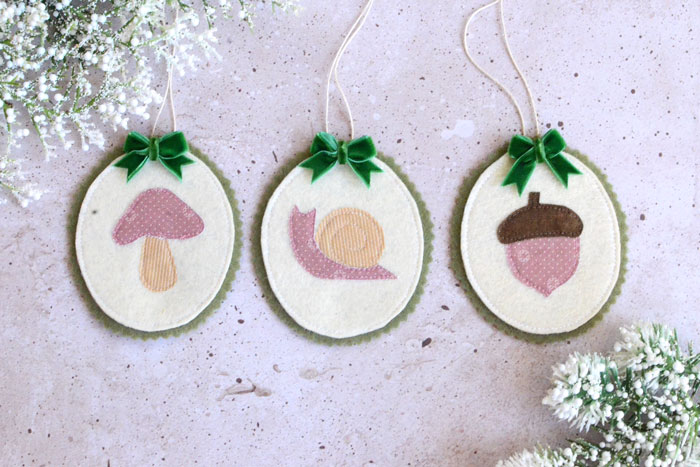
These woodland felt Christmas ornaments look lovely on a tree, but they’d also be cute tied to gifts or strung together as a garland.
You might recognize some of the scraps in there from the mini quilt block applique sweatshirt I made a few months ago. I never throw away a scrap. You never know when it’ll make the perfect mushroom cap or acorn stem!
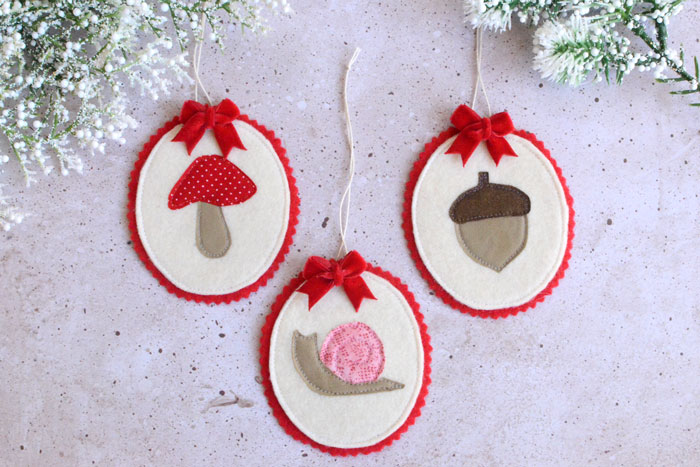
These felt ornaments are quick to sew so it wasn’t hard to make two sets. Most of the stitching is simple, though with those small shapes you can get some tight curves. Just take it slow and hand crank where necessary and you’ve got it. (Not gonna lie, you could also probably just skip the top stitching and make this a no-sew project.)
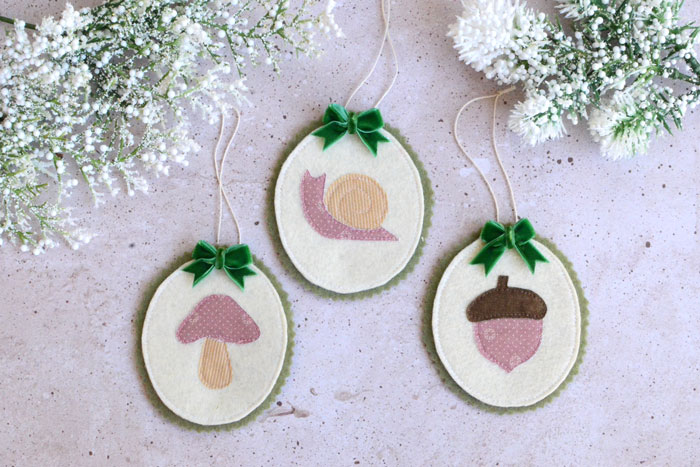
Finished dimensions are approximately 3” wide x 3 ½” tall.
Supplies
Front Piece– craft felt
Backing Piece – craft felt
Applique Designs – small scraps quilting cotton
Fusible Webbing – large scraps
Freezer Paper – large scraps
Small bow or other embellishment
Pinking shears
Crochet cord or other thin cord for hanging loop
Free Pattern – Woodland Felt Christmas Ornaments

Prep
Cut the Front Piece from felt. To get a more accurate cut, use the freezer paper method:
- Trace the Front Piece pattern shape on to the paper side of the freezer paper. Iron to the back of the Front Piece felt.
- While freezer paper is still fused to the back of the felt, cut out the Front Piece. Then peel the freezer paper off the felt.
Trace the Front Piece pattern on to the back of the fusible webbing. Cut the shape out but don’t fuse it to anything yet. You’ll use it at the end to assemble the ornament.
Trace the Applique Pieces for one of the three designs (mushroom, snail, or acorn) to the back of the fusible webbing. The shapes are already reversed for you.
Follow manufacturer’s instructions to fuse the webbing to the back of your fabrics.
Cut out the shapes and remove the paper backing.
Sew the Applique Designs
The pieces are designed to have a slight overlap where they meet up. This will help prevent gaps between pieces.
Use the Placement Guide included in the pattern to help you put the applique pieces so the final design is centered and layered correctly.
The applique pieces are pretty small and the curves can be tight. Reduce your stitch length to help sew those tight curves. Go slow and hand crank where necessary.
Mushroom Applique
Place the Stem on the Front Piece. Use the Placement Guide included in the pattern to place it at the correct spot.
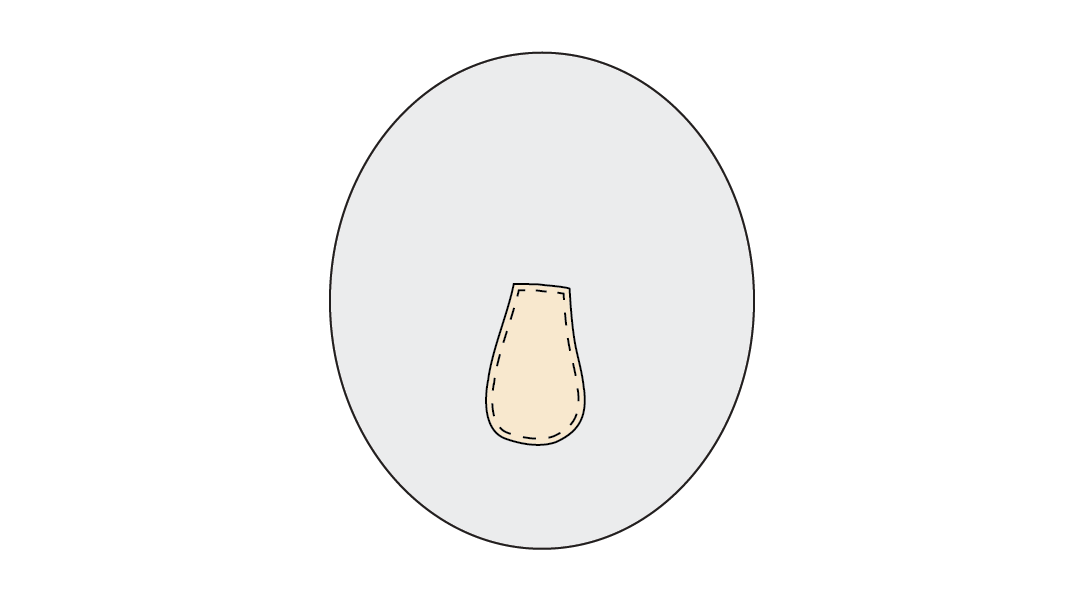
Fuse in place then top stitch to secure.
Place the Cap above the Stem. Fuse in place, then top stitch to secure.
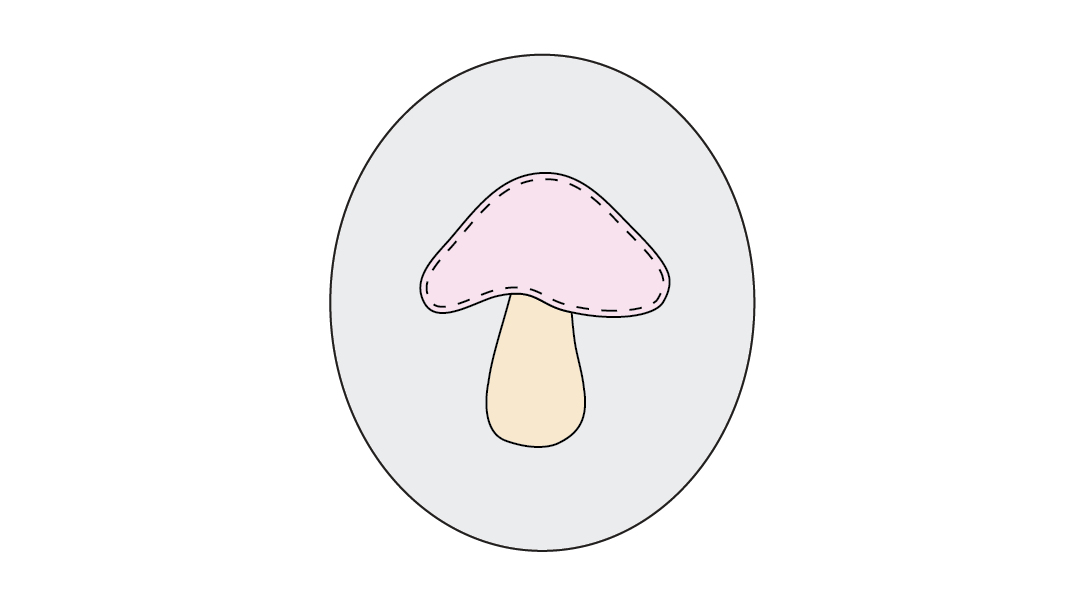
Snail Applique
Place the Shell on the Front Piece. Use the Placement Guide included in the pattern to place it at the correct spot.
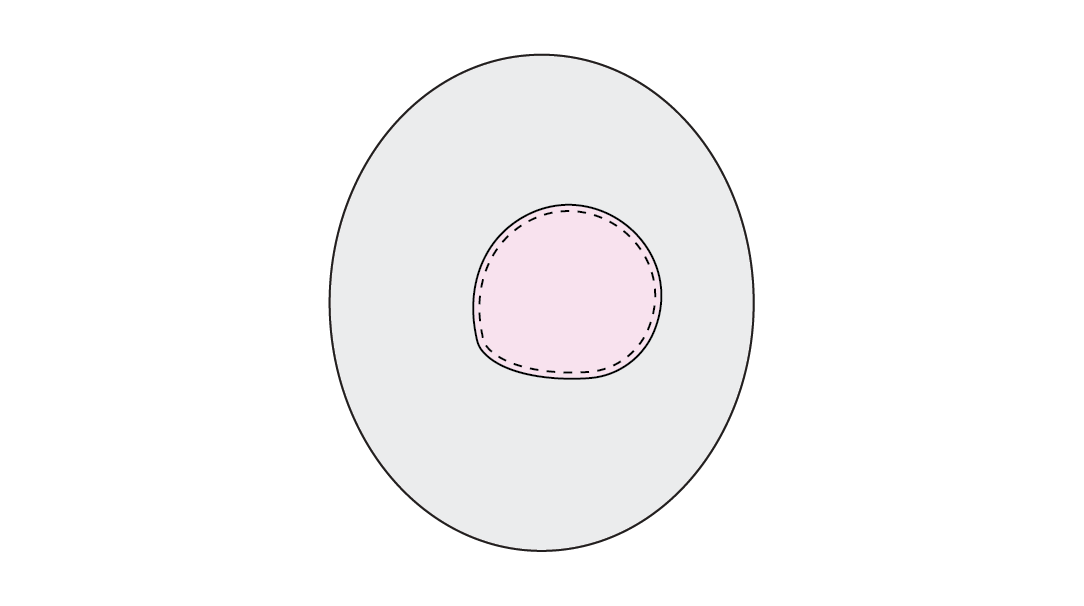
Use a temporary fabric marker to draw a spiral on the Shell, as shown on the Placement Guide. Sew the spiral.
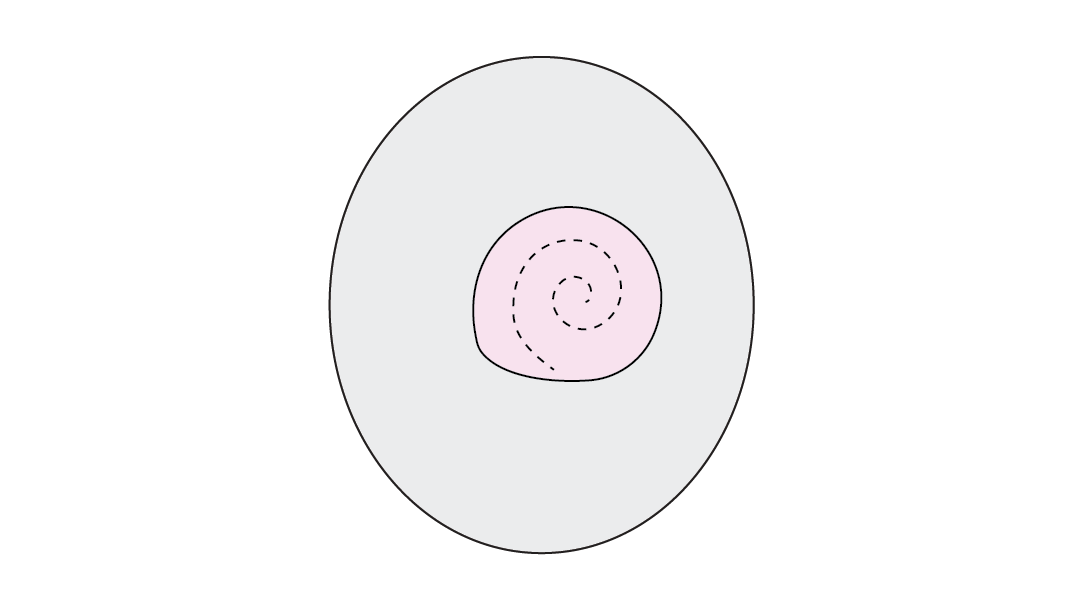
Place the Body underneath the Shell. Fuse in place. Top stitch to secure.
Acorn Applique
Place the Bottom on the Front Piece. Use the Placement Guide included in the pattern to place it at the correct spot.
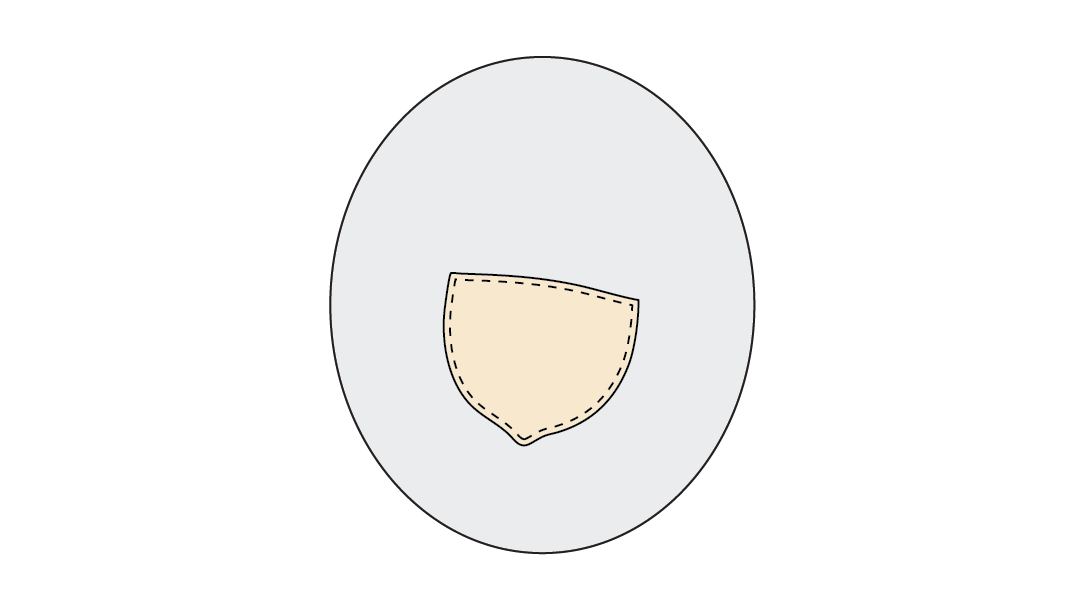
Fuse in place, then top stitch to secure.
Place the Cap above the Bottom. Fuse in place. Top stitch to secure.
Assemble the Woodland Felt Ornament
Now that you’ve got your little woodland applique design appliqued on to the front, you can assemble the woodland felt ornament.
Remember that Front Piece you cut out of the fusible webbing? You’re going to use it now. Fuse it to the back of the Front Piece.
Then, fuse the Front Piece to a large scrap of the Backing Piece felt. (You’ll trim it to shape later.) Make sure there’s at least a ½” border around your Front Piece.
Top stitch around the Front Piece to secure it to the Backing Piece.
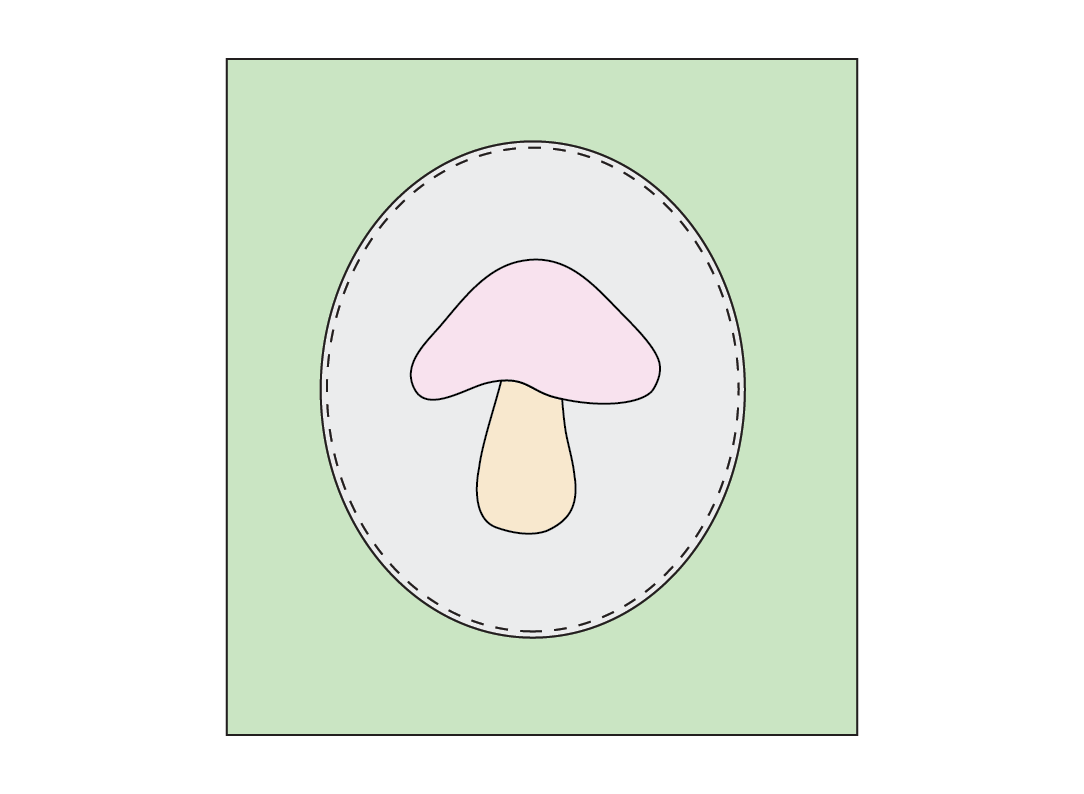
Use pinking shears to trim around the Front Piece, leaving roughly ¼” border around. This creates that zig zag frame around the ornament.
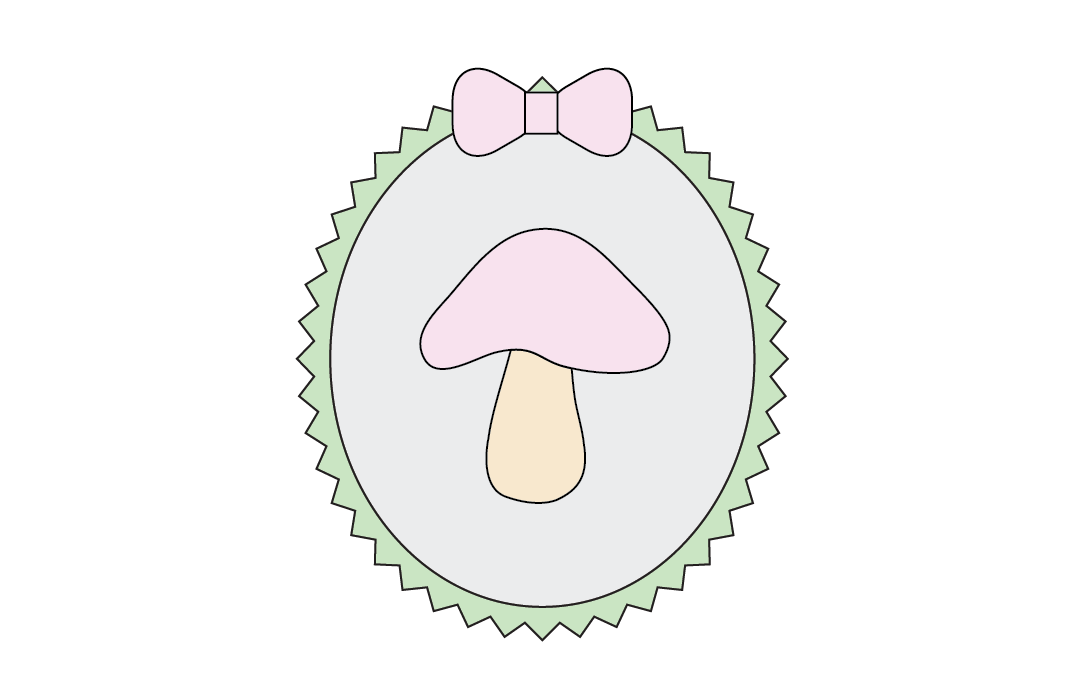
Add a little bow or other embellishment to the top of your ornament. This is optional because the ornaments are also pretty cute without embellishment.
Now all you need to do is add a loop to hang the ornament. The easiest way to do this is to thread a sewing needle with some crochet cord and take a small stitch near the top of the Backing Piece.
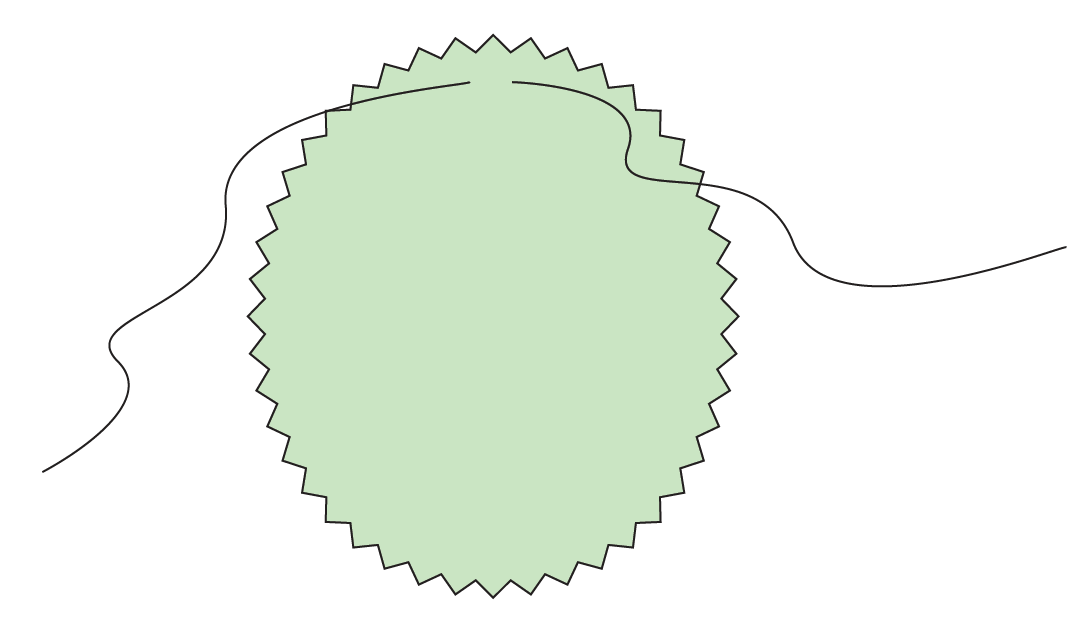
Cut the cord and tie the ends to create a hanging loop.
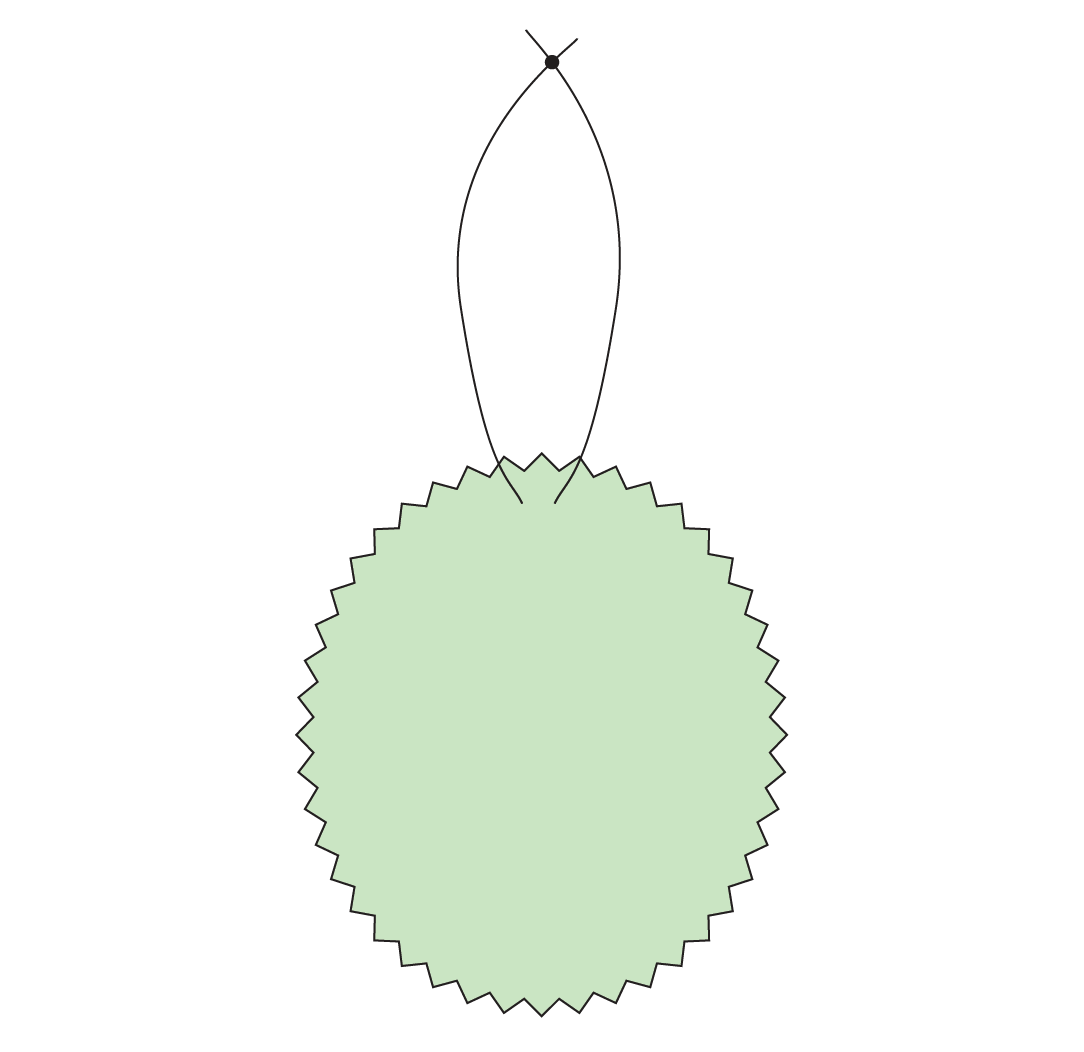
Your woodland felt Christmas ornament is finished!
If you love these woodland felt Christmas ornaments as much as I do, then you will also love these Christmas sewing tutorials from Anne:
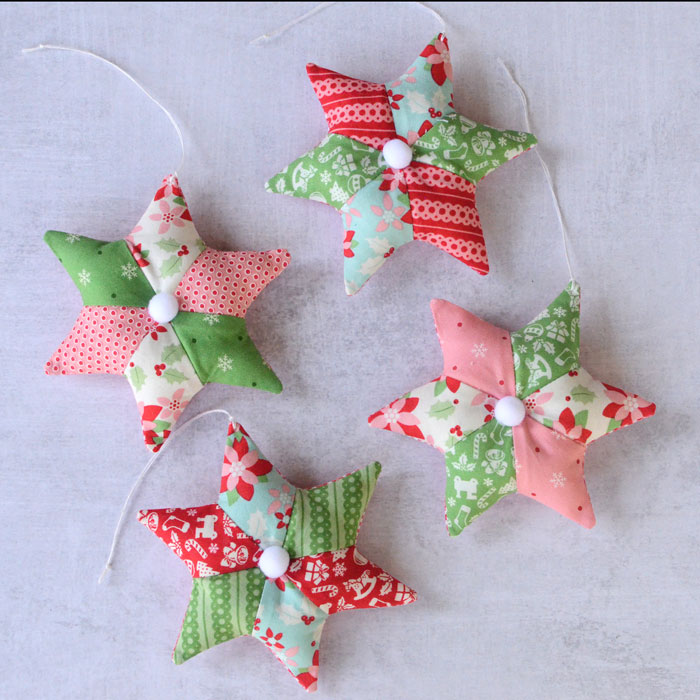
Patchwork Star Christmas Ornament Sewing Pattern
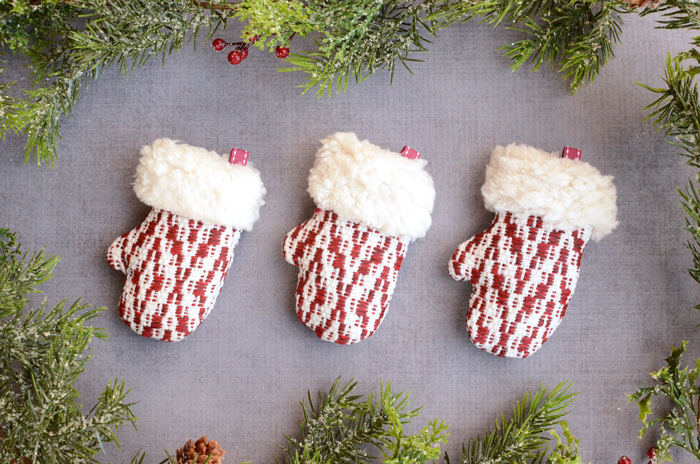
Mini Mitten Christmas Ornament Tutorial


Latest posts by Anne Weaver (see all)
- Fuzzy Monster Bag Charm – Free Sewing Pattern - October 16, 2026
- Fall Pumpkin Placemats – Free Sewing Pattern - September 27, 2026
- Quilted Binder Cover DIY Sewing Tutorial - September 27, 2026
Leave a Reply