You can never have too many Christmas ornaments! It doesn’t matter how many decorations you have for your Christmas tree, you can always add some more! These patchwork star Christmas ornaments would be a sweet addition to your tree. They’re quick to sew using my free pattern and tutorial.
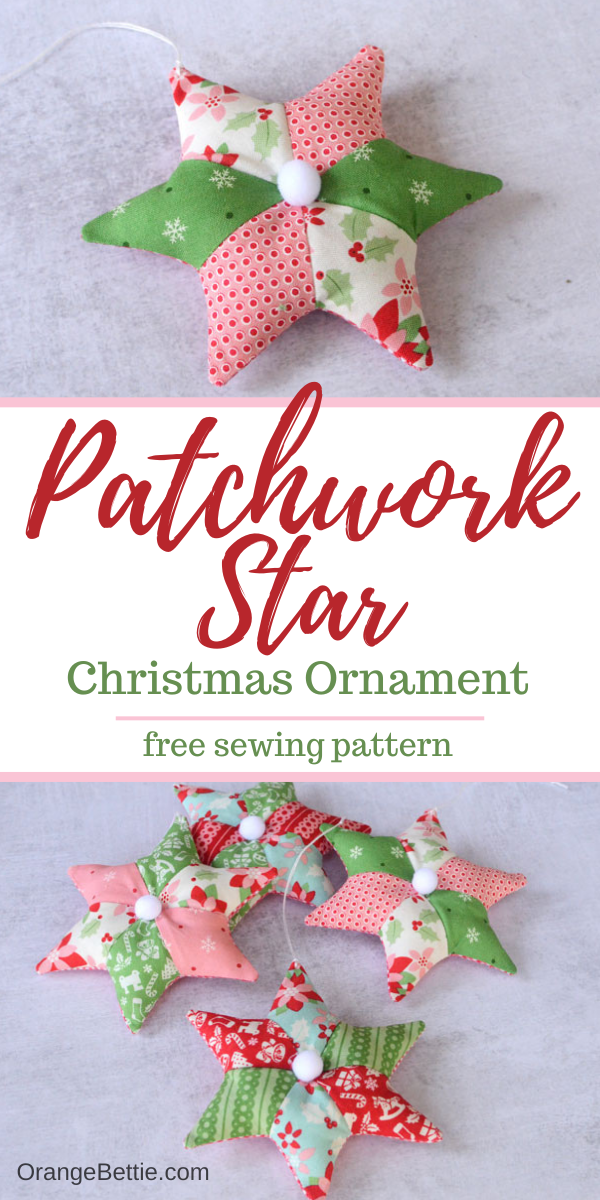
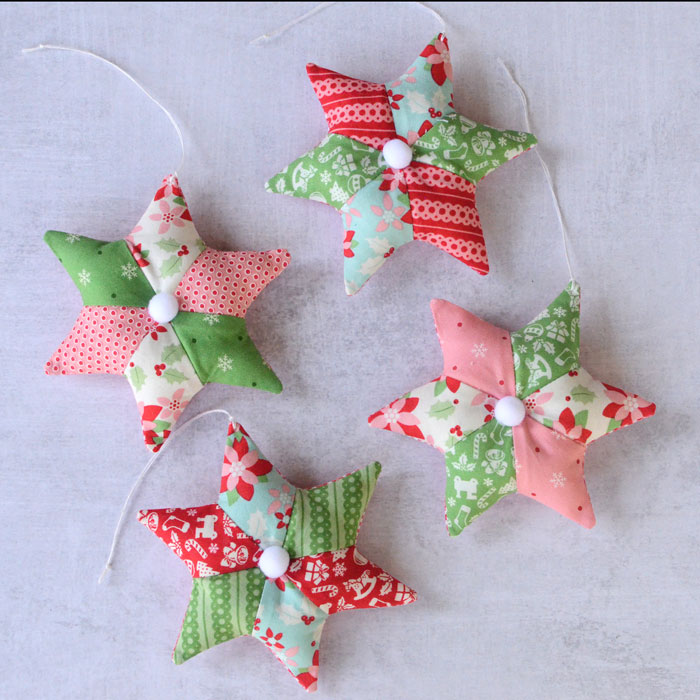
The patchwork star ornaments are packed with color and pattern! They’re a perfect scrap busting project. They’re also great for using charm square packs. I’m kind of a sucker for charm square packs. I pick one up almost every time I visit my local quilt shop.
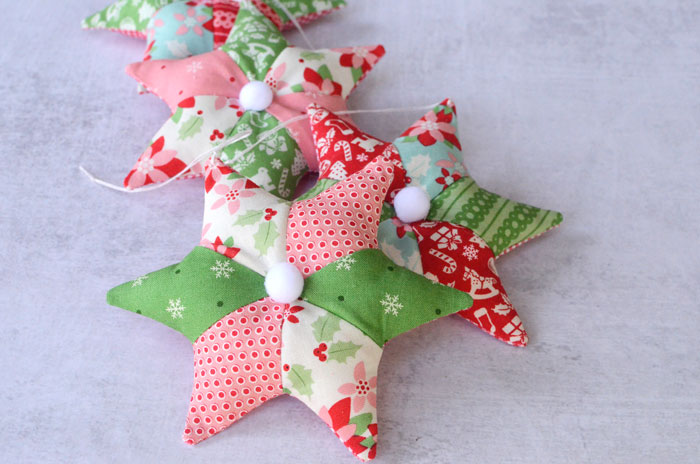
One charm square pack is enough to make a whole set of coordinating stars for your Christmas tree. These little stars would also make a nice addition to gift wrapping, like an extra little present tied on to the handle of a gift bag.
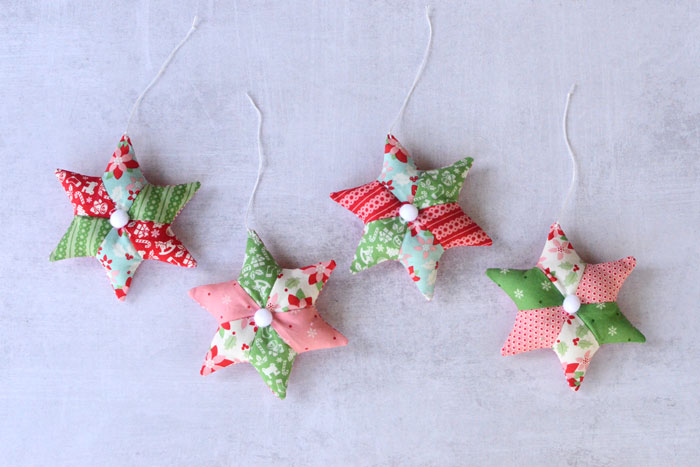
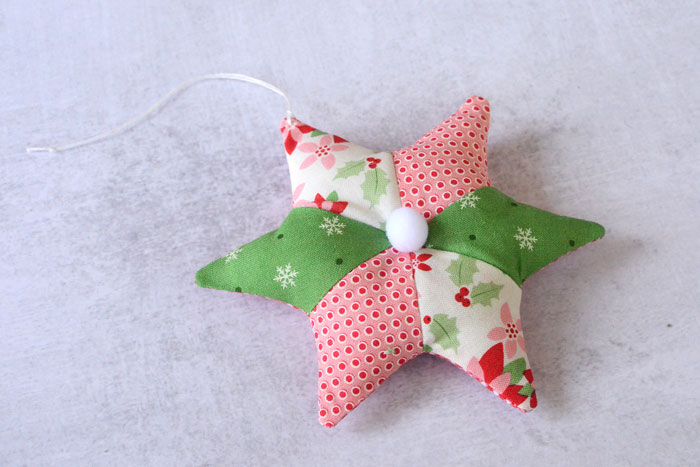
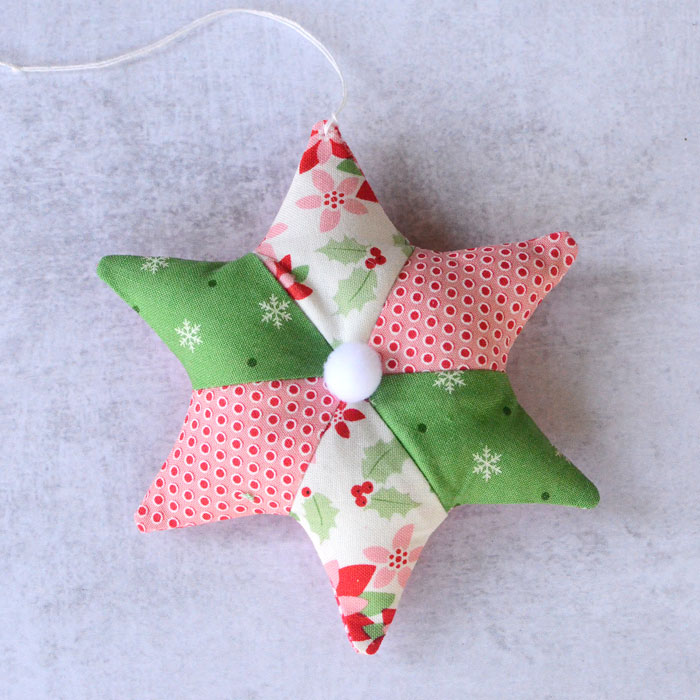
A little tufting stitch in the center gives some dimension to the stuffed fabric stars, and a pom pom in the center adds some whimsy. I think it looks like a little snowball, which seems kind of perfect for Christmas ornaments.
The backing of the ornament is slightly larger than a charm square, though, so you’ll need yardage for that. A fat quarter will be enough fabric to cut out the back piece for 6 ornaments.

Making a star shaped Christmas ornament with no raw edges is not the easiest thing There just aren’t any seams long enough to put a turning hole in. It turns out the best place to put it is in place sight – right on the front. Once I figured out that little trick, it took the project from difficult to quick and easy. I’ll show you how to do it in the tutorial below.
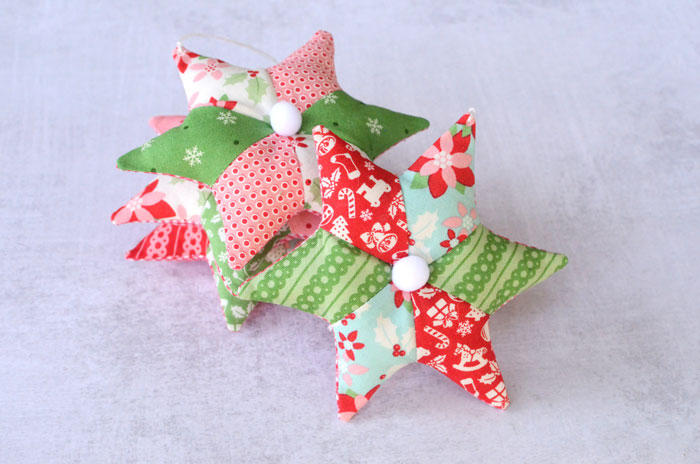
Finished dimensions are approximately 5” from tip to tip.
Supplies
Star points – small scraps quilting cotton. A pack of charm square works nicely for this. You can cut 3 star points from each 5” charm square.
Backing – large scrap or fat quarter quilting cotton. One fat quarter is enough to cut 6 backing pieces.
Poly-Fil stuffing
Fabric glue (I used Therm O Web FabricFuse.0
Small pom pom
Crochet cord or craft cord for a hanging loop
Free pattern – Patchwork Star Christmas Ornament
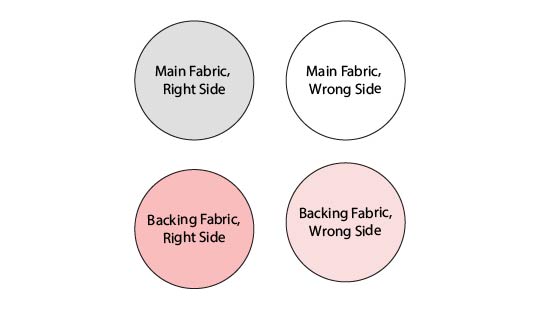
All seam allowances are 1/4/”. RST = Right Sides Together.
Sew the Patchwork Star Front
Lay your 6 Star Point pieces out in a star design, like this. This layout will tell the order to sew the pieces together, and which sides of the point need to be lined up.

Pick up two adjacent Star Point pieces and place them RST. Sew together along one edge.
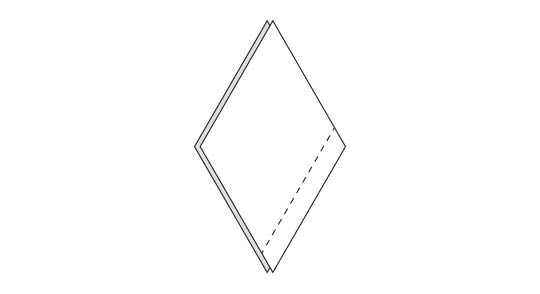
Picking up two identically shaped, symmetrical pieces and placing them RST, then taking them over to the sewing machine makes it easy to lose track of which edges need to get sewn together. Ask me how I know, ha! I found it helpful to place my pieces RST, moving them as little as possible from the original placement in my layout, and then use a fabric marker to mark the edge that will need to be sewn together before taking them to my machine.
Press the seam open.
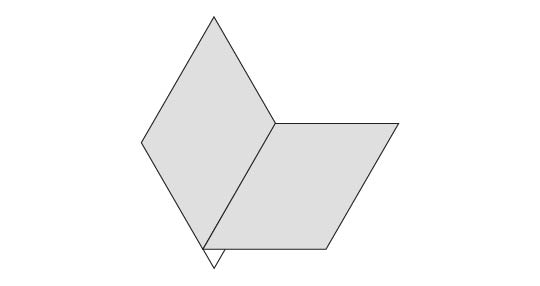
Now place another Star Point piece on top, RST and lining up along one of the outer edges. Sew along this edge.
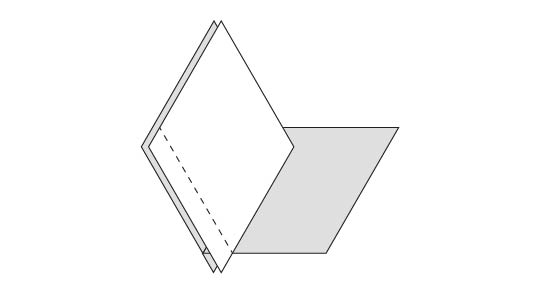
Press the seam open. You should now have three pieces sewn together, creating half of your star.
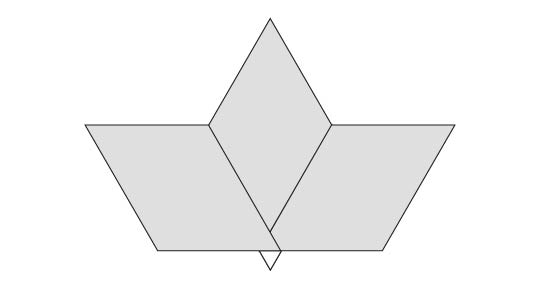
Repeat with the remaining 3 Star Point pieces.
Place the two half star pieces RST. Sew along the bottom (straight) edge, leaving a hole for turning. Start sewing at one end and go only about 3/8” before stopping. Then start sewing again just before the center point and continue all the way to the other end. This creates a turning hole that doesn’t include the center point of the patchwork.
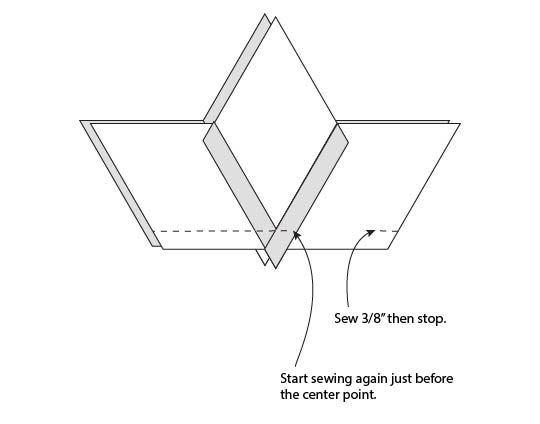
Press the seam open. Press the seam allowance at the turning hole open as well so it’s even with the seam line.
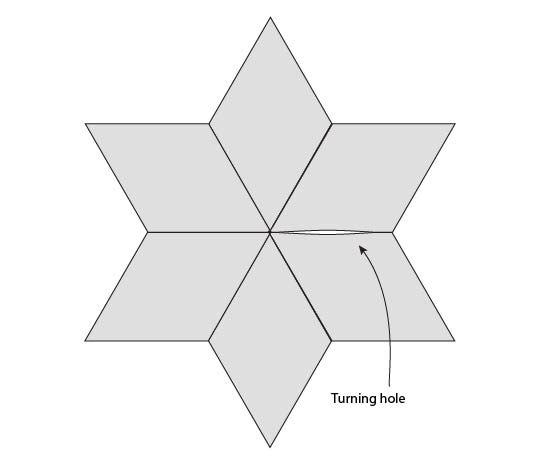
Make sure you get a good crease when pressing the seam allowance of the turning hole. That will help make it easier to close it up later.
Assemble the Ornament
Place the Star Front and Star Back RST. Sew around all sides.

Clip corners. At the inside corners, snip the seam allowance right up to – but not into – the stitch line.
Turn right side out. Press.
Stuff the patchwork star with poly-fil stuffing.
When it’s all stuffed how you like, it’s time to close the turning hole. Since you’ve got those seam allowances at the turning hole all pressed, you can use a bit a fabric glue to close it up nice and neat. Just put a little glue on one of the seam allowances and then press the other down to it, closing the hole. Give it a little press with your iron to speed up the glue drying.
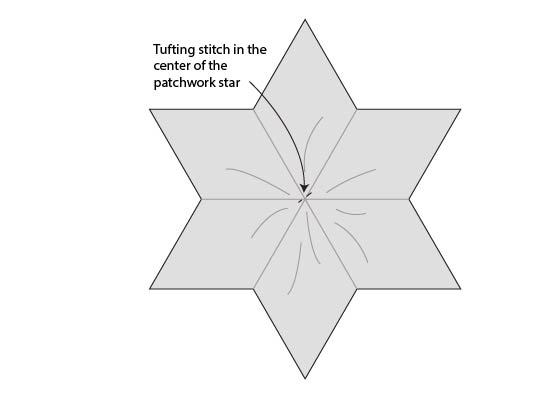
With a needle and thread, make a small tufting stitch in the center of the patchwork star. Send the needle through the stuffing and out the back, then stitch back to the front again. Pull the thread tight, then repeat this stitch in place several times so it’s good and secure.
Use fabric glue to glue a small pom pom in the center of your patchwork star.

To create a hanging loop, simply thread a length cord through one of the ends of the star and knot the cord ends together.

Your patchwork star ornament is finished!!
If you love these darling patchwork star Christmas ornaments then you will also love these sewing projects from Anne:
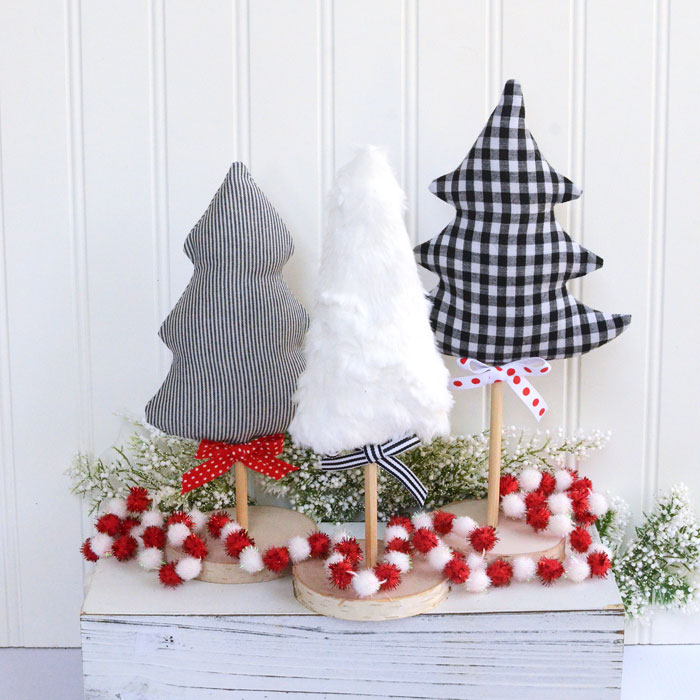
Tabletop Fabric Christmas Trees

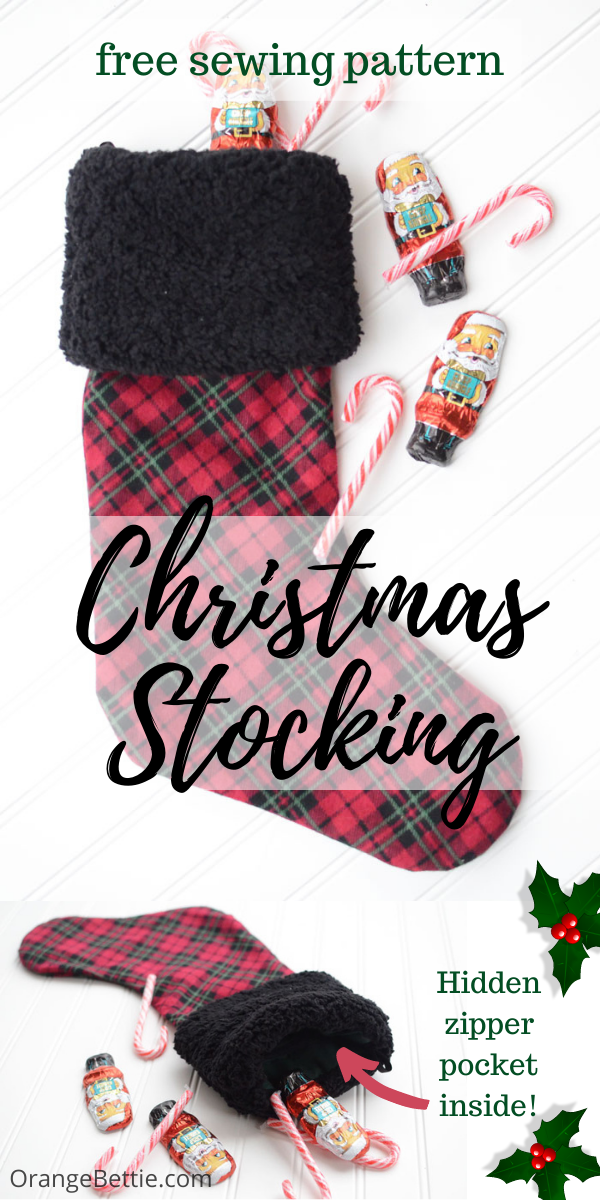
Christmas Stocking Sewing Pattern

Latest posts by Anne Weaver (see all)
- Ruffle Throw Pillow – Sewing Tutorial - July 16, 2026
- Slouchy Market Bag with Veggie Prints – Free Pattern - May 14, 2026
- Flex Frame DIY Glasses Case Sewing Tutorial - April 18, 2026
Leave a Reply