Personalize your bag, backpack, or tote with an adorable fuzzy monster bag charm! This free sewing pattern makes it easy to create your own little monster using fleece fabric.
I was shopping with my daughter the other day and noticed that bag charms were everywhere. Pretty bows, sparkly stars, and my favorites – cute little plushies. They’re such a fun way to add some personality to a backpack or tote. And I thought, how much more fun to make one yourself?
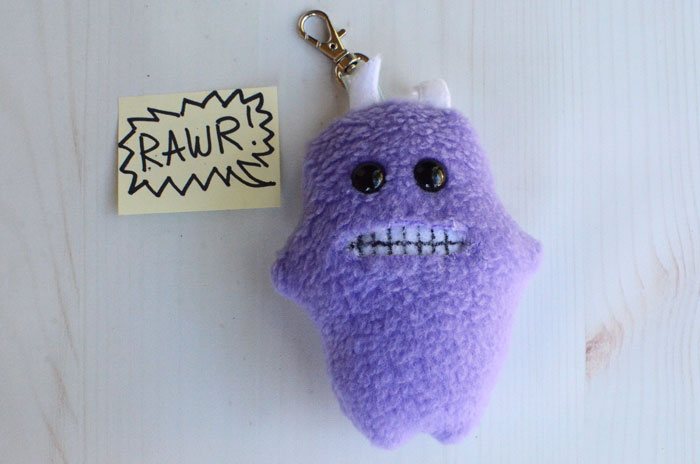
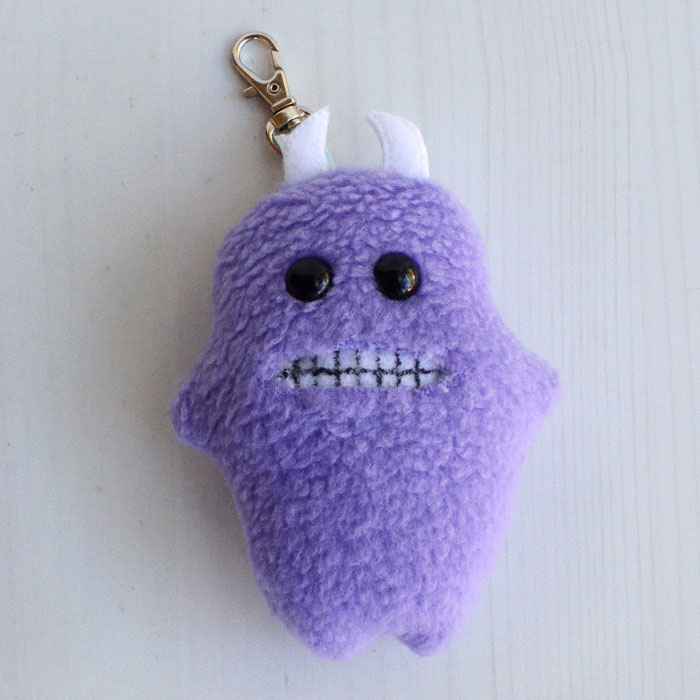
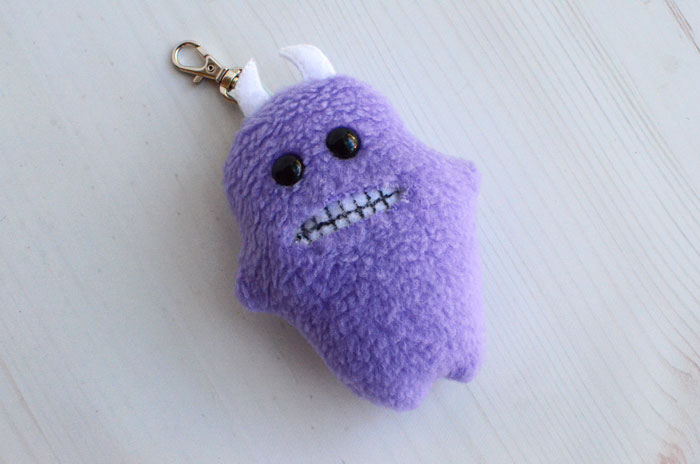
This fuzzy monster bag charm is a little guy with a big personality. Those big serious eyes, his not-so-scary horns, and that wide toothy grin! And of course, he’s made from fuzzy purple fleece. I’ve got a free sewing pattern for you below.
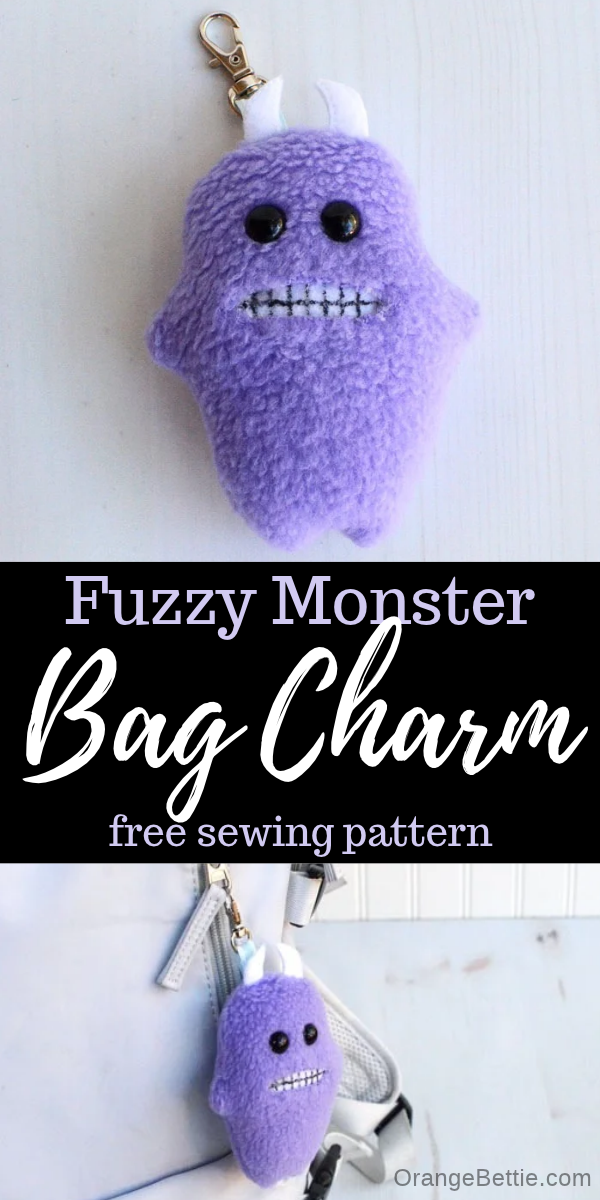
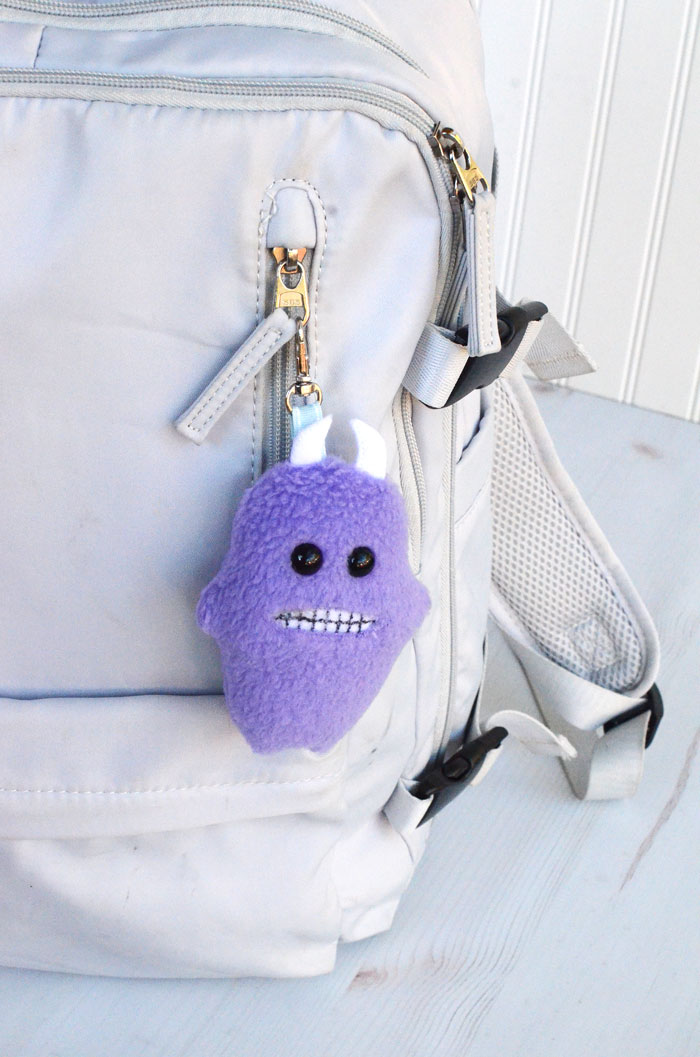
Clip him to a backpack, tote, or purse, or even use him as a keychain.
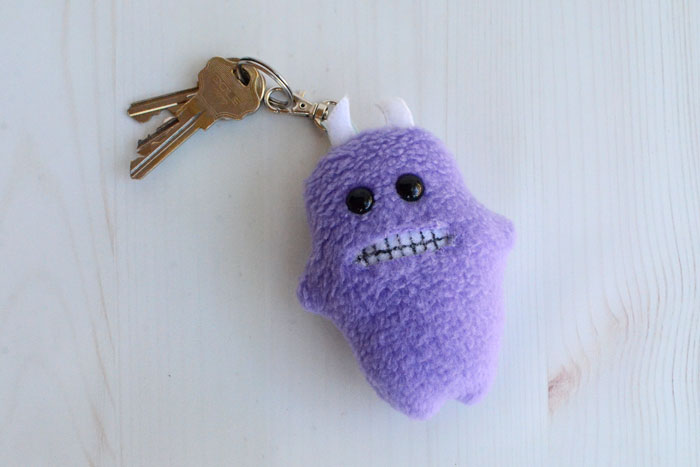
I think this little guy is going to be a permanent addition to my backpack.
This is a great project for using up leftover bits of fleece and felt, and you only need a handful of polyfil stuffing and some basic hardware. It’s fairly quick to sew, with just a few seams. But the results are oh, so cute!
Since he’s essentially a tiny plushie, those tight curves can be a little tricky to cut accurately, especially when working with fleece. My free pattern includes a stitching guide to help you sew those curves smoothly and get a nice, accurate shape.
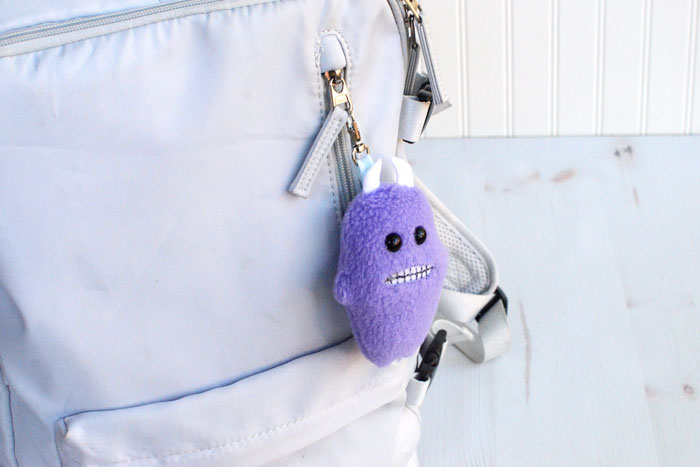
The finished fuzzy monster bag charm measures 4 ¾” tall × 3 ½” wide, including the horns and arms.
If you like sewing fun little accessories, try my free kitty cat coin purse pattern, complete with kitty ears, a tail, and room for cards and cash!
Here’s how to sew your own Fuzzy Monster Bag Charm:
Supplies
Fleece – large scraps
White felt – scraps
.39 inch safety eyes – 1 set
3/8” wide swivel lobster claw
3/8” wide ribbon – 1 piece, 2” long
Freezer paper
Poly fil stuffing – a few handfuls
Black fine line paint pen
Hot glue
Free pattern – Fuzzy Monster Bag Charm
Prep
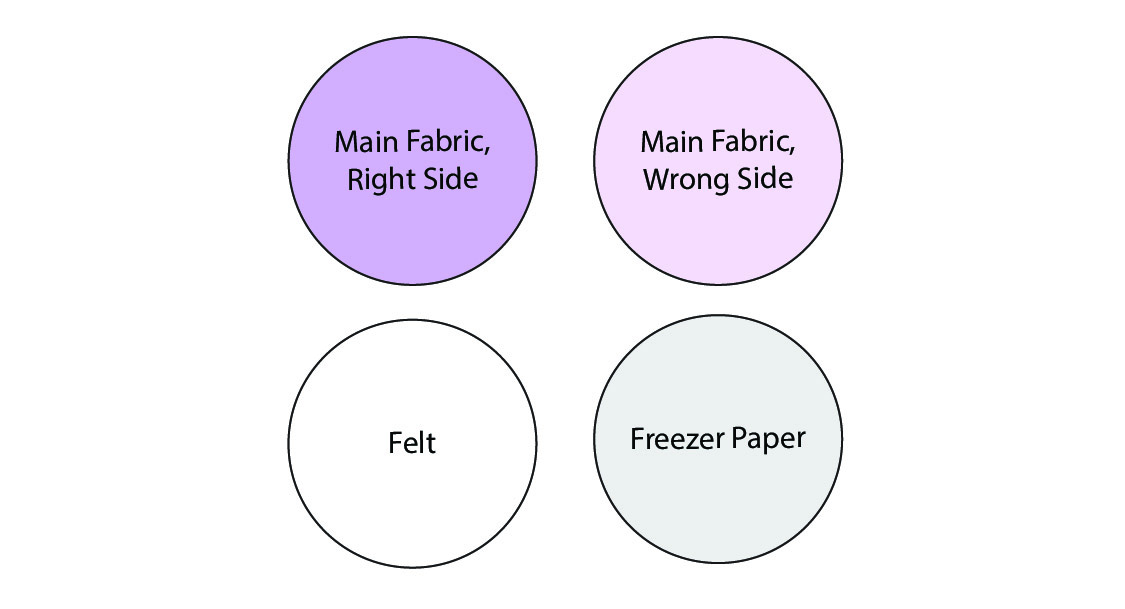
Trace all pattern pieces (including stitch guide) to the back of freezer paper. Be sure to include the pattern markings when tracing the Monster Body piece.
Cut the pieces from the freezer paper.
Cut and Sew the Horns
Iron the two Horns pieces to the right side of a scrap of felt. The waxy backing will melt and temporarily fuse to the felt.
Place another piece of felt underneath.
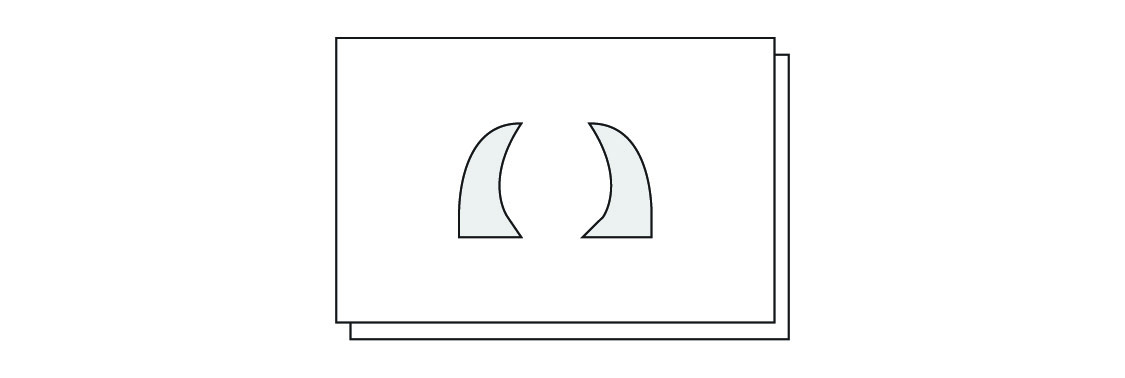
Sew around the sides and top horn shapes through both layers of felt, using the pattern you have fused down as your stitch line. You don’t need to sew across the bottom.
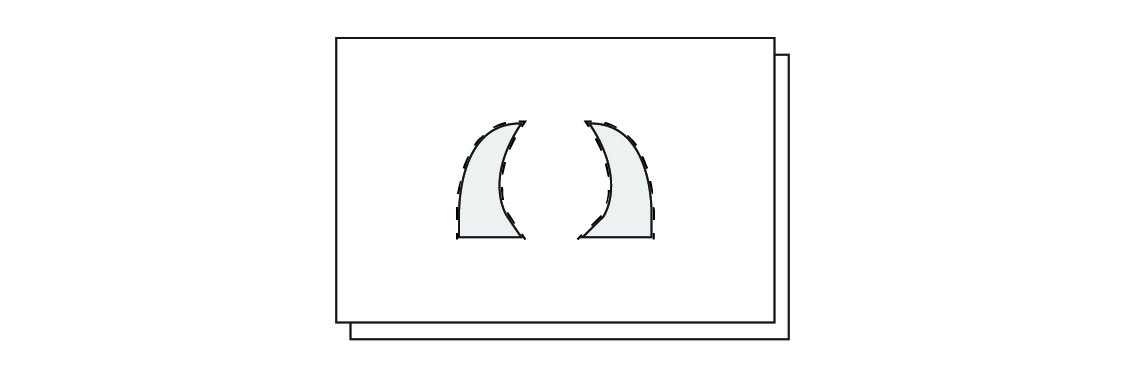
Peel off the freezer paper.
Cut the horn shapes from the felt, close to the stitch line.

Cut and Sew the Monster Body
Iron the Monster Body pattern piece to the front of a piece of fleece fabric.
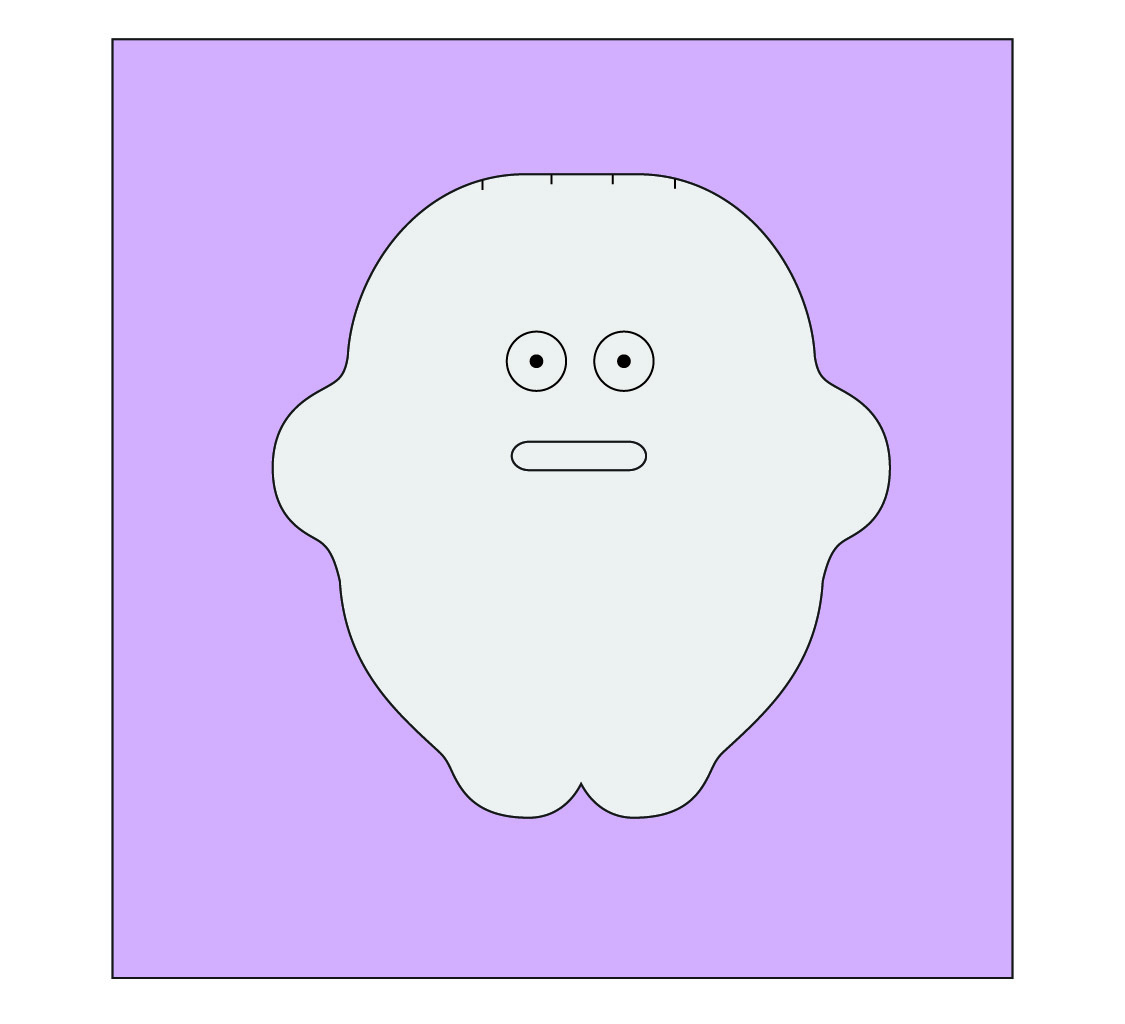
Cut the pattern out from the fleece, including the long skinny mouth hole in the center of the pattern.
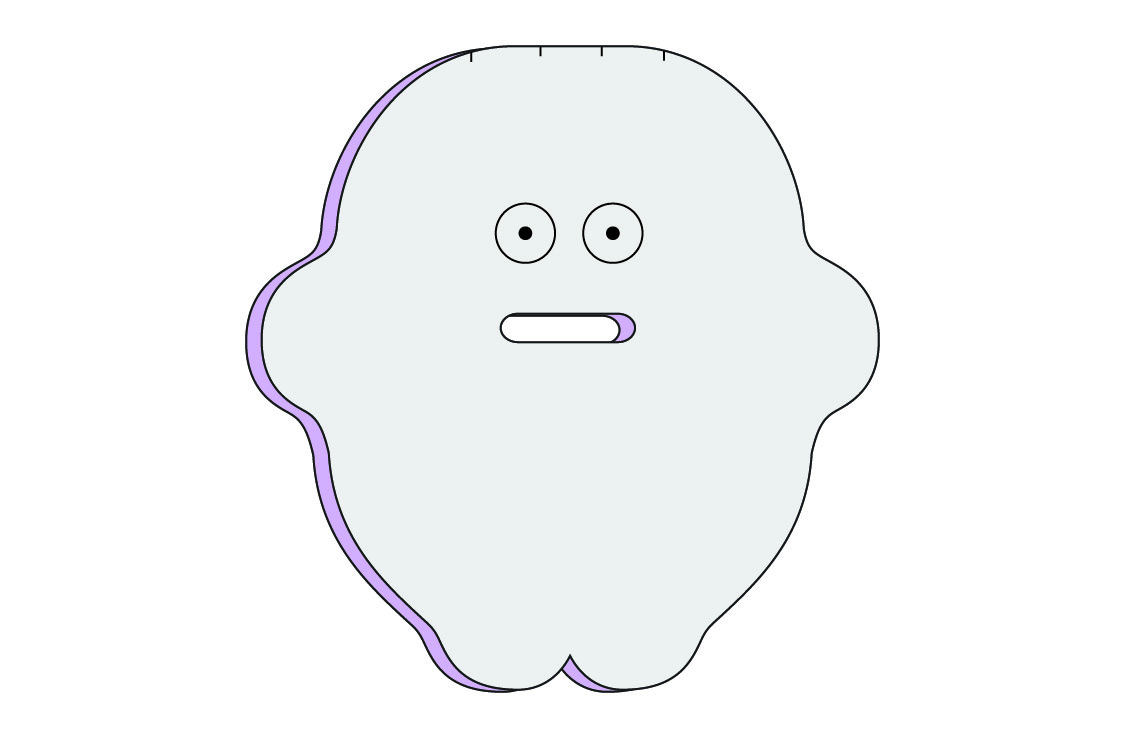
With the pattern still fused down to the fleece, install the safety eyes where indicated on the pattern.
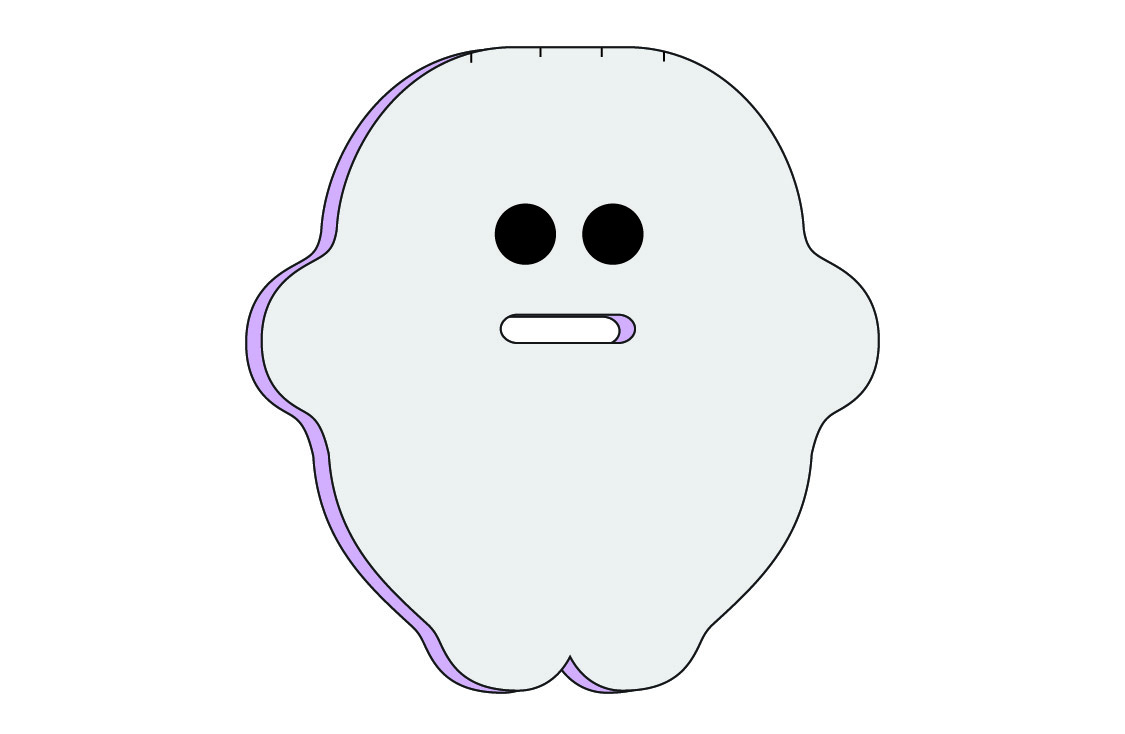
You can punch the holes and install the eyes with the freezer paper still attached. It will easily rip off afterward.
Place the Horn pieces on the Monster Body along the top, where indicated on the pattern, raw edges aligned with the points facing each other.
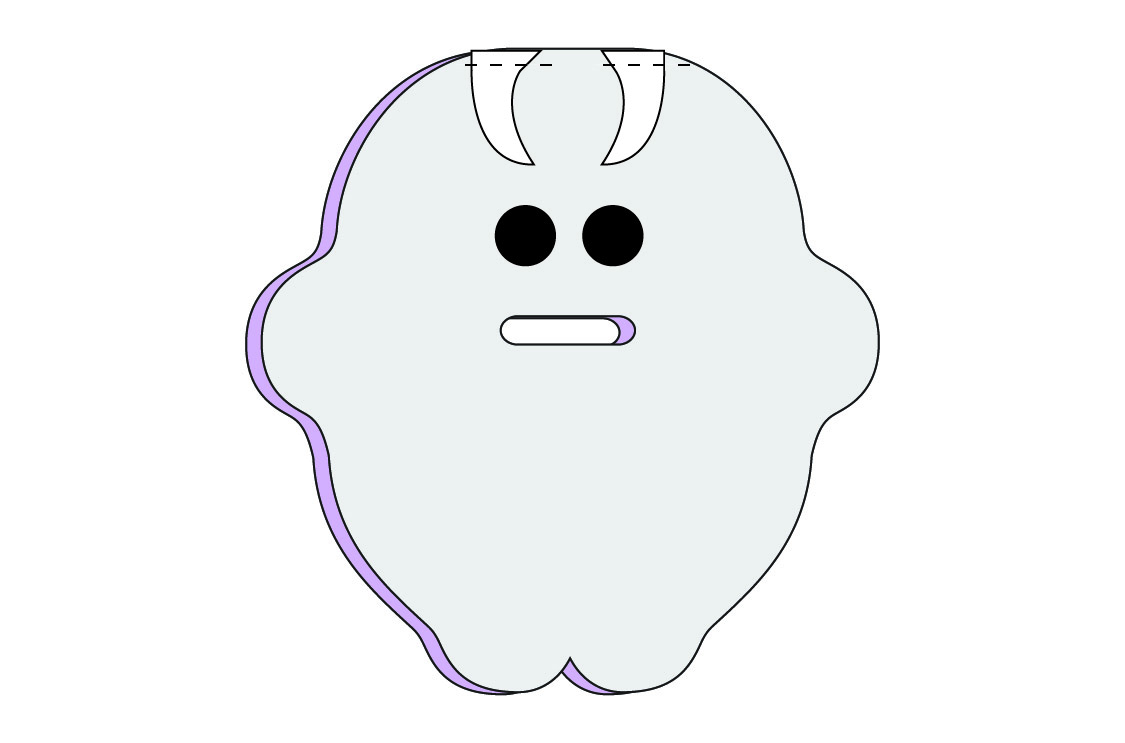
Baste in place with a 1/8” seam allowance.
Thread the ribbon through the end of the swivel lobster clasp and bring the ends together, creating a loop.

Place loop on top of left Horn, raw edges aligned. Baste in place with 1/8” seam allowance.
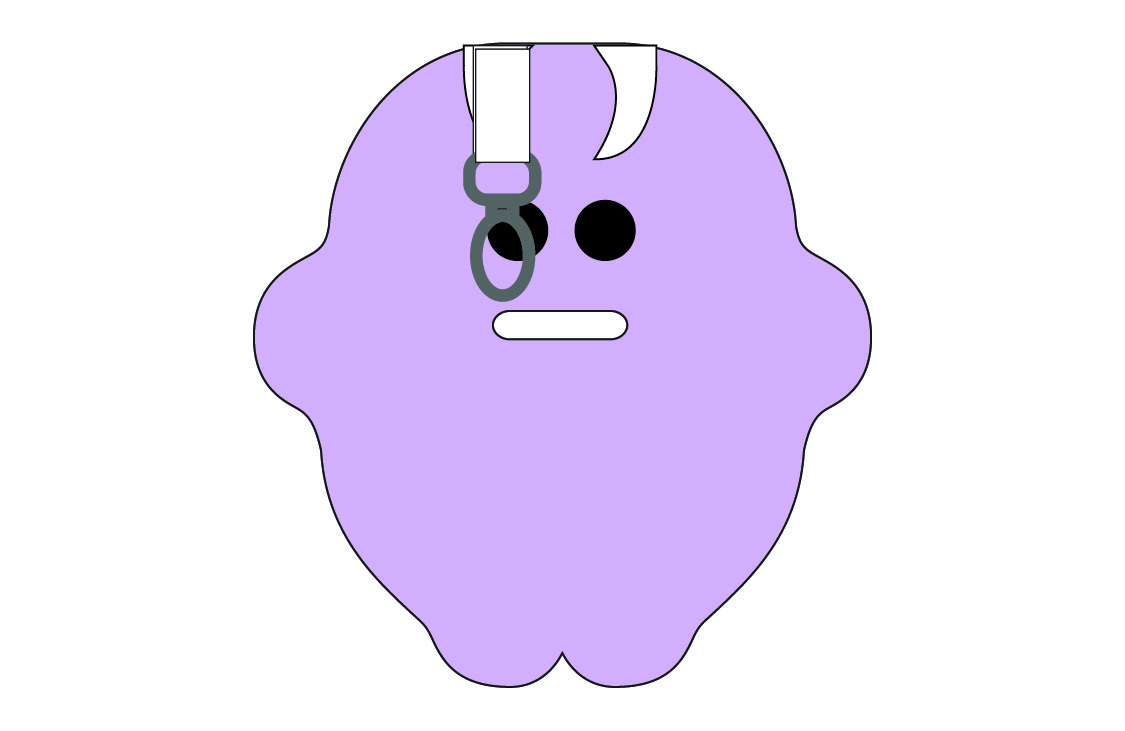
Remove freezer paper from the Monster Body.
Assemble the Monster
Fuse the Stitching Guide to the back of the Monster Body, centered horizontally and vertically. The small hole should line up with the mouth and the large hole should be around the eyes.
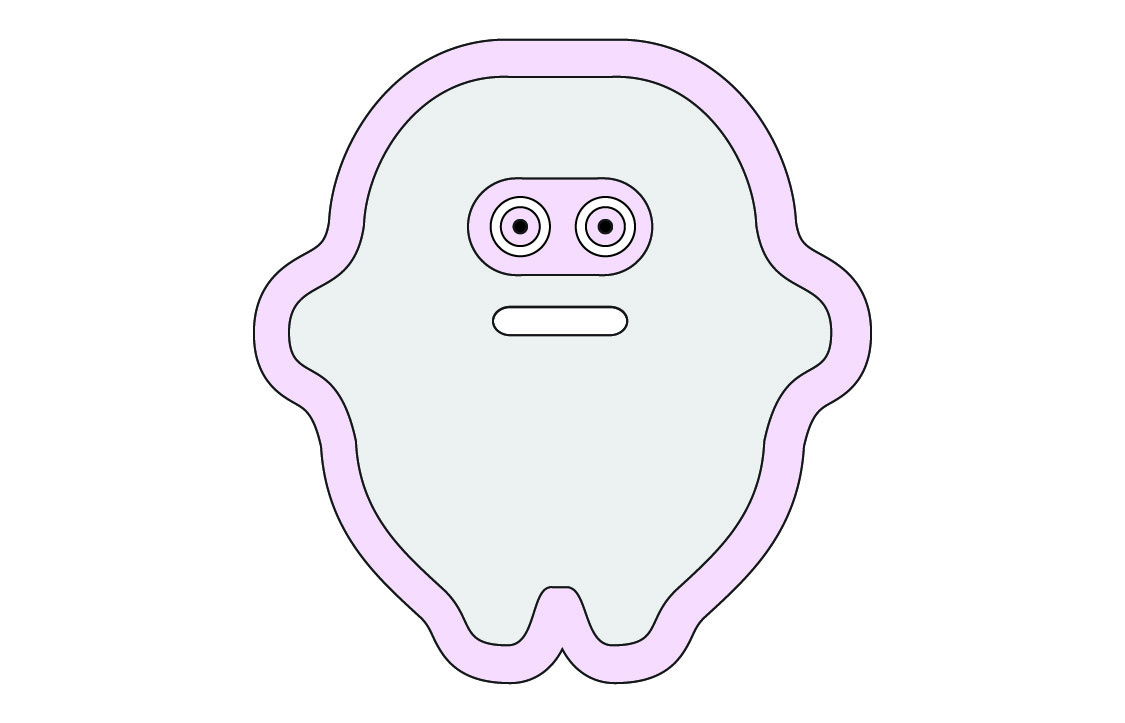
Place this piece on top of another piece of fleece, right sides together.
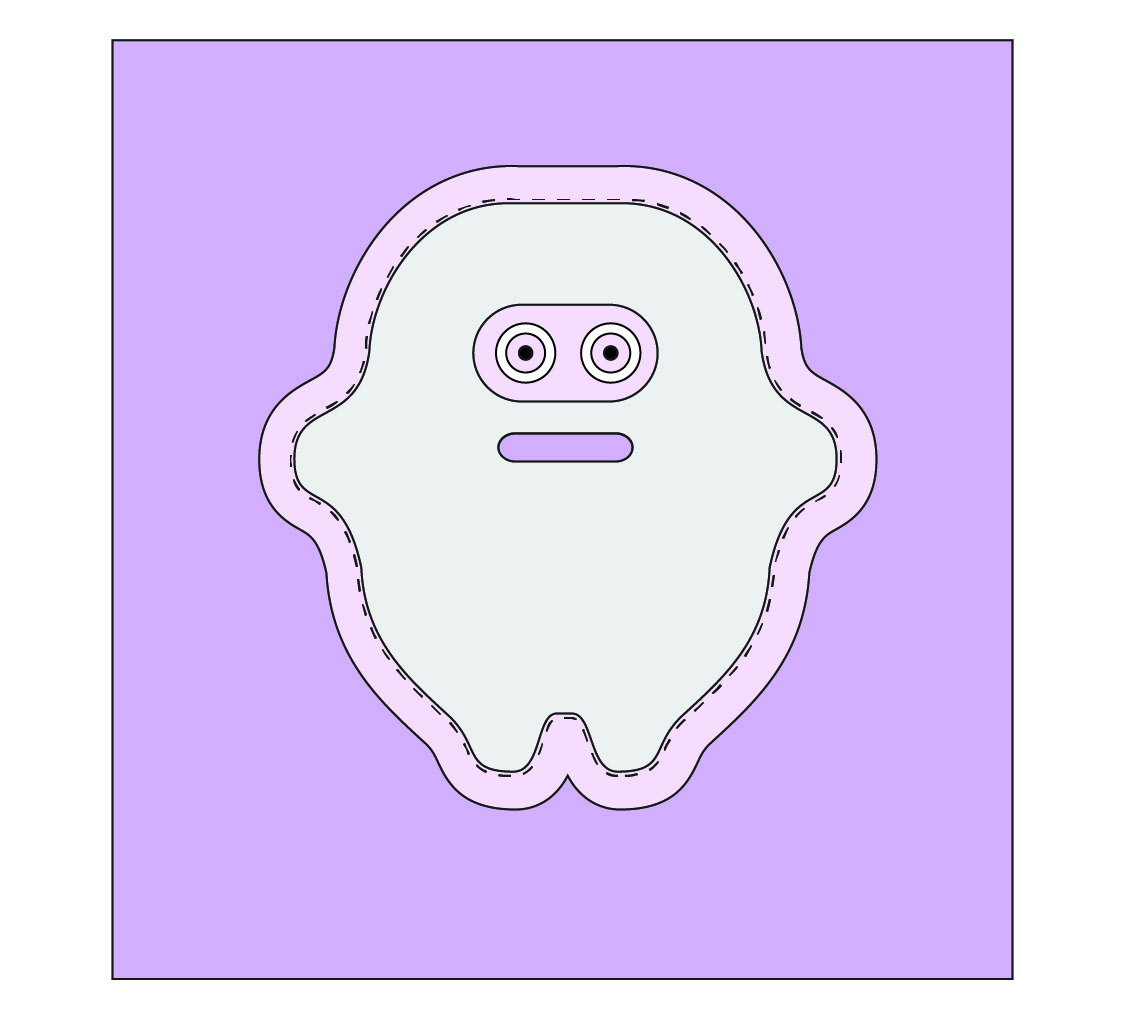
Sew all the way around the Stitching Guide using the edge of the guide as your stitch line. Do not leave a turning hole.
You’ll notice that the curves are pretty tight around the arms and legs. Those tight curves are the reason for the stitch guide (as opposed to just sewing with a ¼” seam allowance). For smoother and more accurate curves, reduce your stitch length and sew slowly, stopping and hand cranking as necessary.
Trim around all sides with a scant ¼” seam allowance.
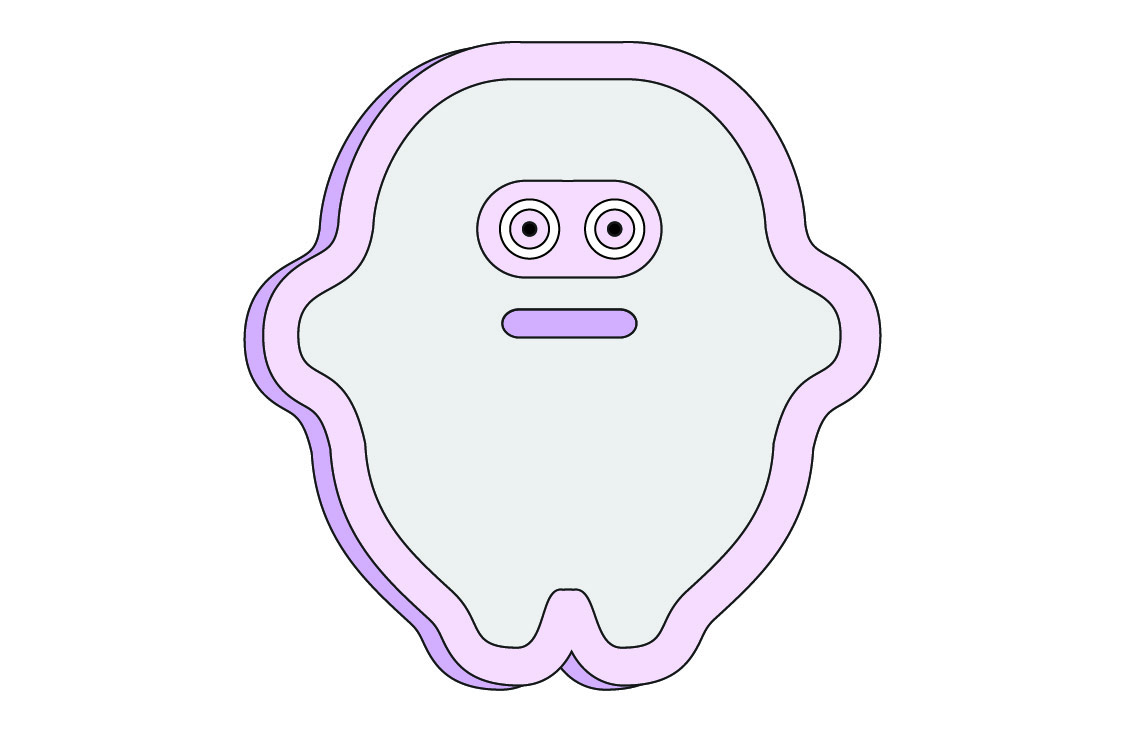
Turn the Monster right side out through the mouth.
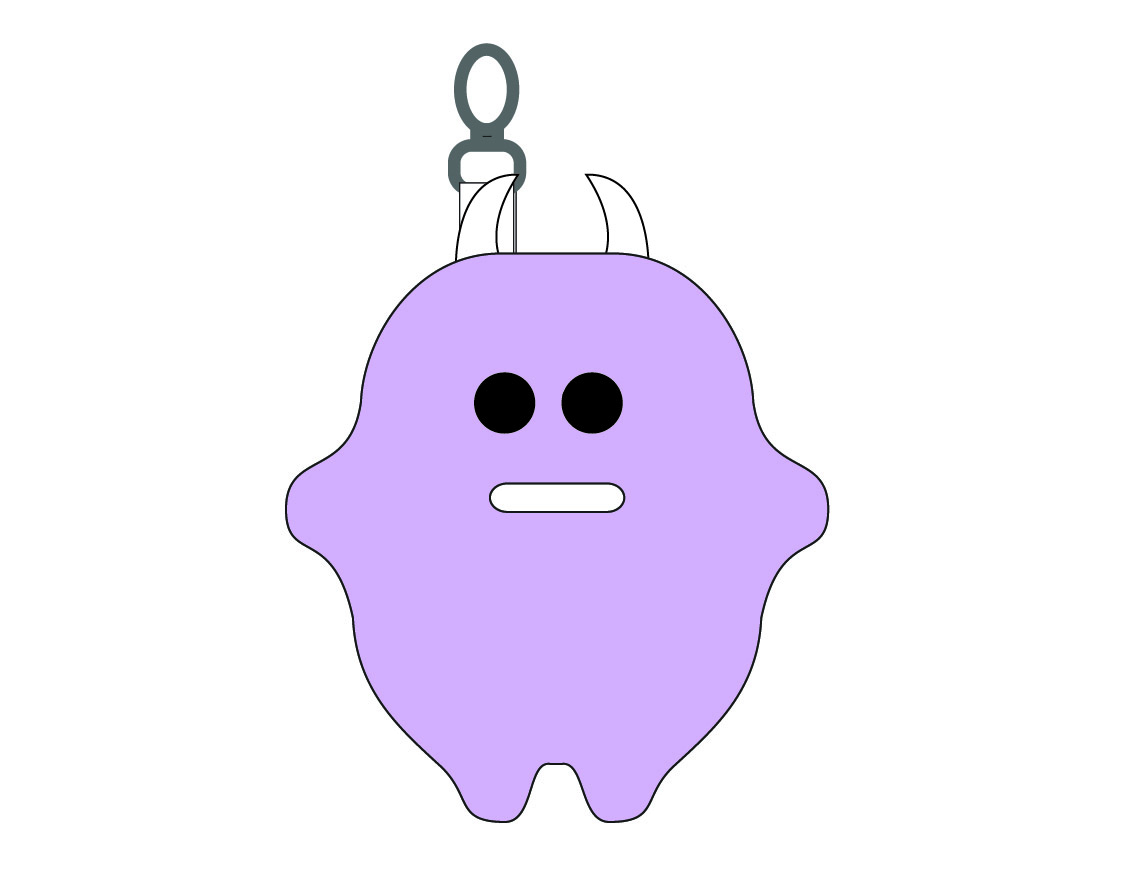
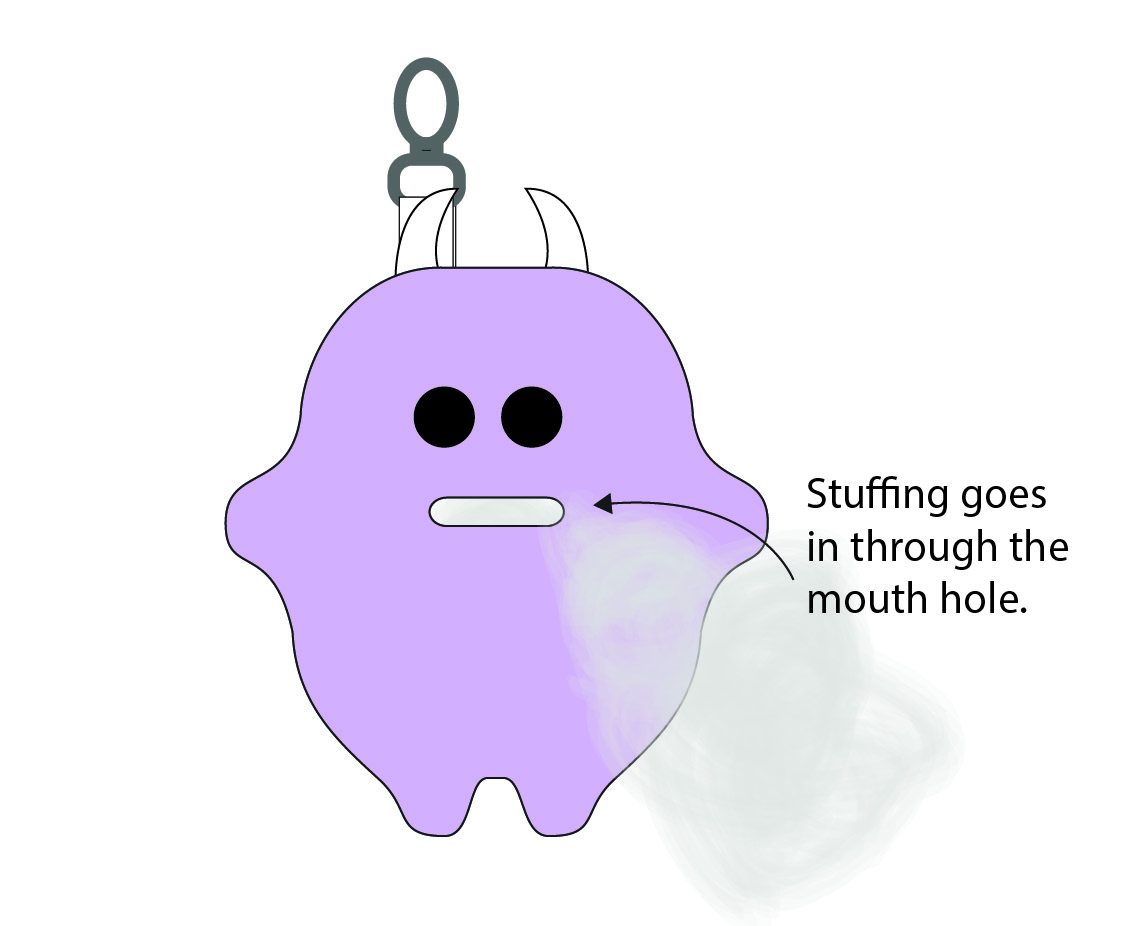
Stuff the Monster using the mouth hole as well, making sure to get stuffing down into the legs and arms.
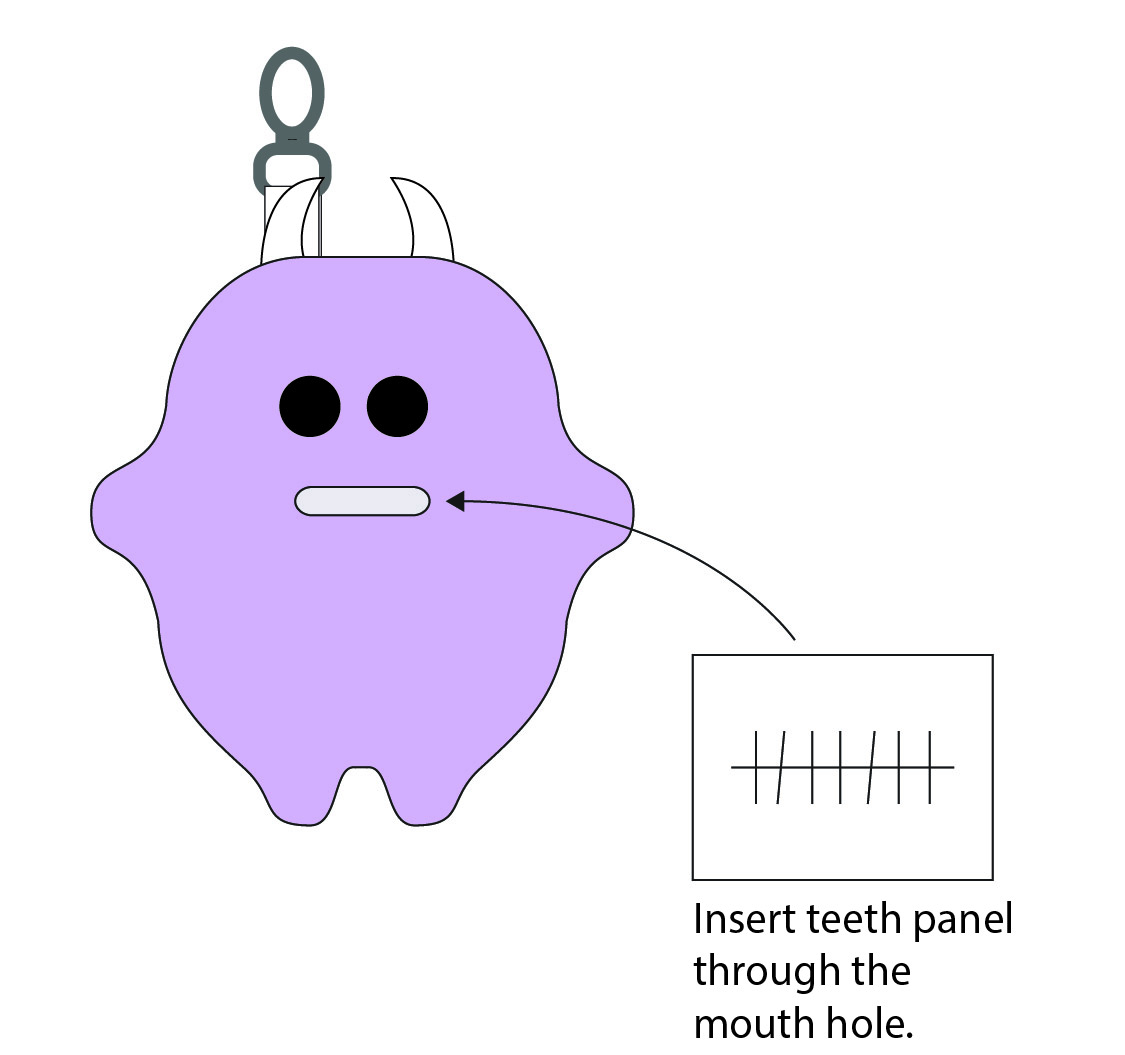
Cut a piece of white felt roughly 1 ¼” tall x 2” wide. Use a fine tip black paint marker to draw teeth on the felt, like this:

Insert the felt into the mouth hole, covering the stuffing and centering so the teeth design shows through the hole.
Use hot glue to glue the felt in place.
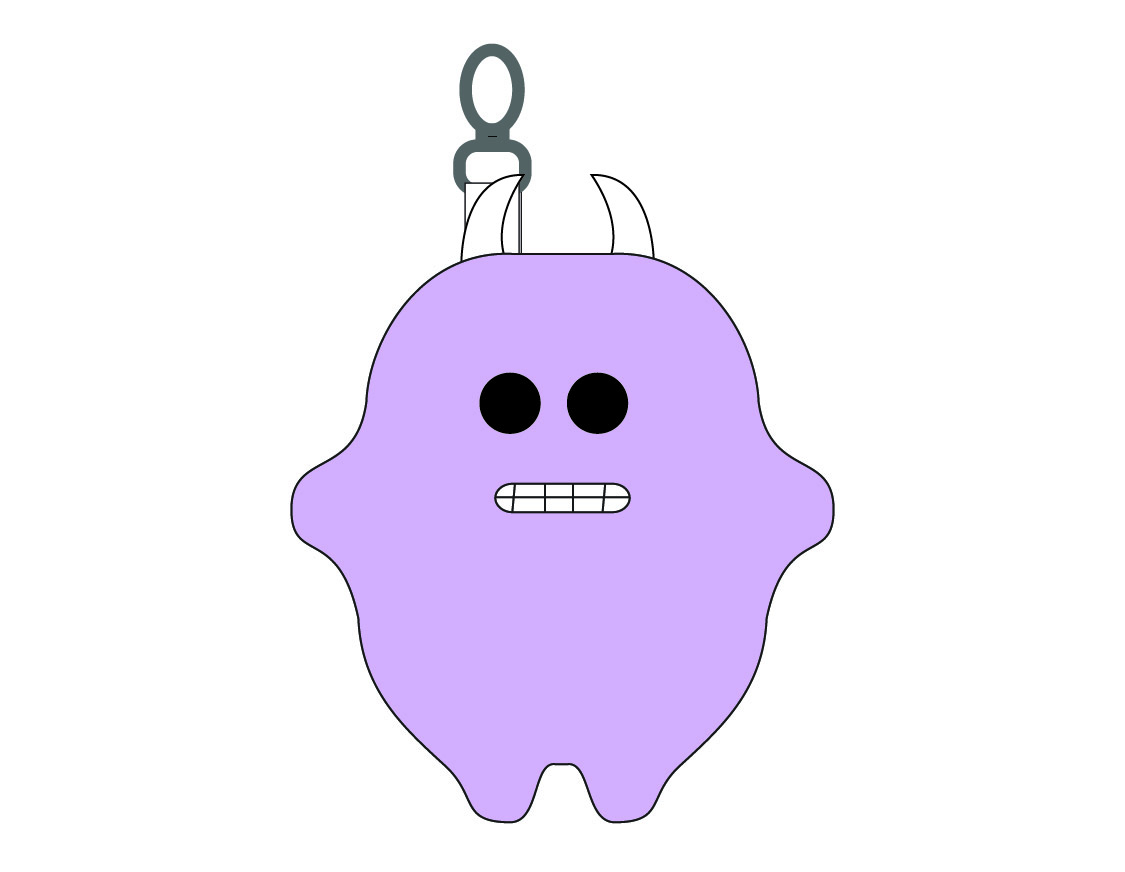
The easiest way to do this is to put a small line of glue along the felt, and then press the fleece down on to it.
Your Fuzzy Monster Bag Charm is done!!
If you love this cute pattern from Anne you will also love these:
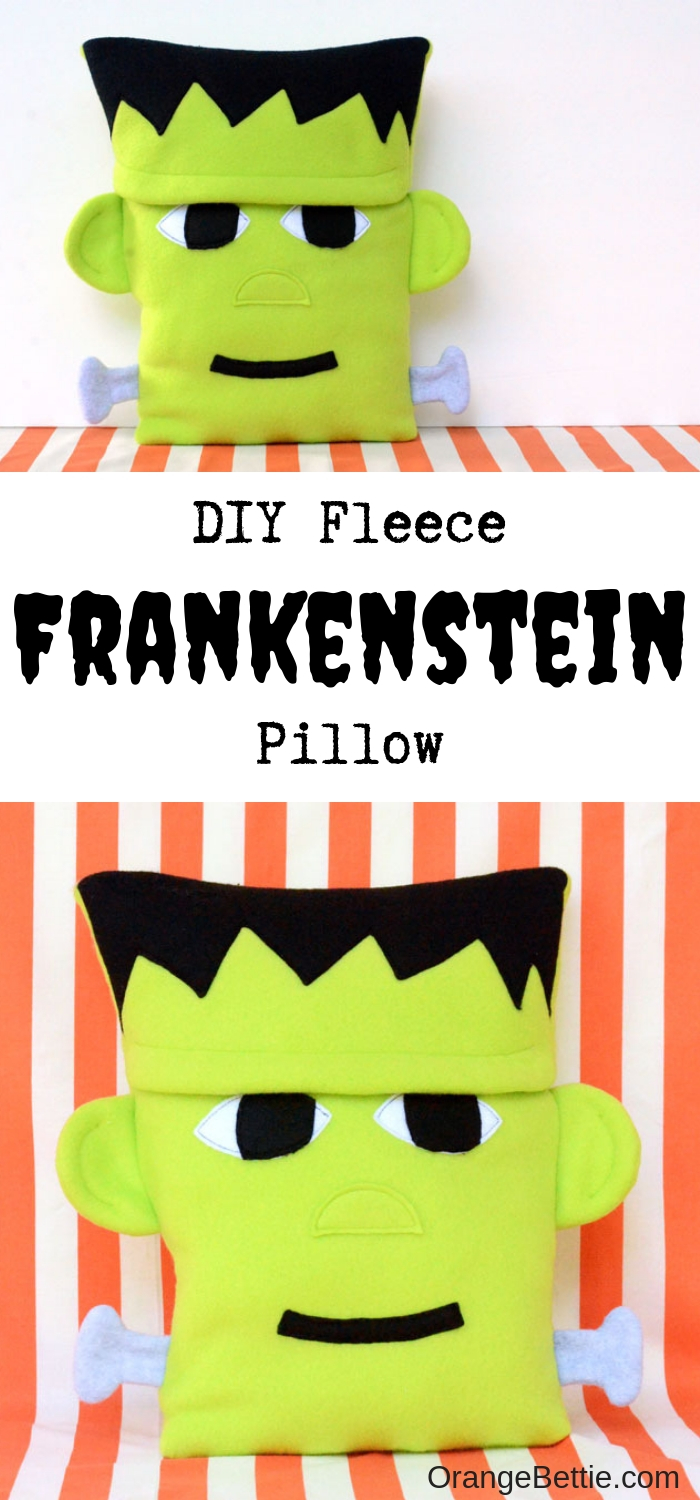
DIY Fleece Frankenstein Pillow


Latest posts by Anne Weaver (see all)
- Fuzzy Monster Bag Charm – Free Sewing Pattern - October 16, 2026
- Fall Pumpkin Placemats – Free Sewing Pattern - September 27, 2026
- Quilted Binder Cover DIY Sewing Tutorial - September 27, 2026
Leave a Reply