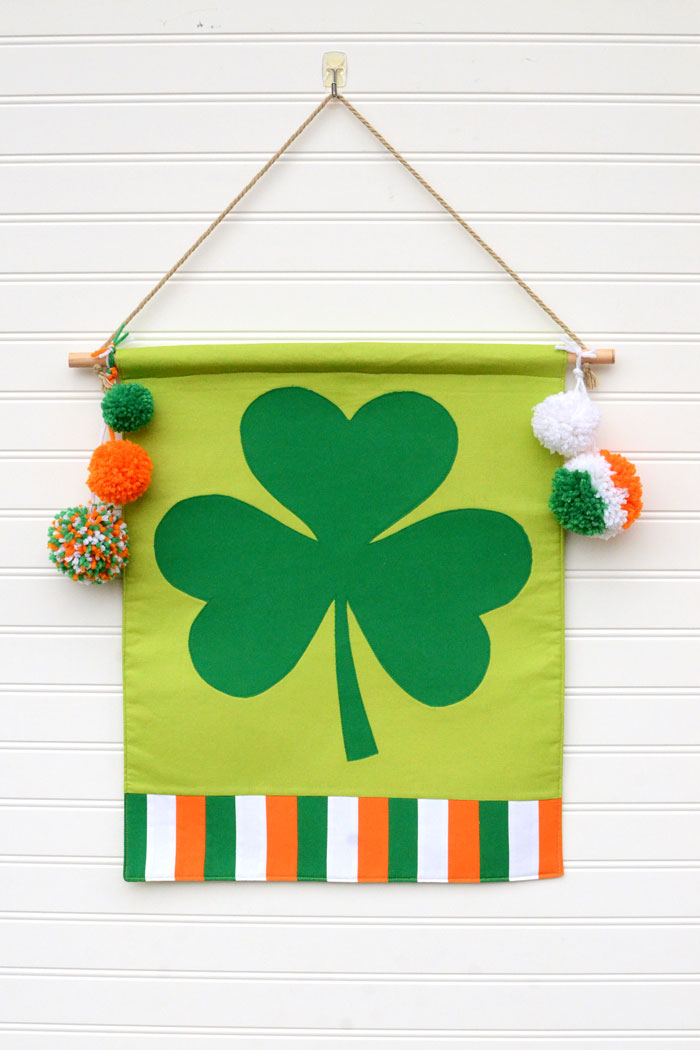
Decorating for St. Patrick’s Day doesn’t have to be a lot of fuss. This shamrock banner is a fun decoration that you can make using my free sewing pattern and tutorial.
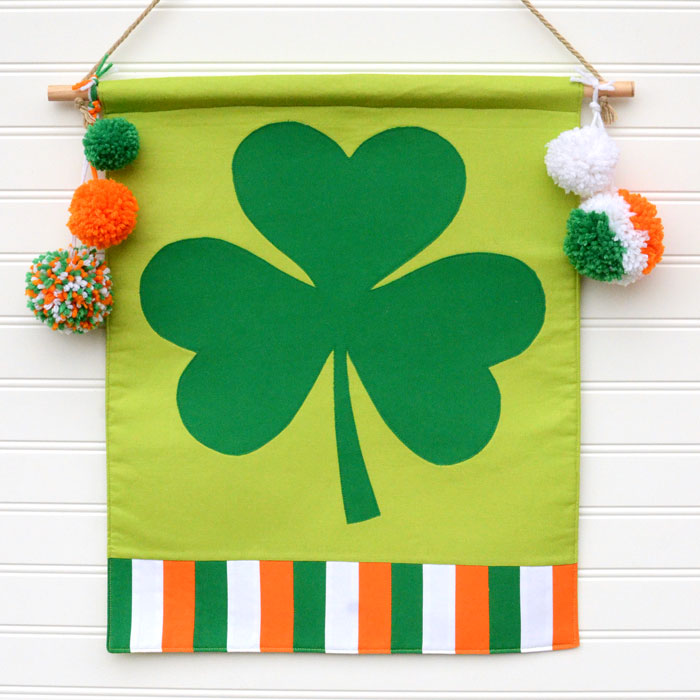
Sandwiched between the bigger holidays of Valentine’s Day and Easter, there’s really not a lot of time to decorate for St. Patrick’s Day. But it’s still fun to show your Irish spirit and get into the spirit. That’s why I made this shamrock banner. All you have to do is hang it on your door and BOOM, you’ve decorated for St. Patrick’s Day. How easy is that!
I’ve got a free pattern for you below.
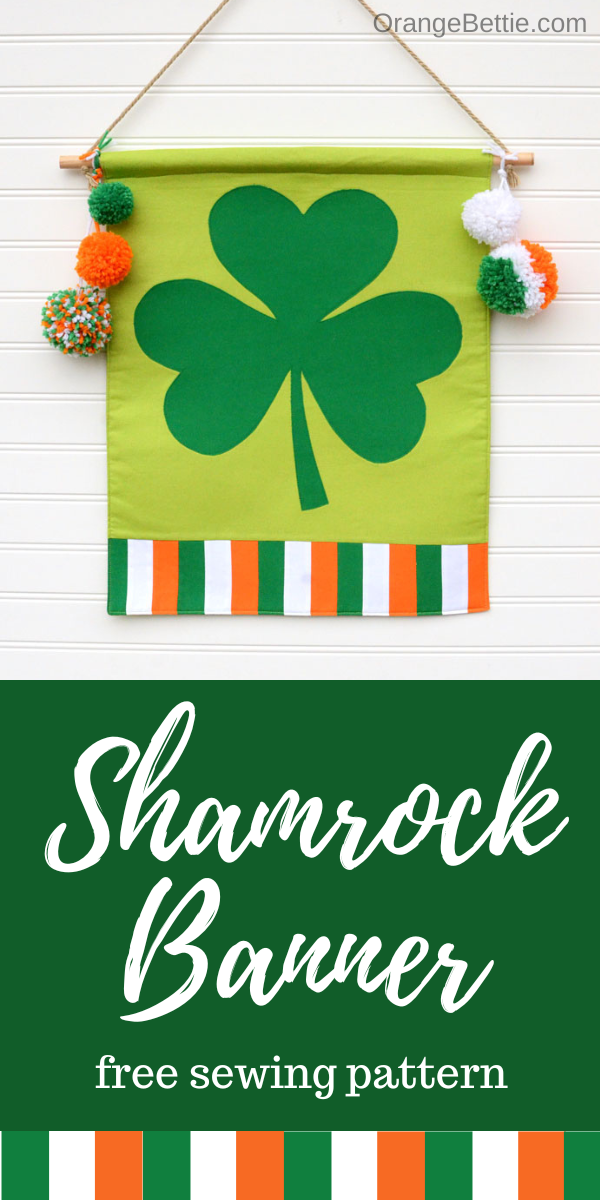
This shamrock banner is made from solid color quilting cottons. I like the solids for a project like this because it really makes the design pop. That big ol’ shamrock applique is easy to see all the way from the street.
And while most of the banner is shades of green, a patchwork Irish flag stripe across the bottom adds some bright contrast. A little bit of strip piecing makes it quick and easy to sew all those stripes together.
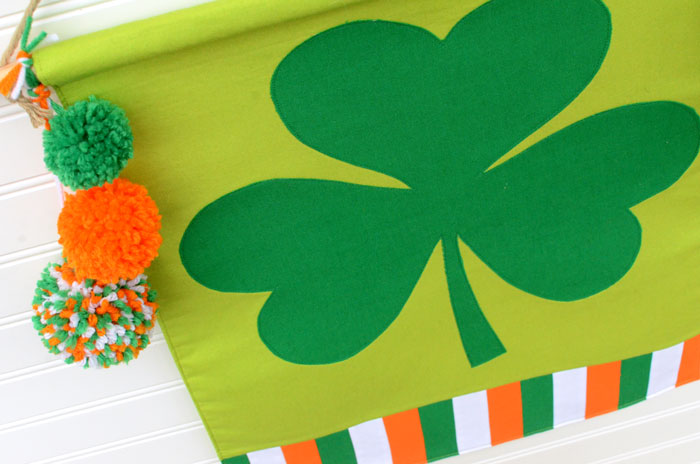
I also made some pom poms in the same colors to add a pop of bright at the top of the banner. They’re totally optional but I think they’re fun.
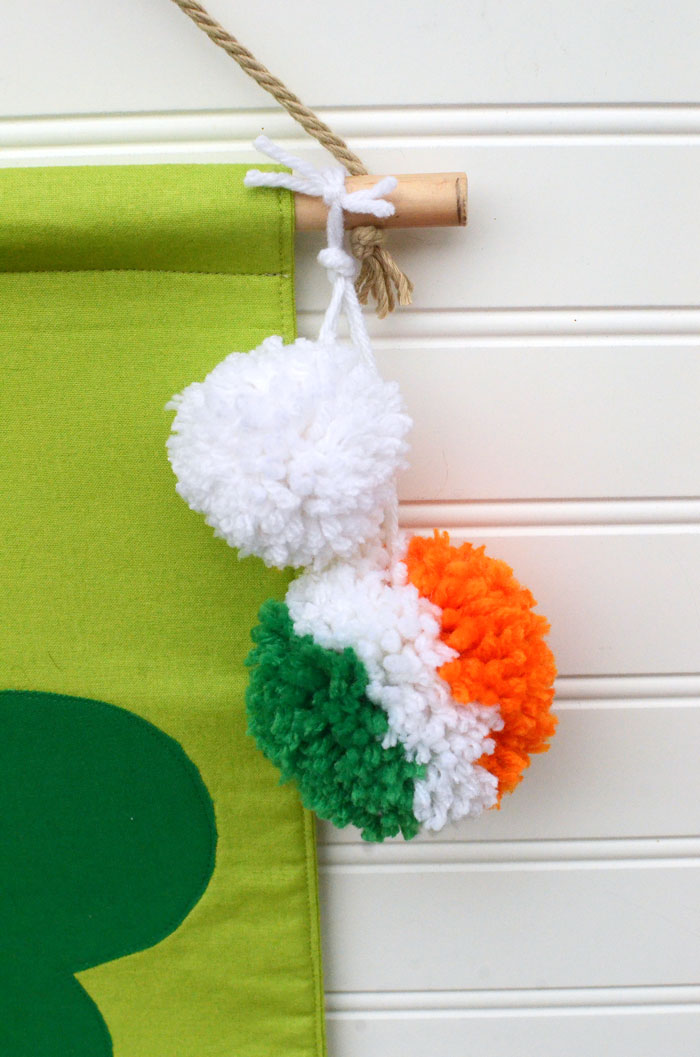
Check out that striped pom pom! I’m pretty proud of that. You can get the stripe effect by wrapping different parts of your pom pom maker with the different colors of yarn.
Finished dimensions are approximately 15” wide x 20” tall.
Supplies
Background – Lime green quilting cotton, 1 piece 15 ½” wide x 18” tall
Lining – Lime green quilting cotton, 1 piece 15 ½” wide x 20 ½” tall
Shamrock – Dark green quilting cotton, 1 piece 14” wide x 14” tall
Flag Stripes
–Dark green quilting cotton, 1 piece 1 ½” wide x 18” long
–White quilting cotton, 1 piece 1 ½” wide x 18” long
–Orange quilting cotton, 1 piece 1 ½” wide x 18” long
Fusible webbing – ½ yard
Fusible fleece – 1 piece 15” wide x 20” long
½” diameter wood towel, 18” long
Thin braided cord or heavy yarn – 28” cord
*optional* Pom poms – green, white, and orange yarn
Free pattern – Shamrock Banner
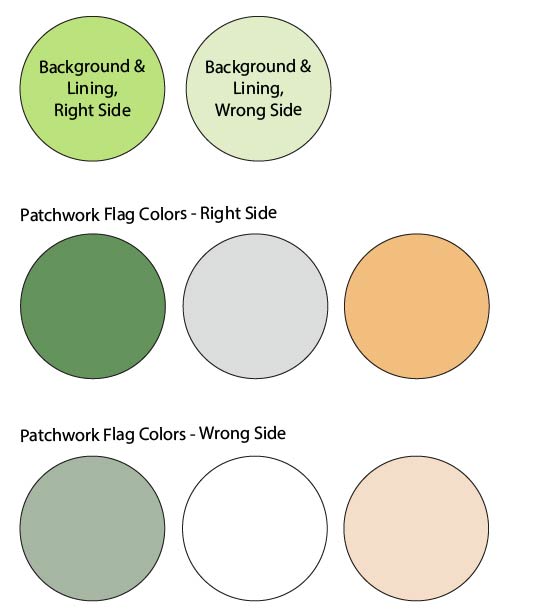
All seam allowances are ¼”. RST = Right Sides Together.
Prep
Trace the Shamrock shape on to the back of your fusible webbing. The shapes is already reversed for you.
Follow manufacturer’s instructions to fuse the Shamrock to the back of the fabrics, then cut out.
Drill holes or cut notches at either end of the dowel.
Sew the Patchwork Flag Border
The Patchwork Flag Border is sewn from the three 1 ½” x 18” strips of dark green, white, and orange.
Sew the dark green and white strips together down one long side, RST. Press seam open.
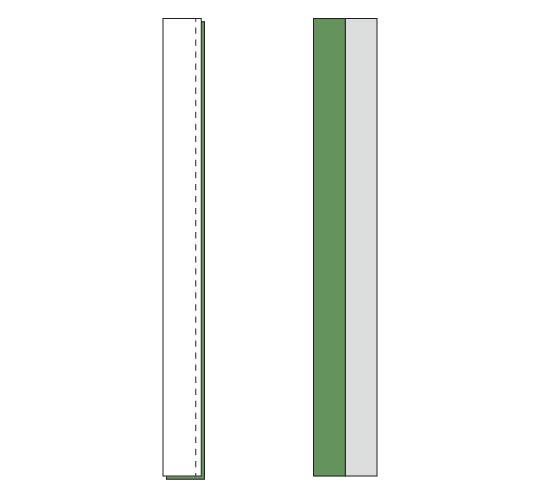
Now sew the orange strip to the end of that piece, RST. Press seam open. You should now have a tall rectangle with stripes in this order: dark green, white, orange.
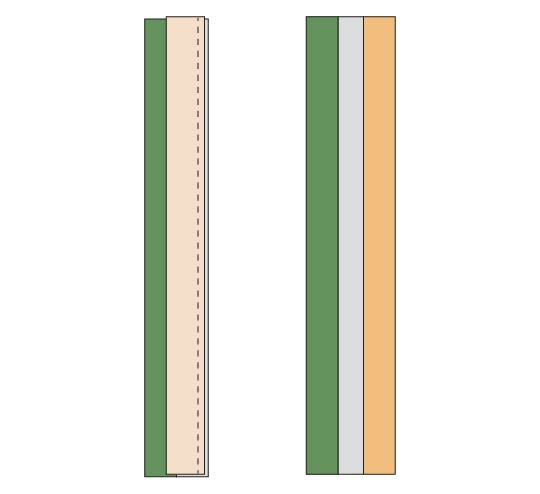
Cut 5 3.5” tall strips across this rectangle. Now you’ve got 5 short striped rectangles.
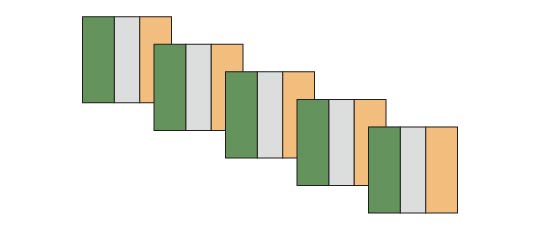
Sew these short rectangles together, RST, and end to end to create one 15 ½” wide striped rectangle. This is Patchwork Flag Border.

Assemble the Banner Front
Place the Patchwork Flag Border across the bottom of the Background, RST and raw edges aligned.
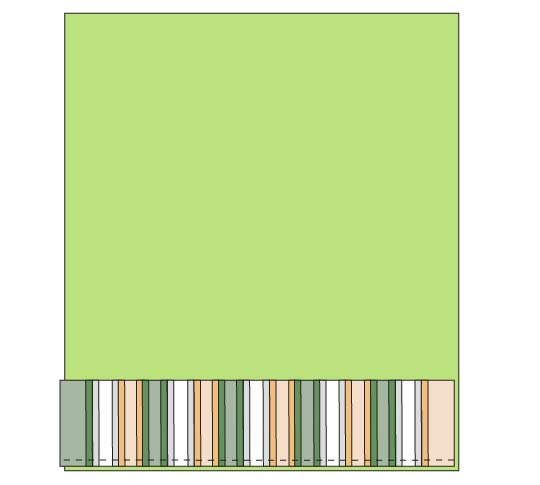
Sew together, then press open.
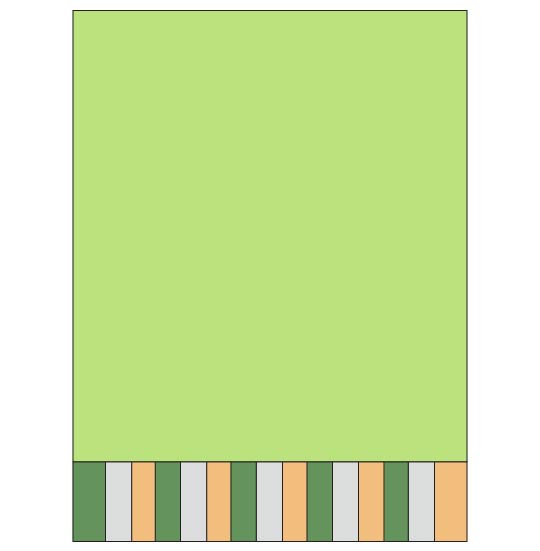
Follow manufacturer’s instructions to fuse the fusible fleece to the back of your Banner Front.
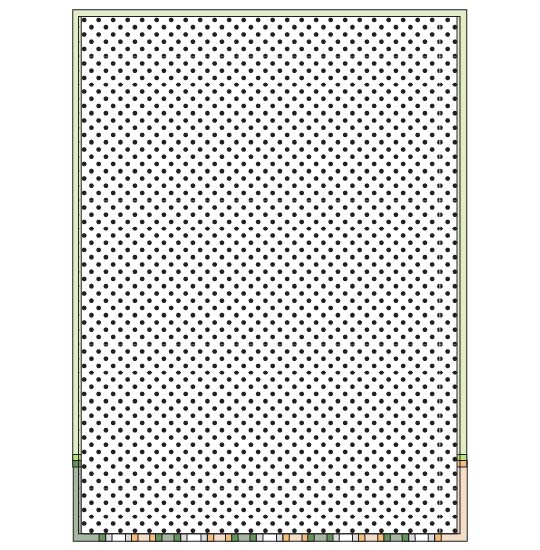
Now place that Shamrock shape you cut from the green cotton (with fusible webbing on the back) on the Background, centered horizontally and 1 ¼” above the Patchwork Flag Panel.
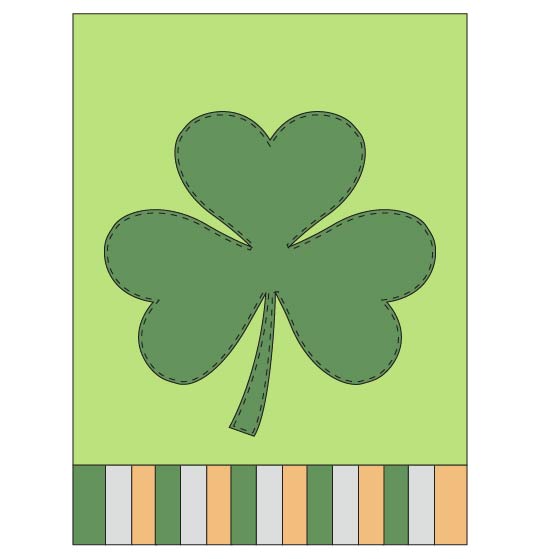
Follow manufacturer’s instructions to fuse in place, then top stitch all the way around the Shamrock close to the edge to secure it.
Assemble the Shamrock Banner
Place the Banner Front and the Lining RST. Sew around all 4 sides, leaving 4” open at the top to turn.
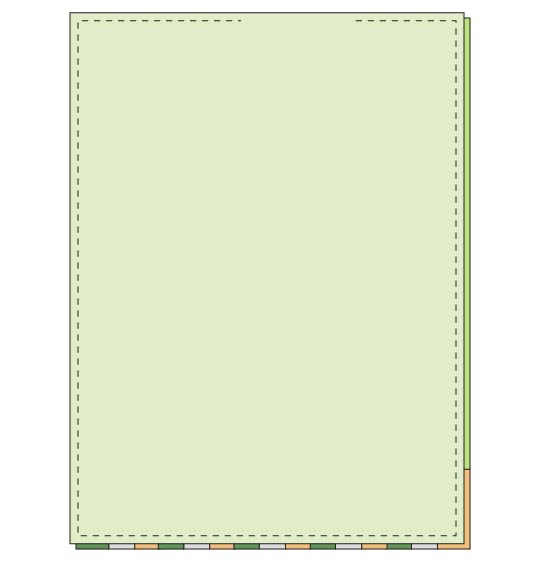
Clip corners, turn right side out.
Give the Shamrock Banner a good press. At the turning hole, press the raw edges to the inside to be even with the sewn edges.
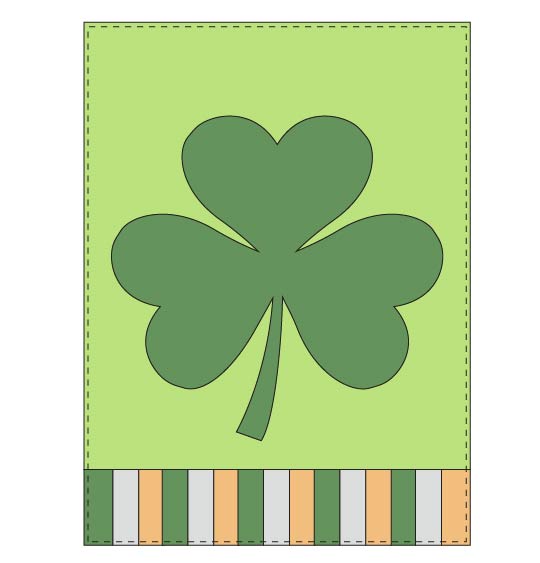
Top stitch around all 4 sides, close to the edge. The top stitching will sew the turning hole closed.
Fold the top edge 1 ¼” over to the back. Stitch across the bottom of the fabric you folded over to create a casing.
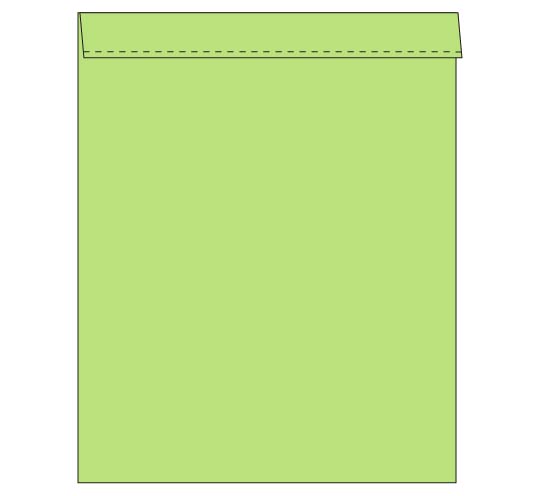
Stitch across the bottom of the fabric you folded over to create a casing.
Thread the dowel through the casing. Tie cord through the holes to create a hanger.
*Optional* Use green, white, and orange yarn to create pom poms to hang at the sides of the banner.
Your Shamrock Banner is finished!


Latest posts by Anne Weaver (see all)
- Fuzzy Monster Bag Charm – Free Sewing Pattern - October 16, 2026
- Fall Pumpkin Placemats – Free Sewing Pattern - September 27, 2026
- Quilted Binder Cover DIY Sewing Tutorial - September 27, 2026
Leave a Reply