
Today I wanted to share the sweet Minnie Mouse outfit that I whipped up for my daughter right before we went to Disneyland in October. I spent so amazingly long on our Family Frozen Costumes that I ran out of time to make anything else. I wanted my boy to have a cute Mickey Mouse shirt similar to the one I made for his Disney Adventure Birthday Party (which he has worn into the ground since then), but I just ran out of time. I grabbed my girl’s $15 Costco Minnie Mouse costume, but I just wasn’t feeling it. I wanted her to wear something totally unique because I am silly like that. I got my answer when I ran frantically to JoAnn Fabrics the night before we left to grab the last NINE INCHES of pom pom trim that I needed for my Princess Anna cape.
(Side note: don’t you HATE IT when you run out of supplies RIGHT before you finish a project?! This was particularly frustrating because it was sold out at every JoAnn Fabrics in the Denver metro area except for one because so many people were making Frozen costumes for Halloween. I had to drive so stinking far. But c’est la vie, I got my pom pom trim AND I spotted this dress fabric, so it all worked out for the best.)
While picking up my pom pom trim, I was walking toward the registers at the front of the store when I spotted this smocked fabric in the registered character prints fabric section. It is probably supposed to be for a skirt, but my little gal is so teeny tiny that it was PERFECT for a dress! The dress was pretty long on her too, so it could work for older girls as well, or even be a tunic or top over leggings! You would just need to buy a larger piece of fabric so that it would wrap around your little lady if she is bigger than my tiny two year old. I will tell you what I did and you can adjust accordingly.
For this project I used the following:
* ½ yard of the pre-smocked (stretchy smocking) Minnie Mouse fabric shown above (get more yardage to accommodate for anyone larger than a 2 year old in the 25th weight and height percentile)
* a roll of black 5/8” grosgrain ribbon
* pink thread that matched the fabric
* FrayCheck
Make sure your fabric is cut the the correct size to wrap around your little gal. Now place the two cut edges together and pin. (As you can see, one of my edges was actually hemmed because I was the first person to buy it, so it was the end of the roll.) Sew up the side of the dress Be sure to backstitch at the beginning and end of the fabric.


Go slide the dress onto your little girl and use safety pins to mark where you want the ribbon straps to go. Slide it off of her and cut four very long strips of ribbon so that you can tie bows and still have lots of ribbon hanging prettily. Pin the ribbons in place and sew them onto the top of the dress. Put a bit of FrayCheck onto the ends of the ribbons (the sides that aren’t attached to the dress) so that they won’t fray.

All done! Isn’t it cute?! Simplest dress ever!

I don’t have pictures of the process that I used to make the bow because I made it in a frenzy at the last minute using stuff I already had at home. Basically, you will need a bunch of different ribbon (big box craft store like Hobby Lobby or JoAnn Fabrics are good, or online I like The Ribbon Retreat), a sequined Minnie Mouse head (found at Fleuriste Craft Supply), an alligator clip, scissors, and a hot glue gun. I used the same process that you can see in the tutorials for my St. Patrick’s Day Bow and my Easter Bow. Very simple!

 We have a semi-professional photobomber in our home . . .
All in all, this Minnie Mouse outfit definitely succeeded in my silly quest to make my little munchkin stand out. Of course, her super friendly personality didn’t hurt either. 🙂 I know I’m silly, but it made me happy to have people smiling at her and talking to her all day. In fact, while her dad and brother were off riding “big boy rides” this little mouse and I decided to ride the train around the park. We got on and sat next to a large group of tourists visiting from Japan. They immediately started pointing at her and talking animatedly about her. Then the lady next to us smiled at me and said, “Cute – so cute!” AND POSED WITH HER WHILE THE OTHER MEMBERS OF THE GROUP ALL TOOK PICTURES! Following that she offered my girl an apple and a banana. The little princess took the apple and downed it.
I had to try SO hard not to laugh out loud! Major flashbacks to the semester that I spent living in China in college. I have no clue whatsoever how many pictures of me are floating around in that country. My friends and I were quite the novelty in far northwestern China walking around with our big hair and loud American ways. I just love how different cultures can be. I mean, an American group of tourists would be afraid that they’d be decked if they started taking pictures of another person’s child and offered them food. But these cheery tourists didn’t hesitate for a second. It made me seriously happy. My husband and I laughed about it forever when I told him about it later.

I hope that you liked this simple tutorial and that you can use it for your next Disney trip, or just for fun if you have a little Minnie Mouse fanatic living in your house as well!


************************
(Affiliate Links below – This means I get a small credit for referring you to the company, but it doesn’t cost you any extra.)

If you are thinking about taking your little one to “The Happiest Place on Earth” to meet Minnie Mouse then you should check out the travel agency Get Away Today. They have vacation LAYAWAY PLANS! Isn’t that brilliant?! Paying off your vacay a bit at a time makes it so much more realistic and affordable! Check out their amazing discounts and packages, and be sure to use the coupon code BLING to get an additional $10 off of your booking!
************************
If you loved this post then you will love these posts as well:

Minnie Mouse Headband Tutorial
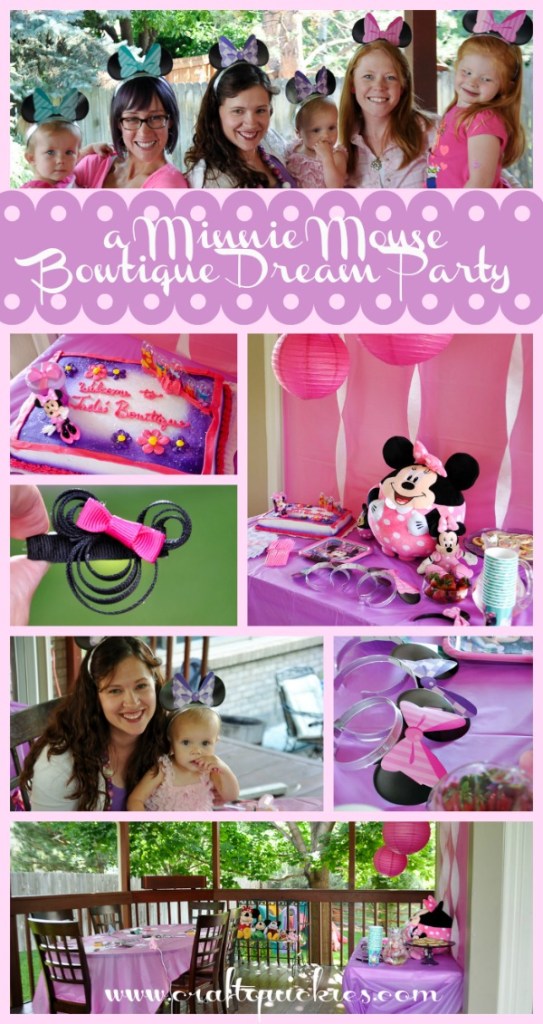
A Minnie Mouse Bowtique Dream Party Celebration (& Ribbon Sculpture Tutorial)


Latest posts by Sarah Westover McKenna (see all)
- In Loving Memory of Logan Reed McKenna - June 11, 2026
- Chicken Tamale Casserole - May 15, 2025
- Harry Potter Bedroom - March 5, 2025
This is the cutest! My girl adores Minnie 🙂
Thank you!
I will never forget the first time we took my girlies to Disney World. What a precious outfit!
Thanks!