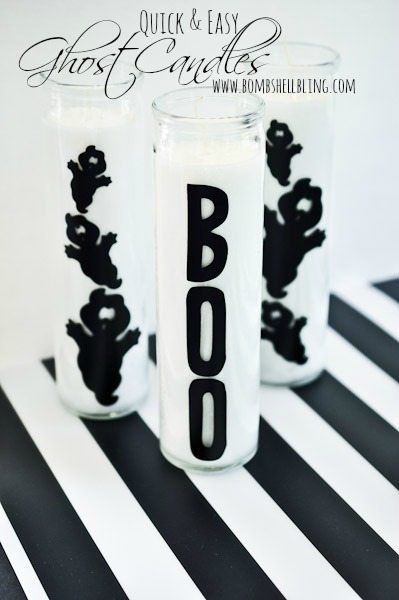
 Each year I try to add a few Halloween decorations to my collection. I would like to think that means that someday I will be done creating my collection, but I know myself well enough to know that isn’t true. I’ll just get sick of the things I have made and end up making more to replace them. I have problems. This year I knew I wanted to make things, but I also knew I should keep it simple. When I spotted these candles at the dollar store I thought they would be darling ghosts. The ghost candles that I ended up making aren’t what I was envisioning while I was standing in the store….they are better! I love the way that they turned out! They are only my second vinyl project, and I am already completely addicted to vinyl crafting! The best thing about this project? It took less than 10 minutes total! Let’s get started!
You will need a Cricut if you want to do this exact project. Cricut Craft Room is free to download, so do so if you want to use my exact image file. Here is what you will need:
* download THIS image file for the Cricut Craft Room
* black vinyl
* vinyl transfer paper
* three white candles that are approximately 8 inches tall (in glass holders)
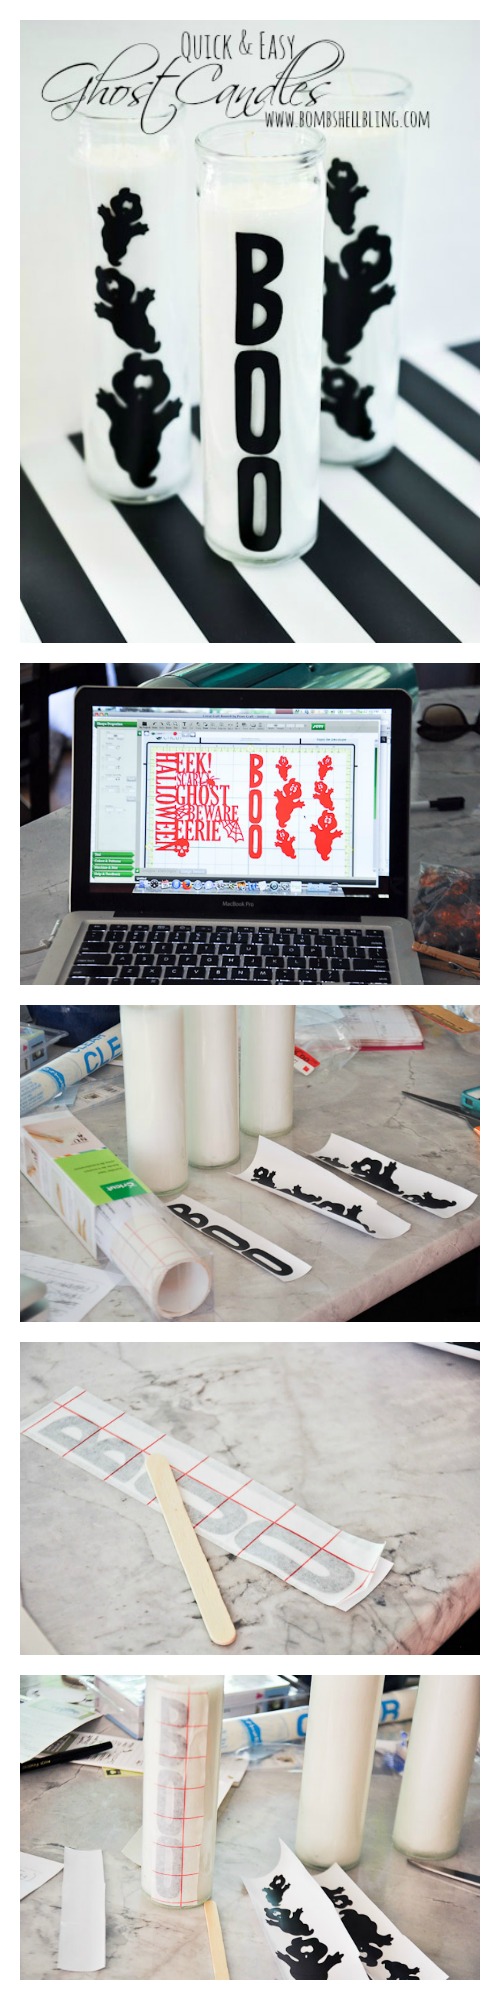
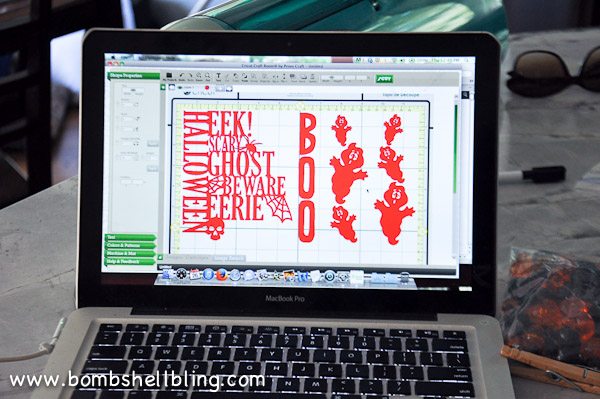 Connect your computer to your Cricut machine using a USB cord (from your printer) and open THIS Cricut Craft Room image file. Make sure that when you hit “cut” you have the machine setup correctly on depth and pressure, and set to “vinyl.” That will make more sense once you have the screen open.
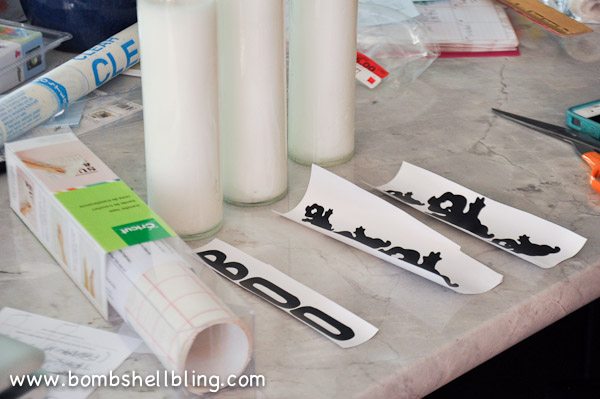 After you cut the vinyl “weed” it, aka pull the excess vinyl off.
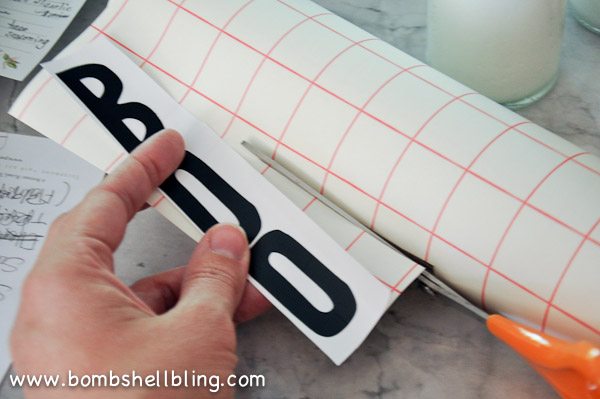 Next cut an appropriately sized piece of the vinyl transfer tape.
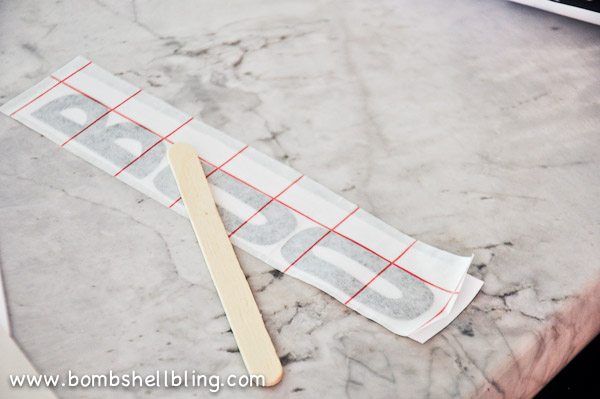 Peel the backing off of the vinyl transfer tape and place it over the vinyl. Rub it down nice and hard with a popsicle stick so that it will really adhere to it.
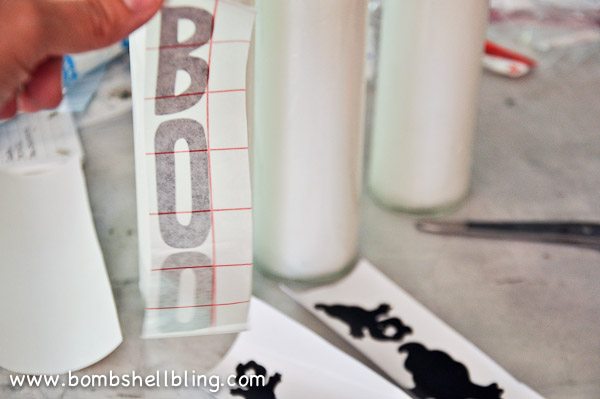 Slowly peel off the backing of the vinyl. If it isn’t peeling up with the vinyl transfer tape STOP, put it back down and rub it more with the popsicle stick. It really needs to stick well!
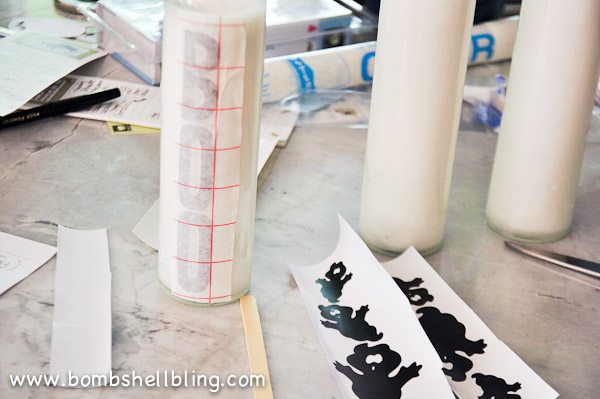 Carefully place the transfer tape onto the candles and rub it into place.
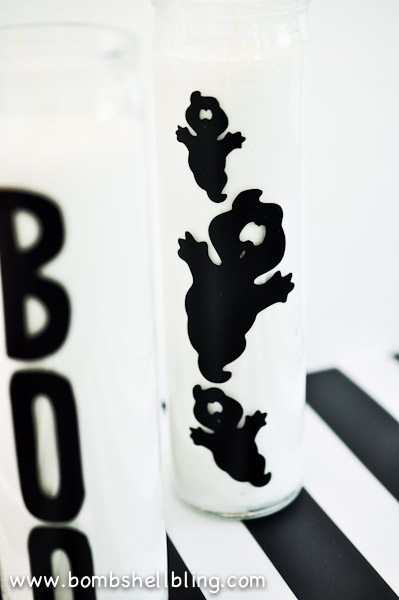 Carefully pull the transfer tape away from the glass and voila! You are done!
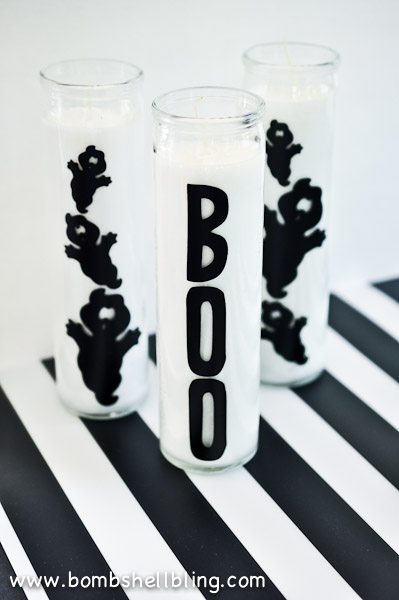 Cute, right? 🙂 Here’s a condensed image collage for you to Pin. Handy, right?
 Happy Halloween!!


Latest posts by Sarah Westover McKenna (see all)
- In Loving Memory of Logan Reed McKenna - June 6, 2026
- Chicken Tamale Casserole - May 15, 2025
- Harry Potter Bedroom - March 5, 2025
These are so cute. I’ve seen tall candles like this at the Dollar Tree. I think I’ll grab a couple and try this!!. Great idea!
Thank you for your tutorial. You’re one of the few bloggers who actually shows how to transfer the vinyl (I was totally lost!)
These are adorable!
I show how to transfer it because I only learned a few months ago and was super confused by it when I read it on another blogger’s tutorial! 😉 So you are welcome, from one newbie to another!
Hi! I know you posted this a year ago — but since Halloween is about to roll around again I’ve been looking at all my Halloween craft pins – this is one of them that I really like and want to attempt. I have a question – I actually downloaded this file twice already – first time was a few days ago – and I should have known better because I didn’t really have time to work with it so I got stressed quickly and gave up. However tonight I had a little more time – and THOUGHT I was a little calmer – well, I may have started that way – but I didn’t stay that way long! LOL!!! Do you know HOW to open your file in the Cricut Craft Room once you have downloaded it to your computer? I don’t even have a clue! I’ve looked under “My Cartridges” “Bookmarks” “Wish List” and several other folders. I even tried opening my “downloads” file on my computer and doing the “drag and drop” thing – that didn’t work either. Or if you know how to open it in Make The Cut – I have that program too and am a TINY bit more proficient in that than the Craft Room. {Sorry this is crazy long!!} Any way I’d love to use your adorable design to make some Halloween candles and any help you can offer me truly will be appreciated! Sincerely, Brenda Jessie (bjckj1067@hotmail.com)
Gosh, I’m not sure!! I always go to “open” under File and select it there. Maybe try redownloading it and move it from your download folder to your desktop so it’s easy to find?
Thank you … I went under File again and this time noticed an “import” button. That did it! However it still won’t cut for me because it requires the cartridge Paper Doll Dress Up which I do not have. Darn! But thanks for the help!
Dang it!! 🙁