Bombshell Bling

Crafts, Recipes, Parties and More

  • Home
  • About
  • Tutorials
    • Baby and Kids
      • Kid Crafts
    • Beauty & Fashion
    • Crafts
    • Disney Love
    • Home Decor
    • Jewelry
    • Paint
    • Scrapbooking
    • Sewing
    • Washi Tape
    • Weddings
  • Printables
  • Recipes
    • S’mores Saturdays
  • Parties
  • Seasonal
    • New Year’s
    • Chinese New Year
    • Valentine’s Day
    • St. Patrick’s Day
    • Easter
    • Mother and Father’s Day
    • 4th of July
    • Back to School
    • Halloween
    • Thanksgiving
    • Christmas
  • Our Home
    • Baby Girl Nursery
    • Dr. Seuss Room
    • Little Girl Bedroom
    • Master Bedroom
    • Pokemon Bedroom
  • Family Fun
    • Disney
    • Dr. Seuss
    • How to Train Your Dragon
    • Learning Rocks
    • Reading Rocks
  • Randomness
    • Family Life
    • Mental Health
    • Sunday Spotlights

DIY Halloween Paint Pen Plates

October 8, 2015 By Sarah Westover McKenna 2 Comments

118 shares
  • Facebook
  • Twitter

*This post is sponsored by Elmer’s.  All ideas and opinions are my own.
DIY Halloween Paint Pen Plates

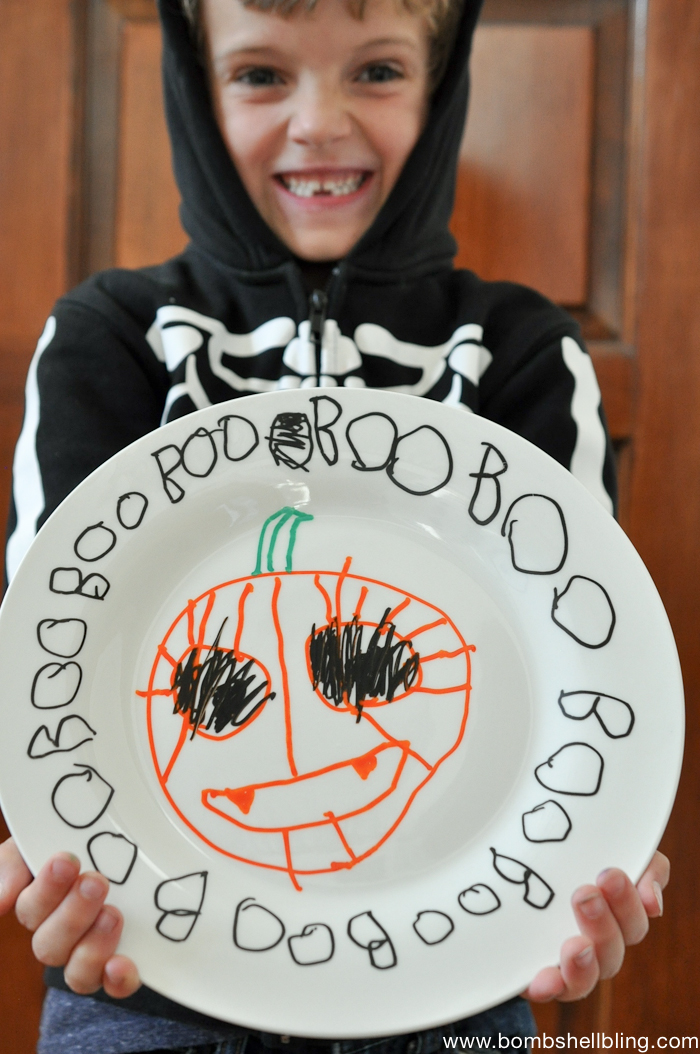
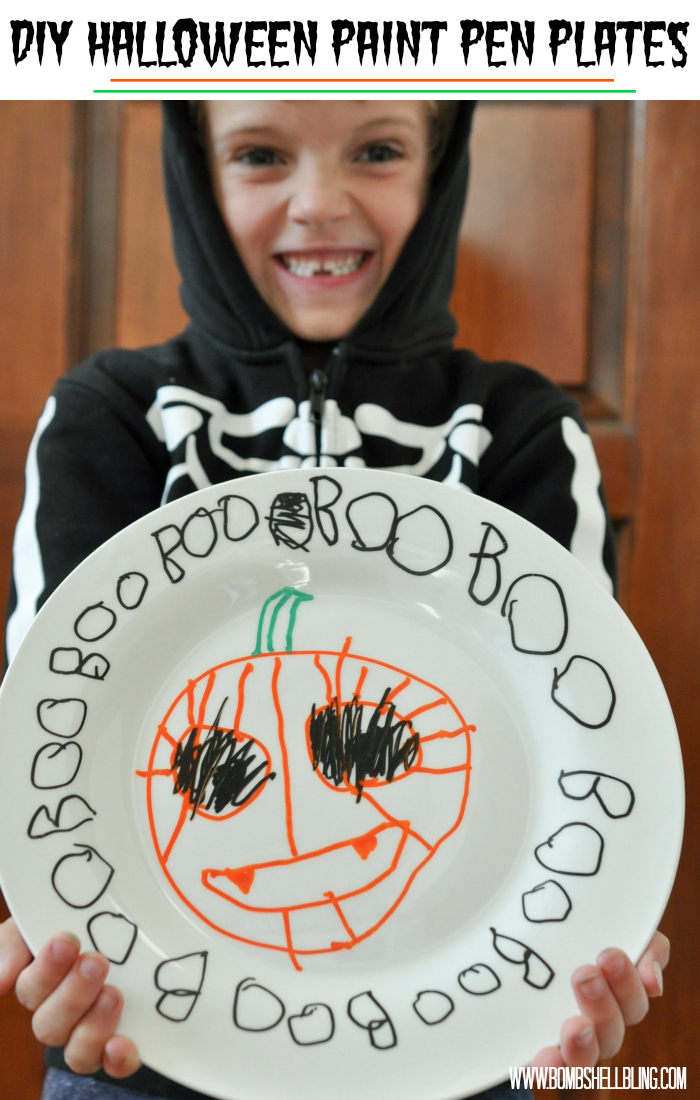
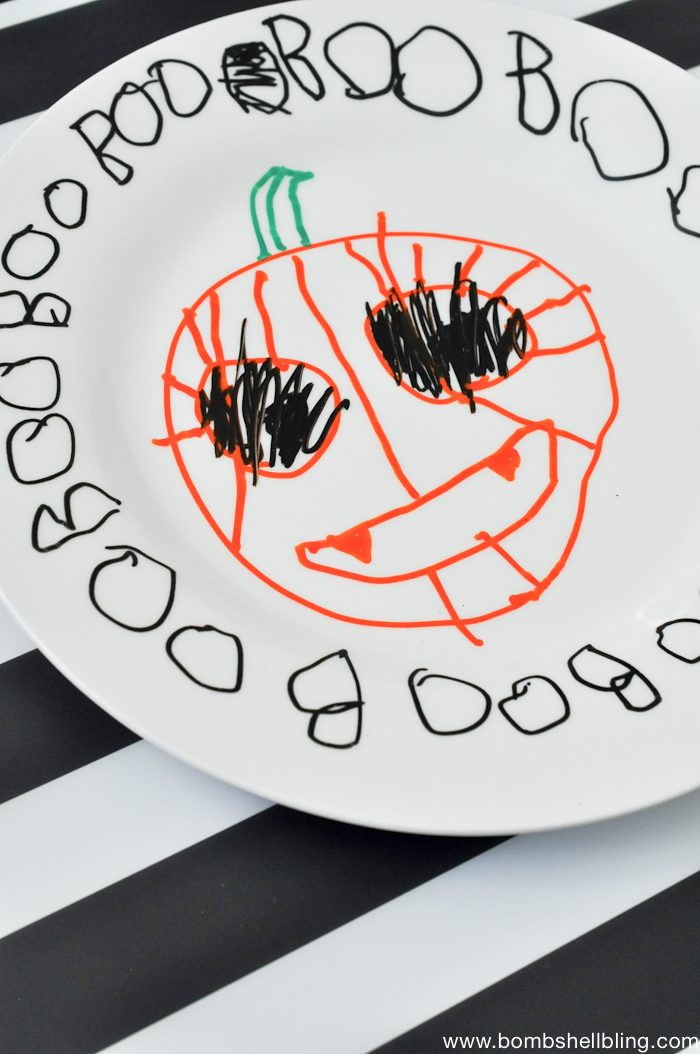
I am so excited to share with you a fun, cheap, and simple Halloween craft activity that you can do with your family: using Elmer’s Painters paint pens to decorate plates and other dishes. These paint pen plates hardly took any time to set up, complete, or clean up, but the finished product is something darling that I am going to keep for years to come and smile back at when I admire the adorable little kid artwork. I call that a win!
Halloween Paint Pen Plates-4

In order to make your own Halloween paint pen plates you will need the following:

  • plates (I got mine at the dollar store – gotta love saving money!)
  • Elmer’s Painters paint pens
  • rubbing alcohol

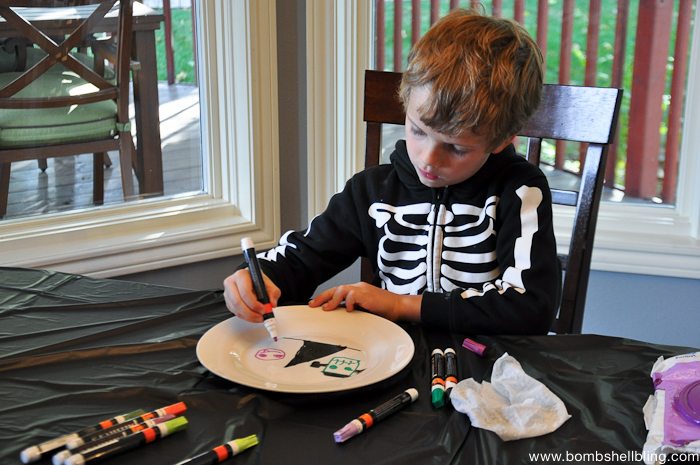
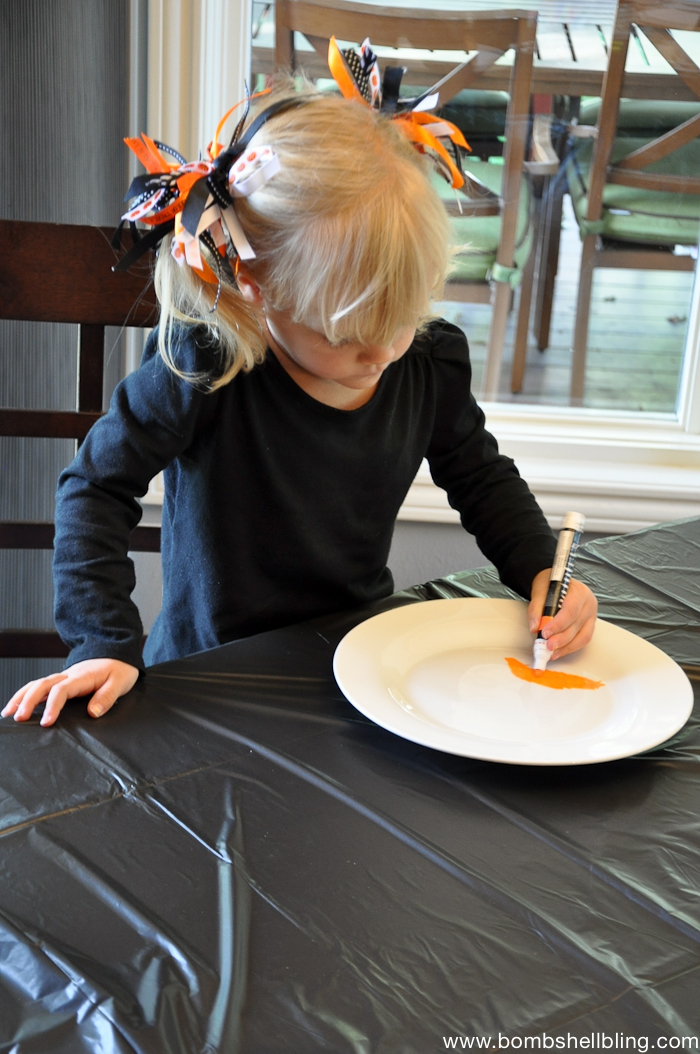
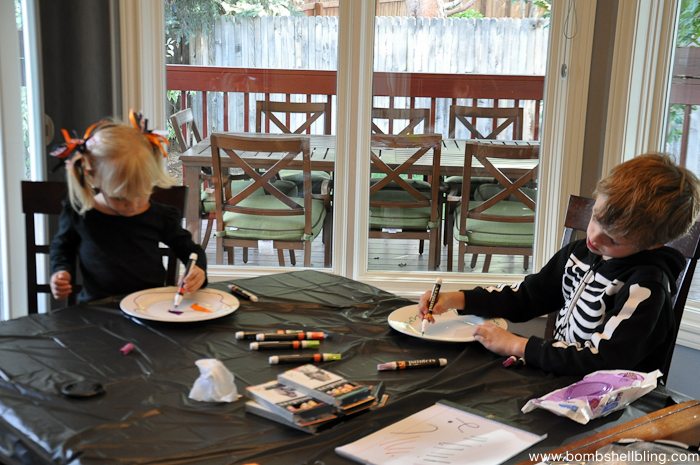
That’s it!  Prep your plates by wiping them down with rubbing alcohol.  Allow the rubbing alcohol to dry.  Now simply open up those Painters pens and get drawing and doodling!  This is the fun part!  My kids were busy, happy, and quiet as they enthusiastically decorated their plates.  Once again: WIN.  🙂
Paint Pen Halloween Plates-3 Paint Pen Halloween Plates-1 Halloween Paint Pen Plates-1 Paint Pen Halloween Plates-2

Once you have finished your plate artwork, set it aside for two or three days to cure.  Once they have cured you are going to bake them.  Place them in a COLD oven on cookie sheets.  Turn on the oven to 375 degrees and bake for 30 minutes.  Turn off the oven and let the plates cool inside of the oven.

All done!  Now you can use and enjoy your new Halloween paint pen plates.  I recommend hand washing them to preserve the colors over time.
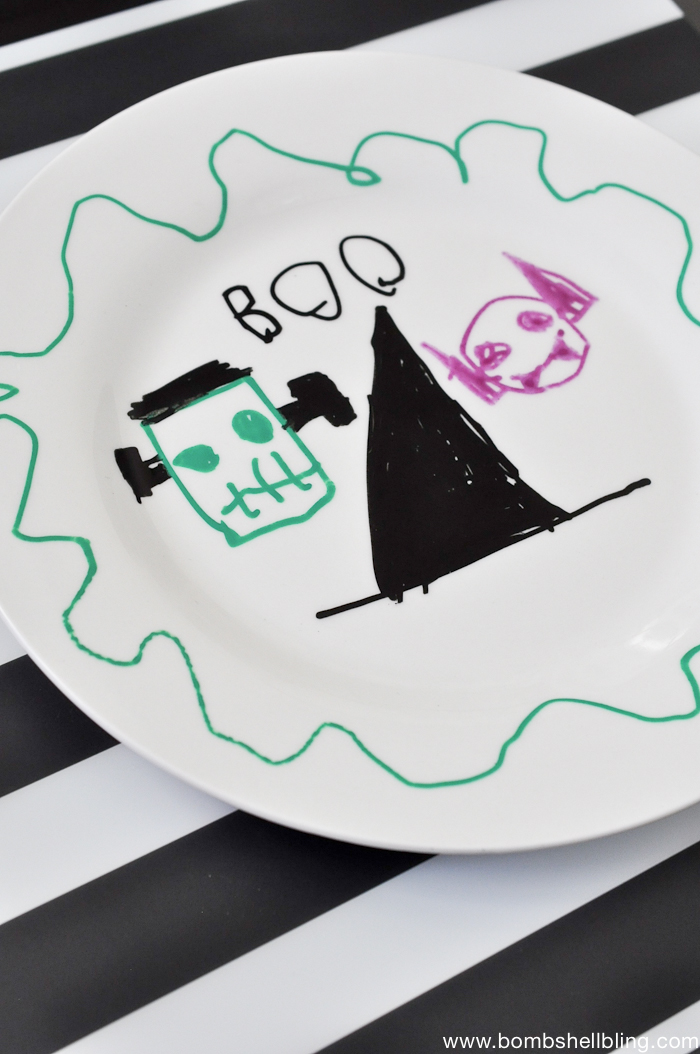
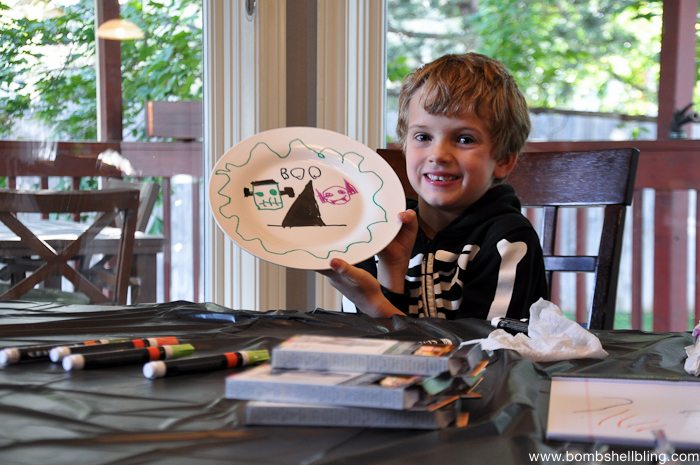
Halloween Paint Pen Plates-5

The kids are so proud of their plates!  I can’t wait to use them for our annual spooooooky dinner!   (A blog post for another day.)
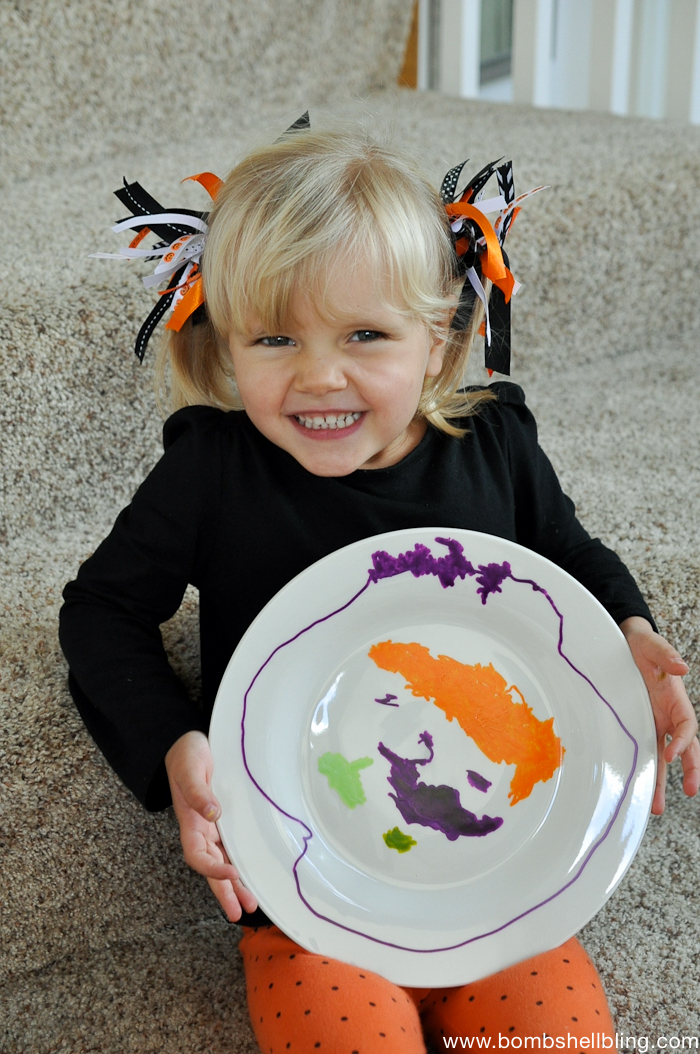
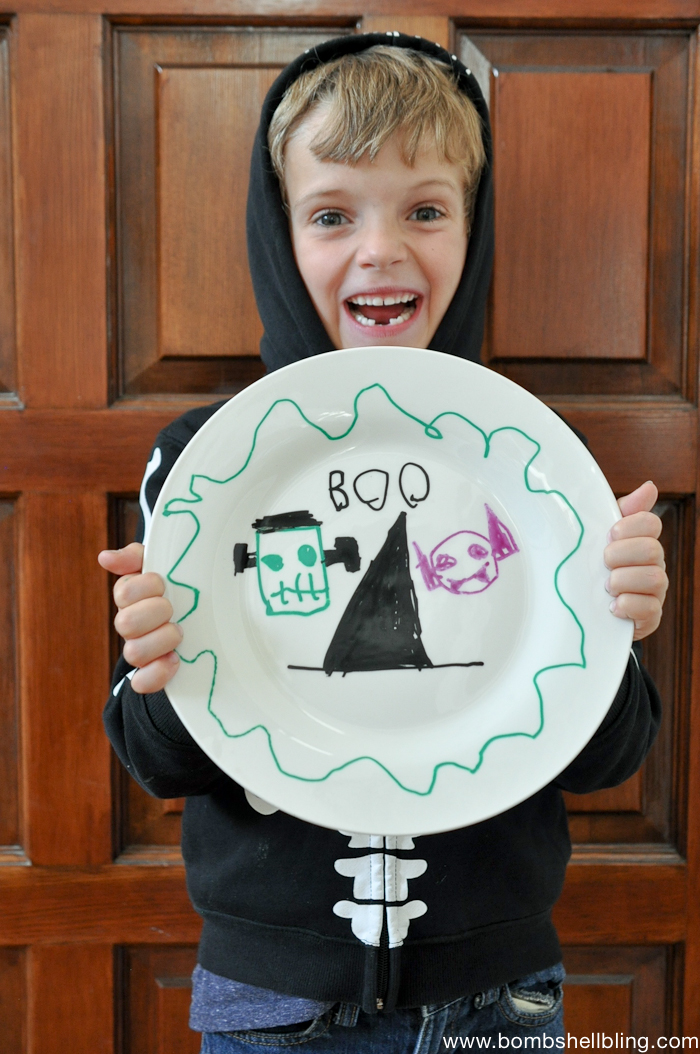
Halloween Paint Pen Plates-6

Very fine artwork indeed.  😉

Halloween Paint Pen Plates-3 Halloween Paint Pen Plates-2

I love this picture.  It’s a jack-o-lantern showing me his jack-o-lantern plate.   Heehee.

I hope that you are inspired to create your own Halloween paint pen plates.  We have done dishes with permanent markers in the past, but they always fade so quickly.  These Painters paint pens were so easy to use, and the colors are so much more vibrant and rich than the colors from permanent markers!  I can’t wait to make our own Christmas dishes as well!


  • Bio
  • Twitter
  • Facebook
  • Google+
  • Latest Posts
Sarah Westover McKenna

Sarah Westover McKenna

Sarah is the scattered creative mind behind Bombshell Bling. A former elementary school teacher and a current stay-at-home mom, she loves developing her creativity through her blog and her jewelry design business, Bombshell Bling Jewelry. Sarah is a lover of all things vintage, colorful, and BLING. She is also a sweets addict with a major obsession with s'mores.
Sarah Westover McKenna

@bombshellbling

Follow @bombshellbling
Sarah Westover McKenna

+Sarah Westover McKenna

Sarah Westover McKenna

Latest posts by Sarah Westover McKenna (see all)

  • In Loving Memory of Logan Reed McKenna - June 6, 2026
  • Chicken Tamale Casserole - May 15, 2025
  • Harry Potter Bedroom - March 5, 2025
118 shares
  • Facebook
  • Twitter

Filed Under: Halloween, Holidays, Kid Crafts, Tutorials

« 25+ Spooky Cute Halloween Picture Books
The Benefits of Cooking with Kids »

Comments

  1. Emma says

    October 20, 2015 at 2:24 am

    What a great craft! The kids look so proud of their creations! Can you actually eat off them or are they just decorative?

    Reply
    • Sarah Westover McKenna says

      October 20, 2015 at 2:59 pm

      You know….that thought hadn’t crossed my mind until yesterday. Sometimes I get really excited about ideas before I think them through. They are non toxic paints, so we are going to try eating off of ours. I obviously can’t guarantee that’s a perfectly safe idea, though. If the paint flakes off or anything I’ll update the post with that important info!

      Reply

Leave a Reply Cancel reply

Your email address will not be published. Required fields are marked *

SUBSCRIBE

Thank you for subscribing!

There was an error submitting your subscription. Please try again.

Archives

Disclosure and Privacy Policy

Blog Parties I Link To

Archives

Copyright © 2026 · Tasteful theme by Restored 316

Copyright © 2026 ·Tasteful Theme · Genesis Framework by StudioPress · WordPress · Log in