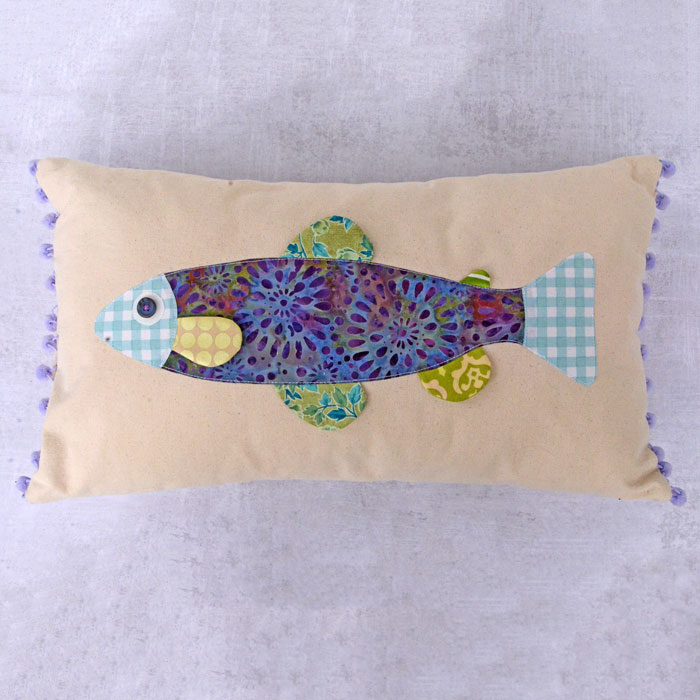
Brighten up your space with this cheerful throw pillow with a colorful fish applique! This easy sewing project is a fun way to use up fabric scraps and add personality to your home décor. Use the free pattern and sewing tutorial to create your own scrappy fish throw pillow!
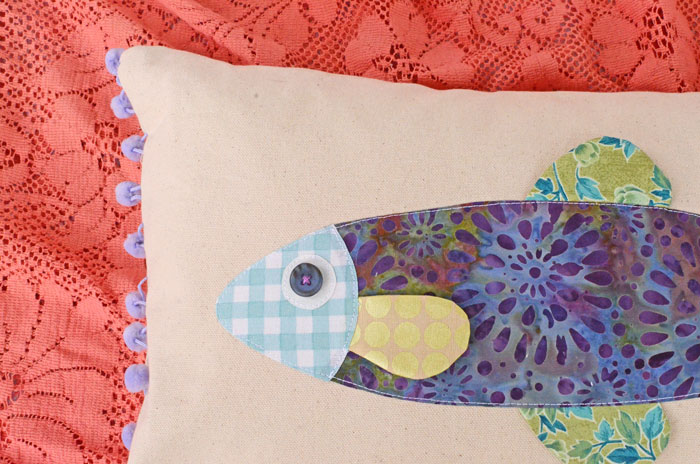
I don’t know why, but I’ve always been drawn to fish. Which is weird because I don’t like eating fish, or going fishing, or even touching actual fish. But fish illustrations and art just make me happy.
I think it’s because they just always seem so happy and carefree. So when I was thinking about making a throw pillow with a fun and colorful applique, of course it needed to be a fish.
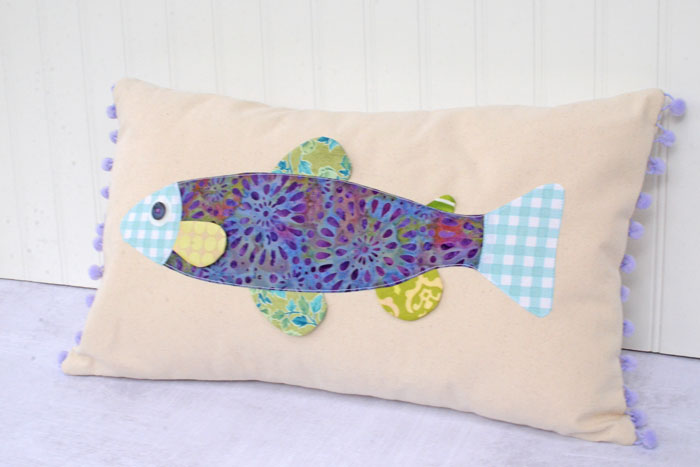
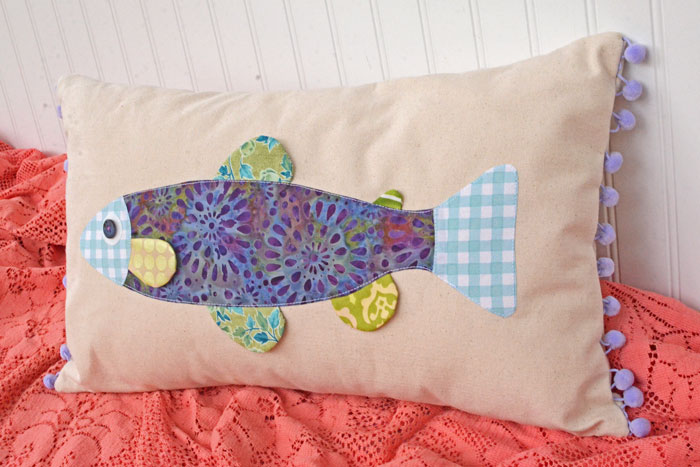
And look at this fish! Isn’t he happy and colorful? I’ve got a free pattern and sewing tutorial for you below so you can make one for yourself.
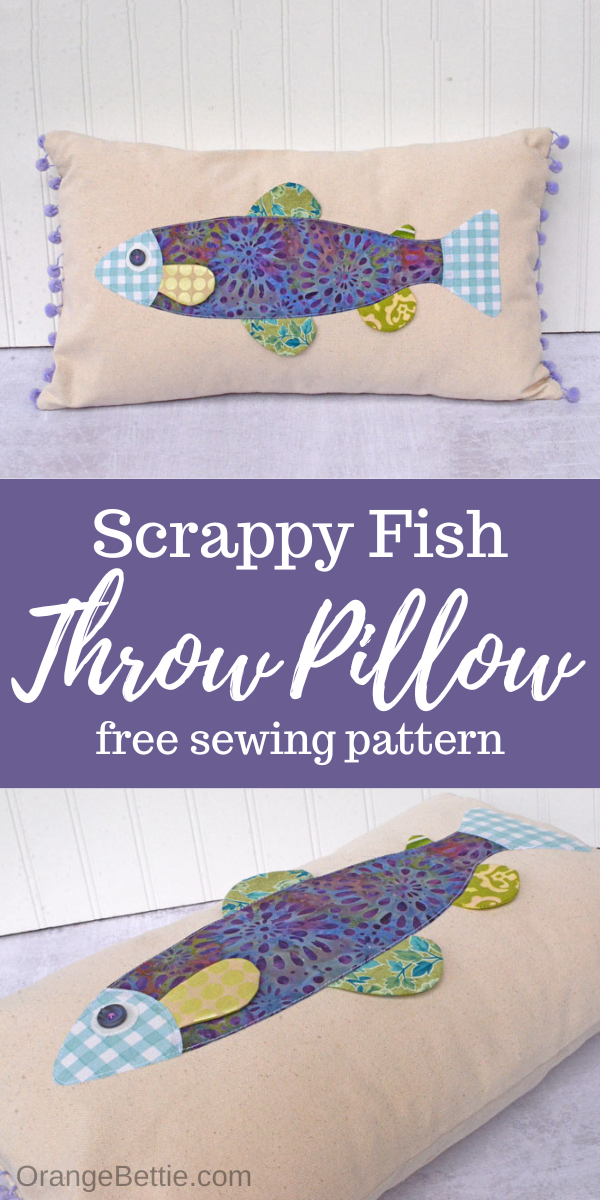
The fish design would make a cute addition to a patio or porch, or even a bedding set. Make it up in muted tones for a coastal feel, or natural tones for a lake house.
If you’re wondering what kind of fish it is – it’s a trout. Kind of. There’s not really any reason why I chose a trout except I liked the proportions and fins of the trout. But it’s not super exact, so let’s say its trout-ish. Or trout adjacent. Ha!
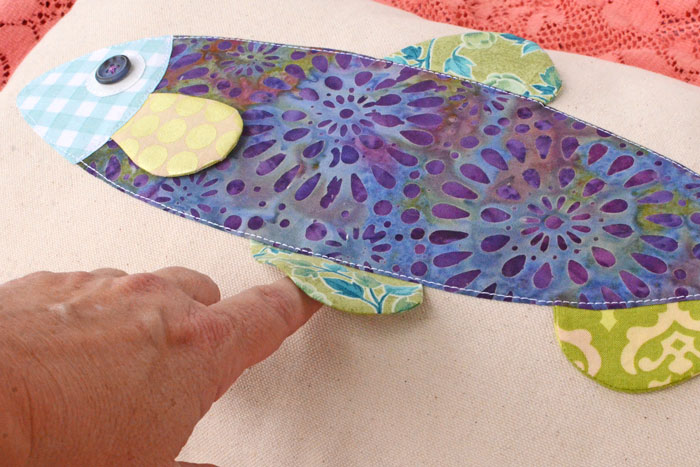
This is a great project for using your scraps. Especially on all the little fin pieces – they’re perfect for your smaller scraps!
The fins are attached at the body but are otherwise loose and able to flap. I think it’s a fun detail and also adds a little unexpected dimension.
The pillow cover itself is a simple envelope style cover. It’s super easy to sew and requires no zipper or complicated closure. I’m all about simple!
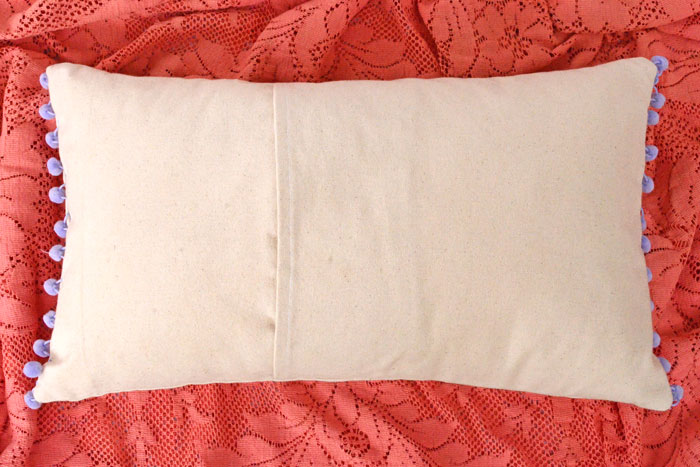
I made my pillow cover from a heavy canvas fabric. I love using a heavy canvas for a pillow form. The canvas has plenty of body so there’s no need to interface.
The pom pom fringe trim is optional, though I like the color and whimsy it adds to finished design.
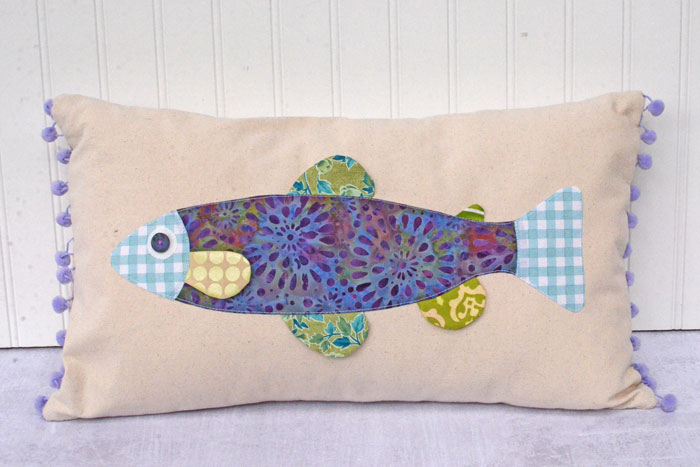
Finished dimensions are 12” tall x 20” long.
It’s been hard for me to find pillow forms locally lately because the JOANN stores closed, but I was able to order a 12” x 20” pillow form from Amazon.
Supplies
Pillow Front – 1 piece 13” x 21” from canvas or duck cloth
Pillow Back – 2 pieces 13” x 14” from canvas or duck cloth
Scraps quilting cotton for fish applique
Fusible webbing
12” x 20” pillow form (I got mine from Amazon)
5/8” button for fish eye
*optional* Pom pom fringe – 1 yard
Free pattern – Scrappy Fish Throw Pillow
RST = Right Sides Together
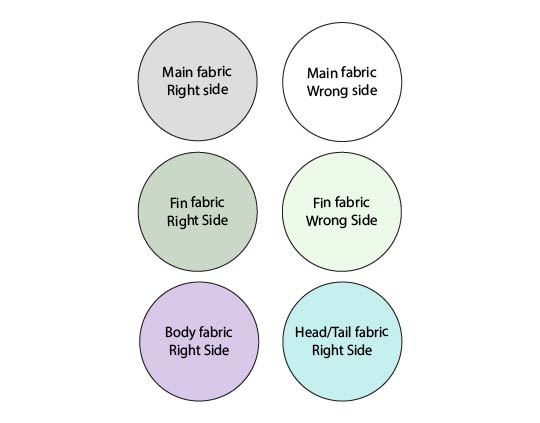
Prep
Trace the Body, Head, Tail, and Eye pieces to the fusible webbing. The shapes are already reversed and ready for tracing.
Follow manufacturer’s instructions to fuse each shape to the back of the fabrics. Cut out each shape.
Sew the Fins
Place all of the fins pieces RST (Top Fin 1, Top Fin 2, Gull Fin, Bottom Fin 1, Bottom Fin 2). Sew around the curved edges, leaving the straight side open.
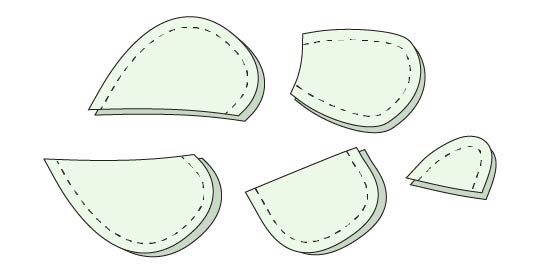
Clip curves then turn right side out.
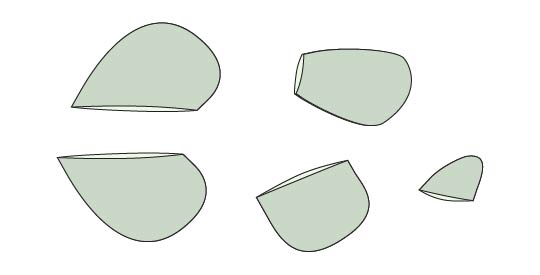
My favorite way to clip curves is to simply trim the seam allowance using pinking shears. The scissors will do all of the work for you, cutting little notches at even intervals all around your curve.
Assemble the Fish
Remove the paper backing from the Body piece. Place the Gill Fin along the lower left edge of the Body, where indicated on the Placement Guide in the pattern. Baste in place with a ¼” seam allowance.

Now we need to place the remaining Fin pieces. Use a gluestick to glue baste them to the back of the Body piece, where indicated on the Placement Guide. The raw edge of the Fin pieces will lap behind the Body by just 1/4”, so put the glue just along that edge. The majority of each fin will be facing away from the Body.
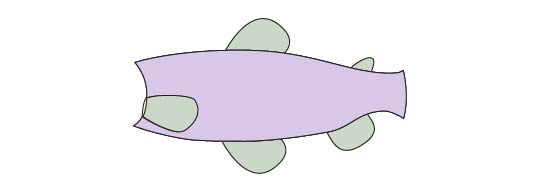
This glue basting will hold the Fin pieces in place while you get your fish design placed on the pillow front.
Once you have all 5 of the fin pieces glue basted, you can assemble the design on the Pillow Front.
Place the Head and Tail pieces at either end of the Body. The Head and Tail pieces will overlap the Body by roughly ¼”. Arrange the pieces so the entire fish is centered horizontally and vertically on the Pillow Front.
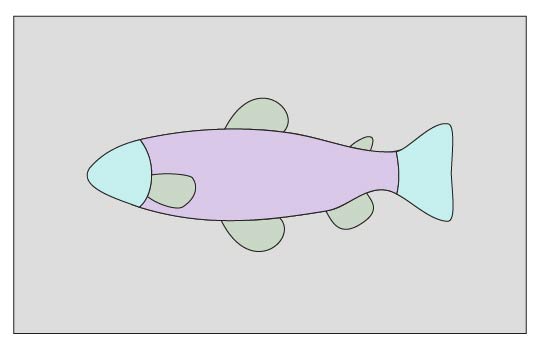
For me, the easiest way to get the design placed correctly was to cut out the Placement Guide from the pattern sheet, and then cut out the fish shape from the center of the Placement Guide. That created a stencil I could use to get the fish placed perfectly in the center of the Pillow Front.
Follow manufacturer’s instructions to fuse the fish design down on the Pillow Front.
Topstitch around Body, Head, and Tail to secure. Don’t topstitch around Fins.
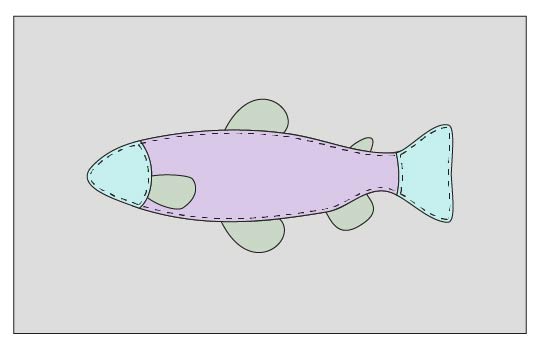
Follow manufacturer’s instructions to fuse the Eye piece down, as indicated on the Placement Guide. Topstitch to secure.
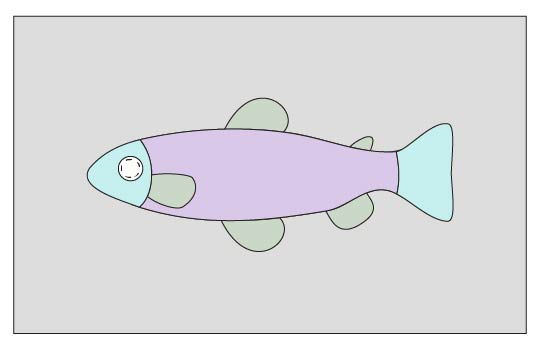
It’s a tight curve so take it slow and decrease your stitch length. You may need to hand crank around the circle.
Hand stitch or glue a button down in the center of the Eye piece.
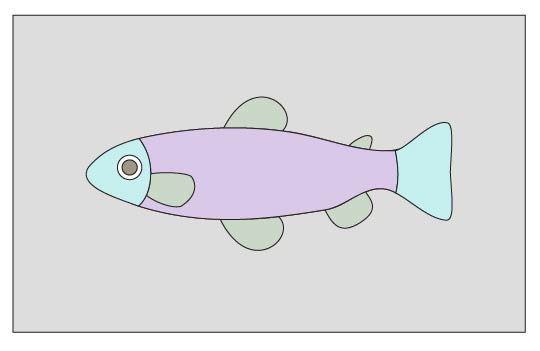
Assemble the Pillow
Optional: With a ¼” seam allowance, baste the pom pom trim along both short sides of the Pillow Front, with the edge of the pom pom trim even with the raw edge of the fabric and the pom poms facing the inside.
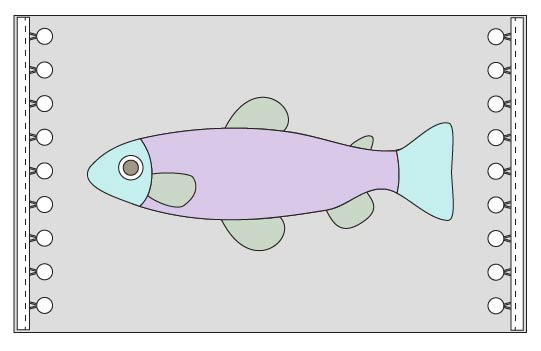
Take one of the Pillow Back pieces and press ½” to the wrong side of the fabric down the short side (13”), and then fold another ½” to create a double fold hem. Stitch the hem in place close to the folded edge.
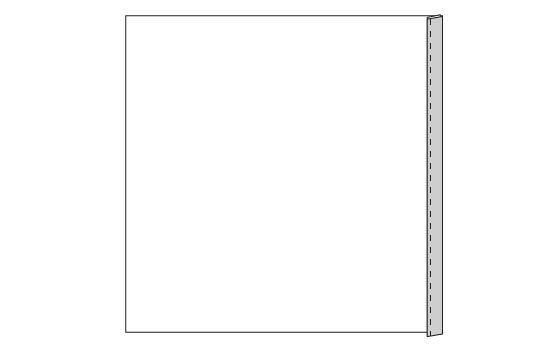
Repeat with the second Pillow Back piece.
Place the Pillow Back pieces on top of the Pillow Front RST and with raw edges aligned. The hemmed edges should overlap at the middle.
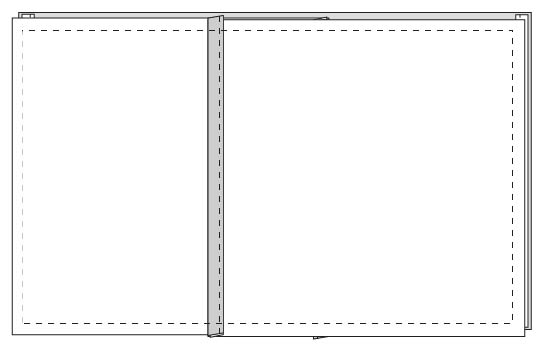
Stitch around all four sides with a ½” seam allowance.
Clip corners and turn right side out.
Insert your pillow form into the cover. Your Scrappy Fish Throw Pillow is finished!
If you like this scrappy fish throw pillow from Anne, then check out these other projects!
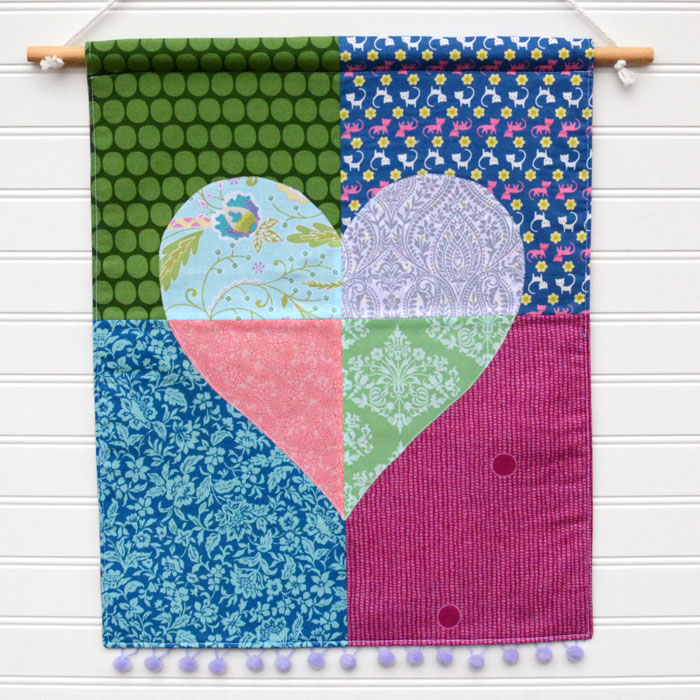
Color Block Heart Banner – Free Sewing Pattern

Rainbow Pillow – Free Sewing Pattern

Latest posts by Anne Weaver (see all)
- Ruffle Throw Pillow – Sewing Tutorial - July 16, 2026
- Slouchy Market Bag with Veggie Prints – Free Pattern - May 14, 2026
- Flex Frame DIY Glasses Case Sewing Tutorial - April 18, 2026
Leave a Reply