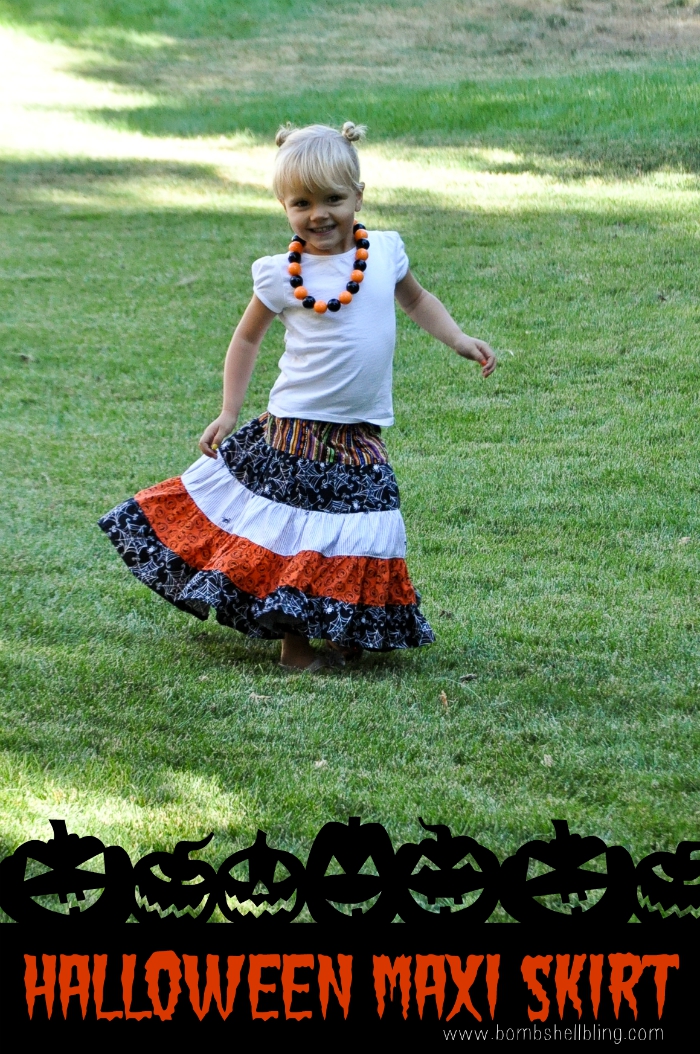
Good morning! As my regular readers know, I am a Halloween FREAK, and I am so excited to share my daughter’s Halloween Maxi Skirt with you today. My kids have an unreasonable amount of Halloween clothing and accessories, just as I have an unreasonable amount of Halloween decorations, and I make most of them because I don’t love what I can find cheap and I don’t want to spend boutique prices for items like this skirt. I would love to share a tutorial with you for my little love’s Halloween Maxi Skirt so that you can make one as well!
I used THIS tutorial and adapted it to make this skirt. If my instructions don’t make sense to you then refer to that tutorial and see if it helps to clarify things.
In order to make this Halloween Maxi Skirt you will need five Halloween fabrics (or however many you would like to use), elastic, thread, and basic sewing supplies (machine, scissors, etc.).
First you are going to figure out how long to cut your strips. First determine how long you would like your skirt by measuring from your child’s waist to where you would like it to fall. I needed mine to be about 20 inches long, so with five strips I needed each strip to be about 4 inches wide. I added two inches to the top strip so that I would have fabric to create the casing for the elastic waistband, and I added 1/2 inch to the bottom strip for the hem.
For the length of each strip I did 1.5 times the length of the previous strip. You may not need to do quite that much extending. The bottom layers were very long and ruffled, but I do love the way that it twirls and moves! I also 1.5 times of her waist measurement for the top strip.
Here are my measurements. Yours will be different, unless you are also sewing for a 2T/3T child. You will notice the ratios aren’t exact. They don’t really need to be. It’s a very forgiving look. The long strips are just multiple cuts of fabric sewn together.
6″ x 30″ (extra width for waistband casing)
4″ x 45″
4″ x 67″
4″ x 101″
4.5″ x 151″ (extra width for hem)
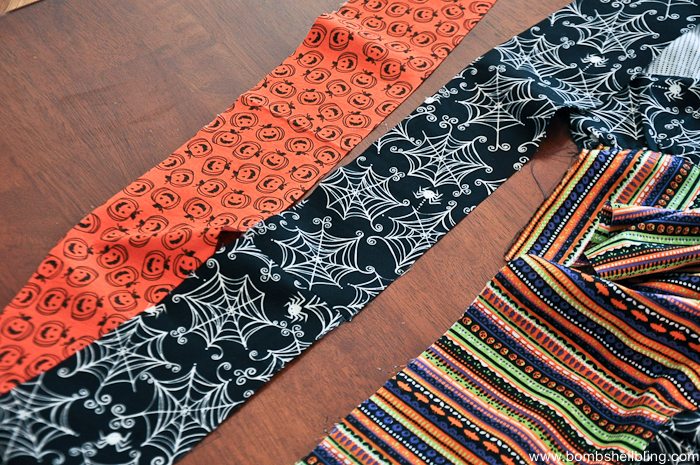
Begin by gathering/ruffling your strips. Baste one side (use a very long stitch and do NOT backstitch at the beginning OR the end of the strip) and then hold one string and use your fingers to push and bunch the fabric. It’s quite a process with those long strips! Do it in front of a funny tv show.
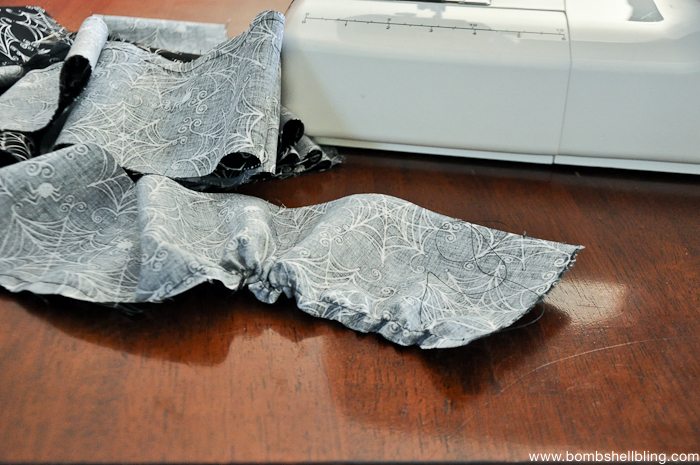
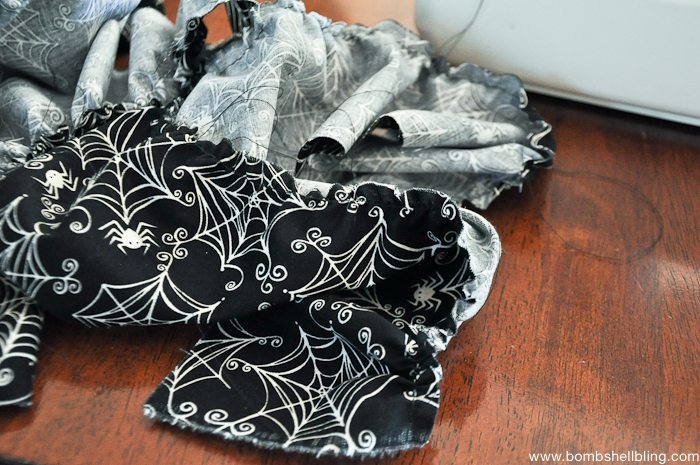
Right sides facing one another, pin the gathered/ruffled top of the second strip to the bottom of the first strip. Sew into place and remove the pins. (This time you use a regular length stitch and DO backstitch as you start and end your sewing!)
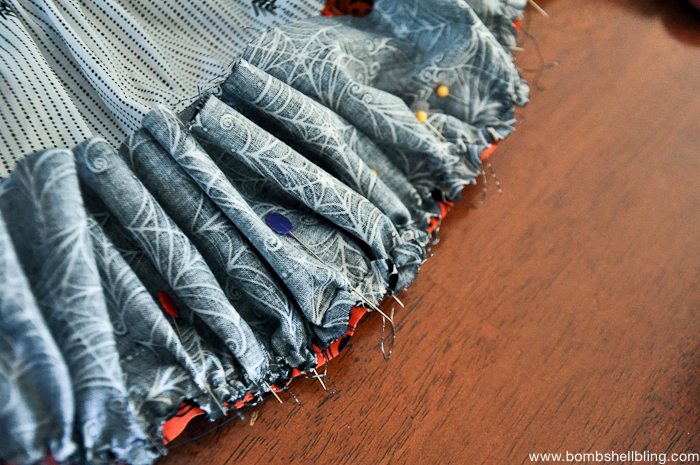
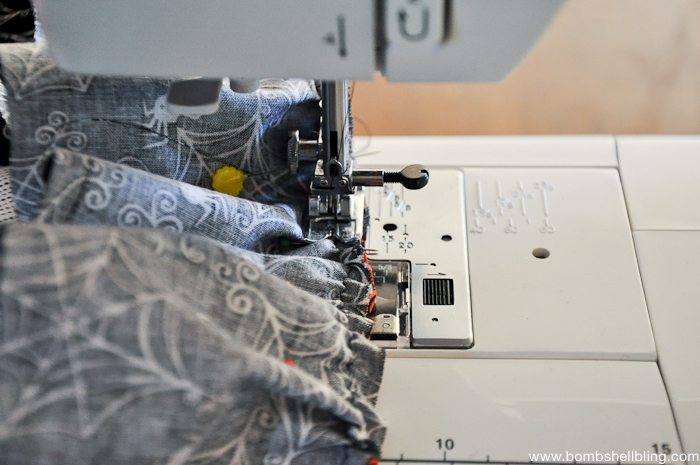
Once the pins have been removed, iron the layer flat a bit so that you can go back and top stitch along the edge of the newly connected strips to help secure them and ensure that they will lay flat.
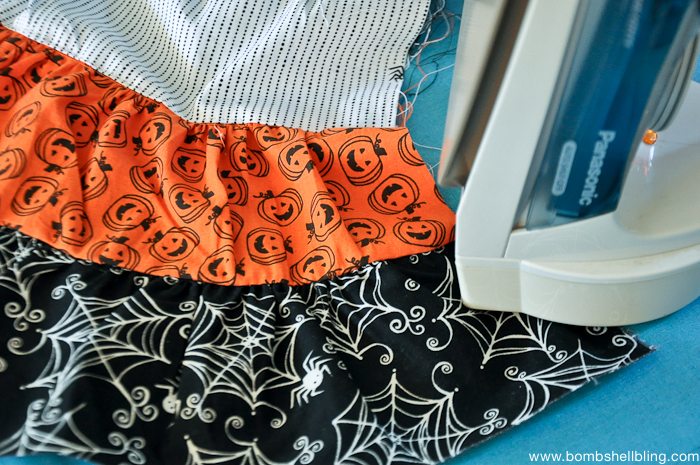
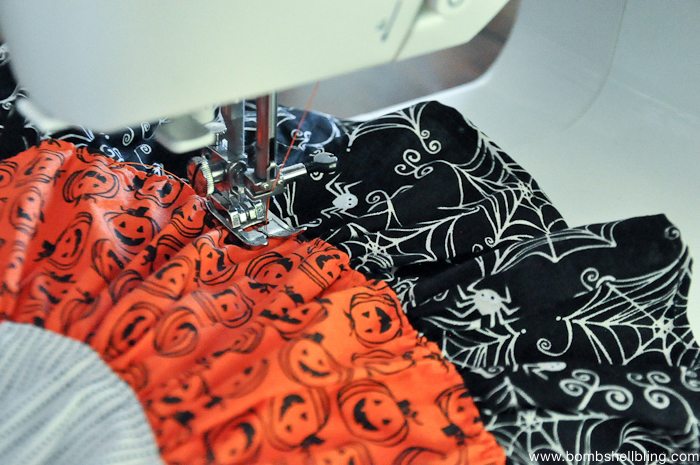
Repeat this process with all of the strips.
Once you are to your last strip you can create your hem by folding the bottom edge of the last strip in 1/4″ and ironing it. Fold it up by 1/4″ one more time and iron. Stitch it down to make the hem permanent.
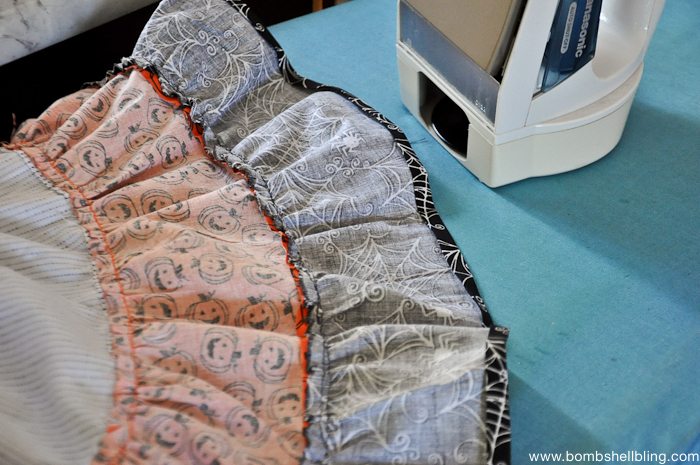
Now, right sides together, line up the edge of your skirt and sew up the sides. Trim any excess edges that don’t line up quite right.
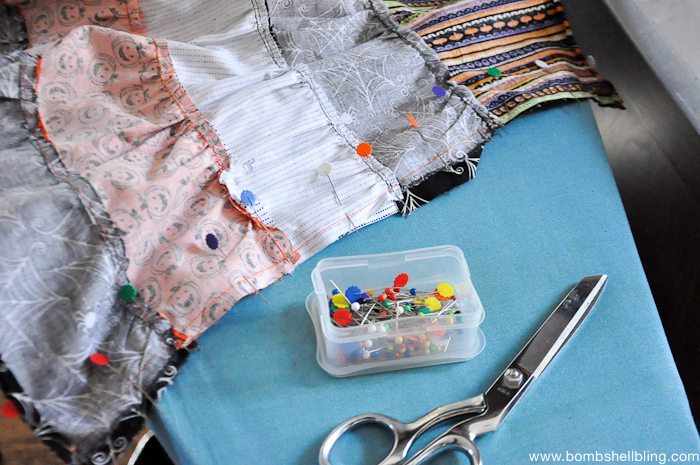
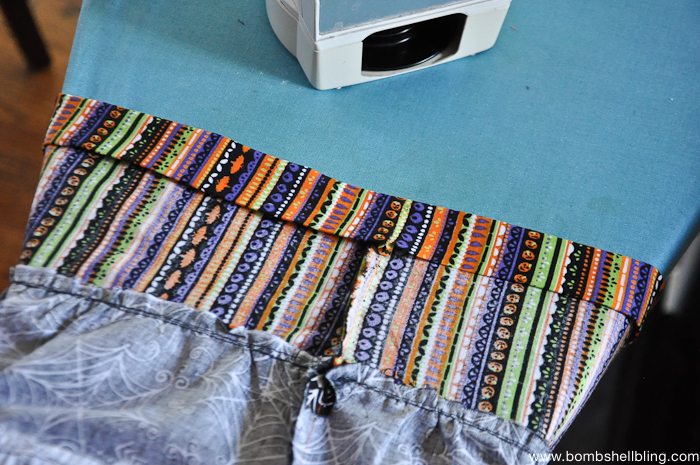
Now you will create the casing for the elastic waistband of your skirt. Fold the top edge of the first strip in about 1/4″ and iron down. Now fold it in at least 1″ and iron it down. Sew this into place BUT LEAVE AN OPENING SO THAT YOU CAN THREAD THE ELASTIC THROUGH THE CASING!
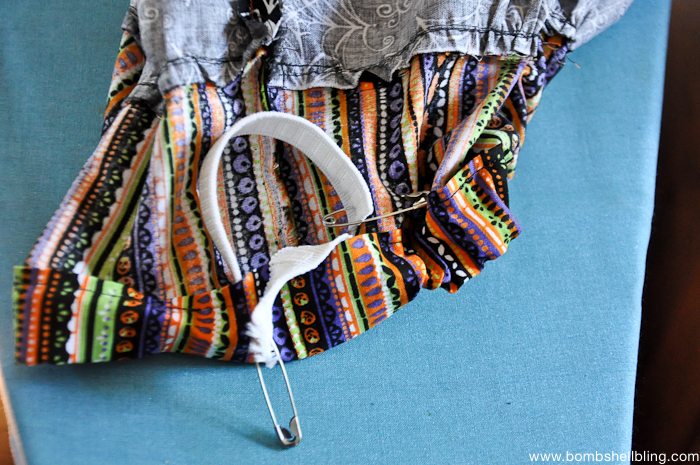
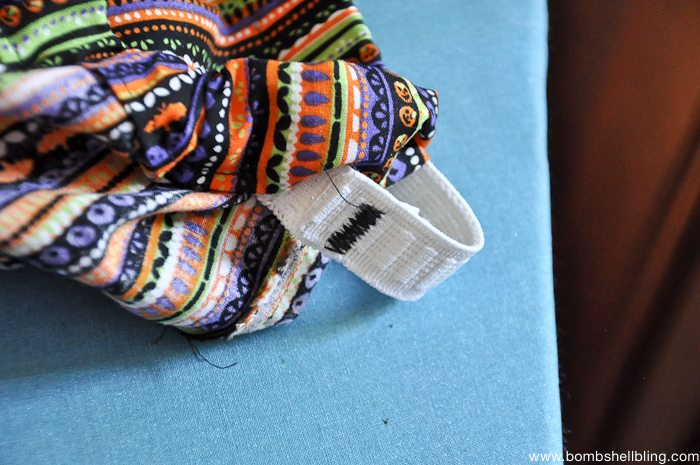
For waistbands I usually cut the elastic about 2″ smaller than her waist measurement. To thread elastic I always safety pin one end to the garment so I won’t lose it and accidentally pull it through. I also put a safety pin on the loose end so that I can easily grip it to push it through. Push and scrunch and tug and adjust until the elastic is all the way through. Sew the ends together. (I usually use a zig zag to make it extra secure.) Now sew the opening in the casing closed and you are DONE!
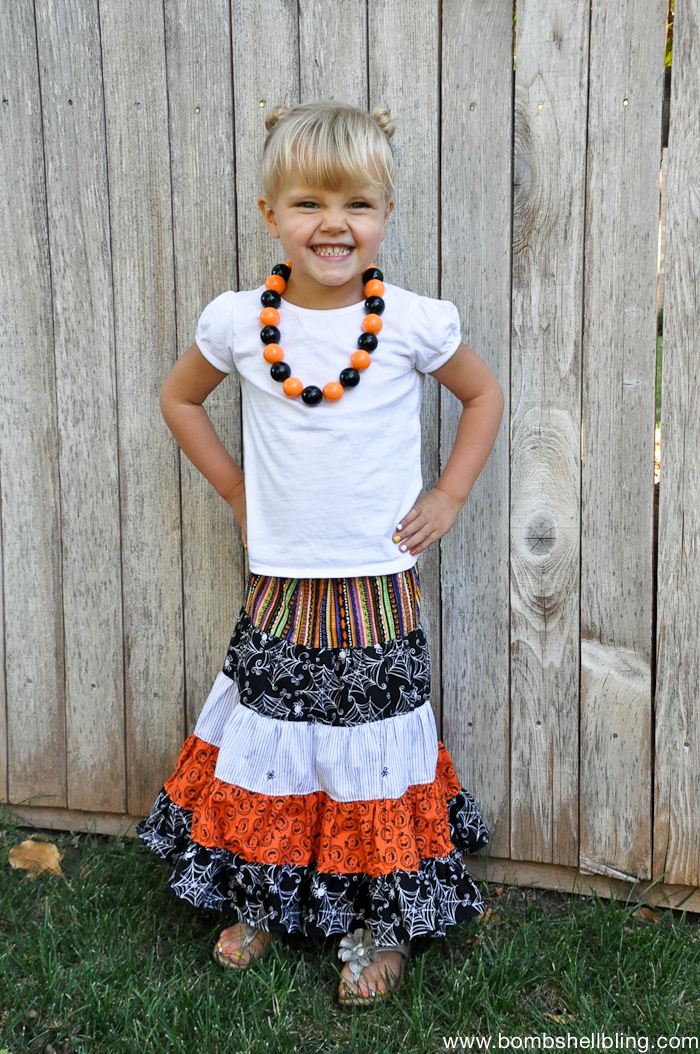
Isn’t she just to die for cute?!
Now let your little gal go roam around and twirl and play and show off her fabulous new Halloween Maxi Skirt! (Please try to ignore my neighbor’s dying grass.) 😉
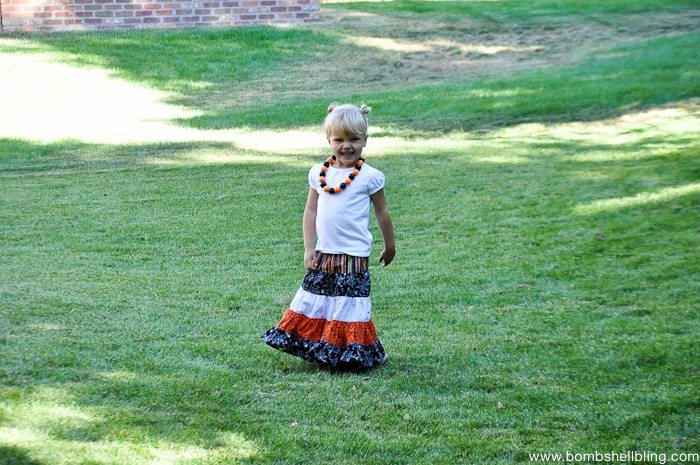
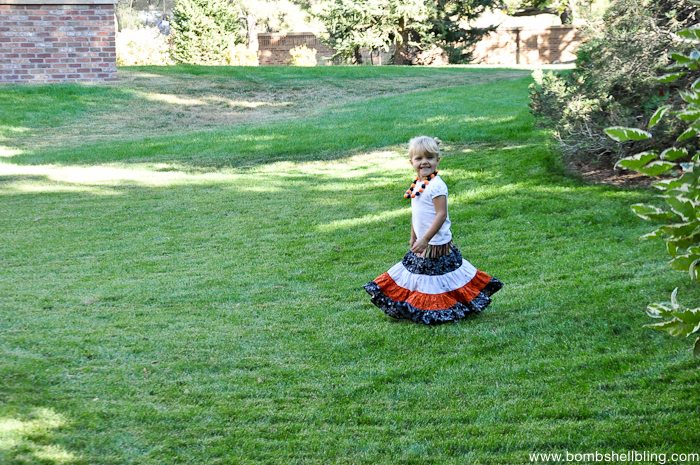

I love the way it moves, and I think it will fit her again next year, although it may be more of a midi skirt length by then!
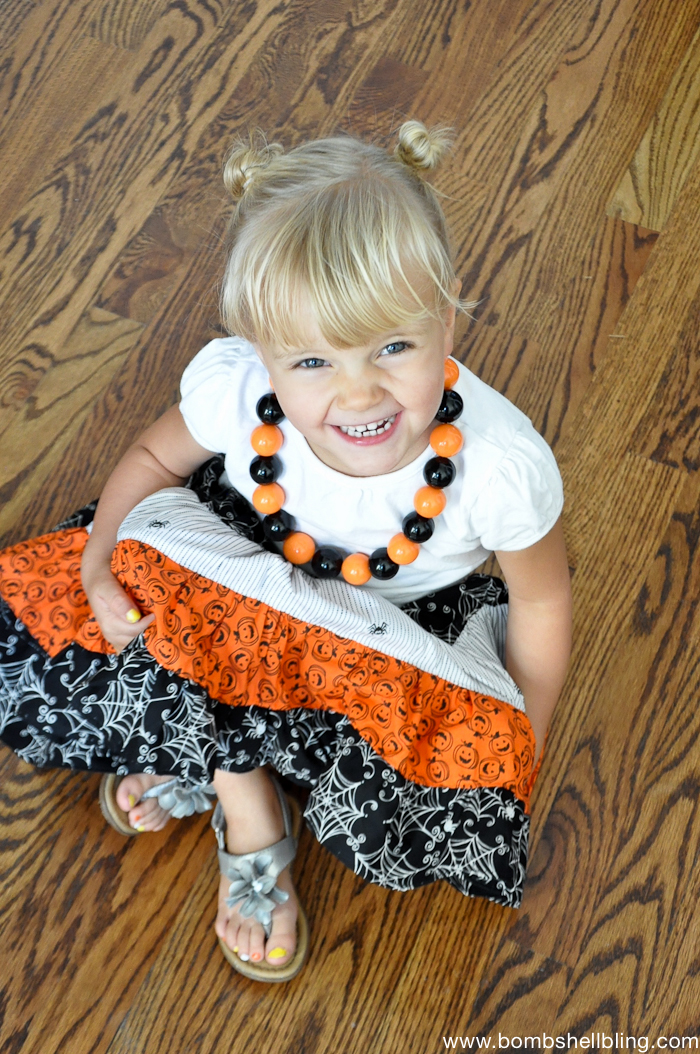
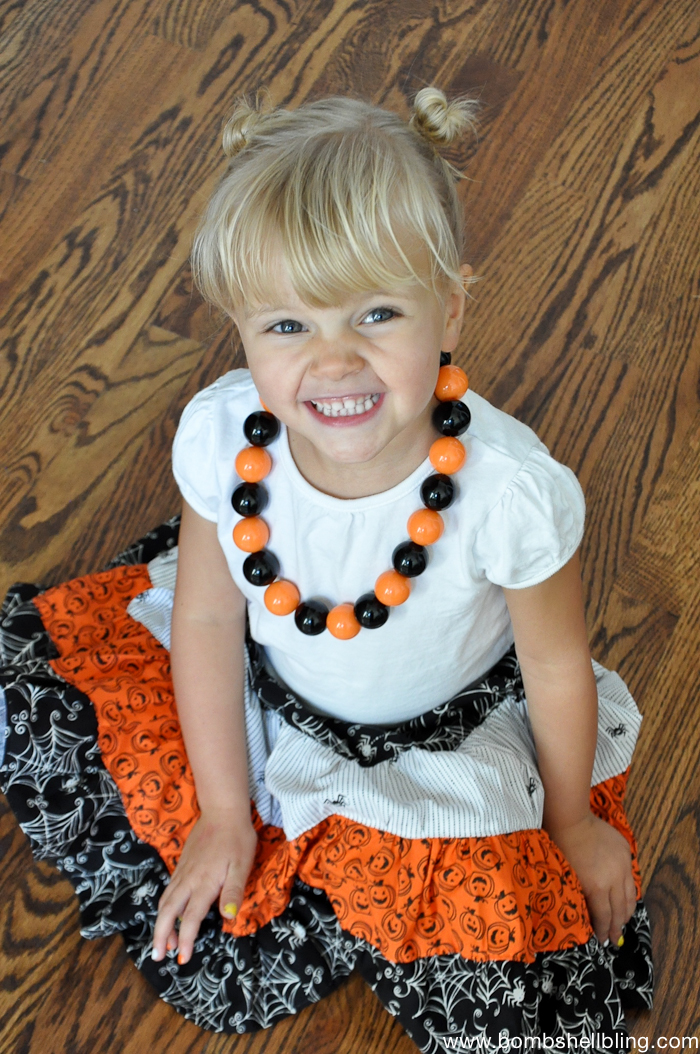
I hope this tutorial inspired you to make a fun Halloween skirt for your little lady! (Or, heck, YOURSELF!)
UPDATE: Here are a few more pictures of it in action on an outing. 🙂
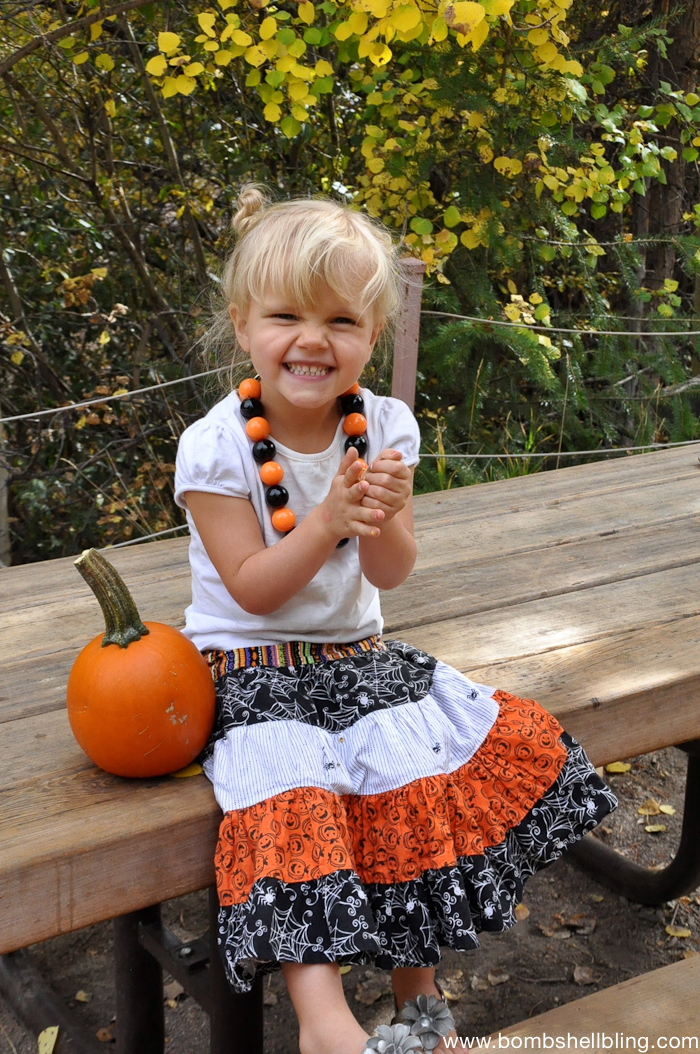
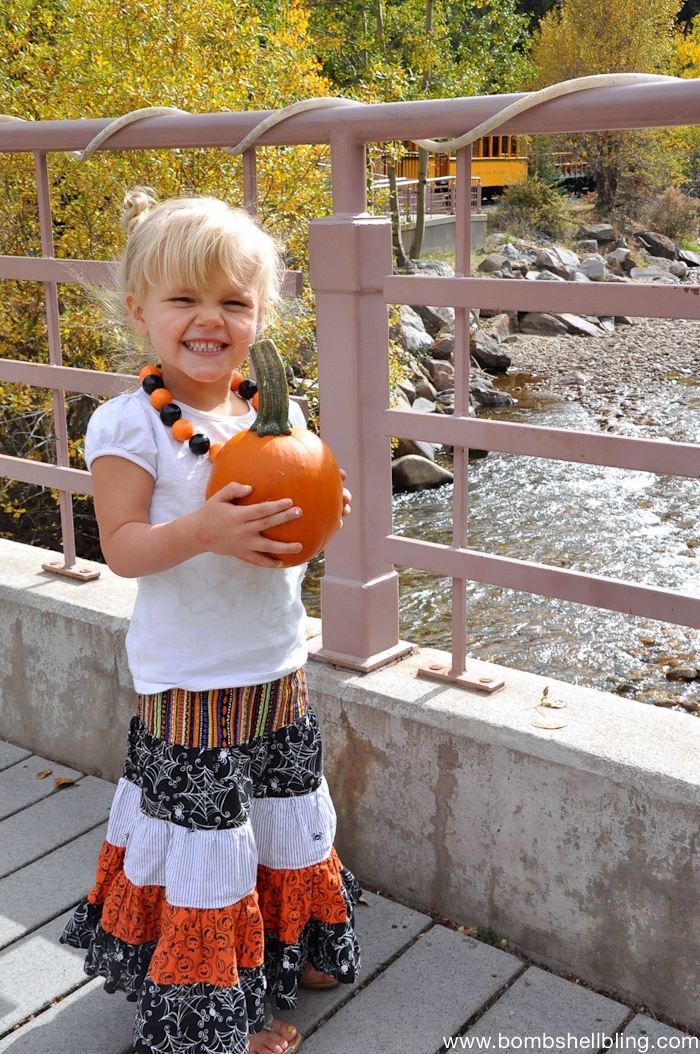

Here are a few more Halloween posts that you may enjoy:
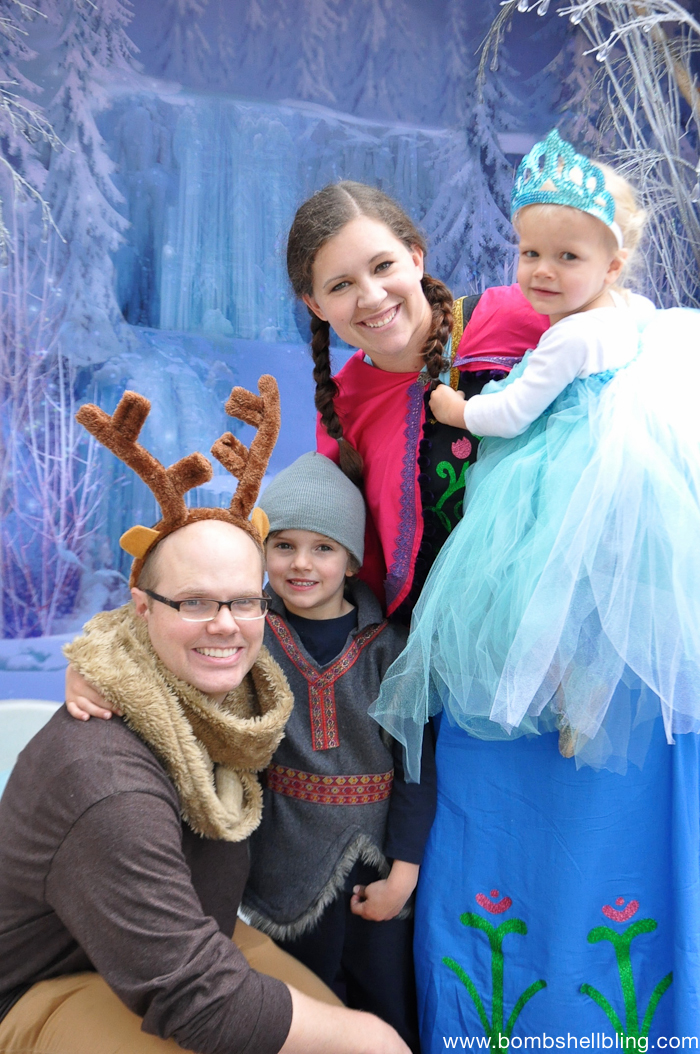
Elsa Tutu Dress & FROZEN Family Halloween Costumes

Latest posts by Sarah Westover McKenna (see all)
- In Loving Memory of Logan Reed McKenna - June 6, 2026
- Chicken Tamale Casserole - May 15, 2025
- Harry Potter Bedroom - March 5, 2025
Love the Halloween skirt. The model is a cutie.
Marilyn
Love it!!! She’s adorable! I might try to make one, but first I need to finish my Halloween costumes 😉
Really adorable, and love the idea of having more than just a costume to celebrate the fun! Thanks so much for sharing on craft schooling Sunday, and great to “meet” you! I’d really appreciate it if you could link back to the party, that way we all benefit! (and I can bribe you just a bit by saying you will be featured!)
So cute!! I would love to have you share at my new link party: http://craftymomsshare.blogspot.com/2015/10/crafty-weekends-paper-pom-poms-other.html