With 5 cats in the house, not many surfaces are safe for us to decorate. If the cats can reach it, sooner or later it will get knocked down on to the floor. But we have a long mantel over our fireplace that the cats can’t reach – and we love to decorate for the holidays.
This year I made a set of tabletop fabric Christmas trees that are perfect for our mantel! I can’t wait to put them out for Christmas this year.

Of course, if you DON’T have 5 bad cats in your house, these fabric Christmas trees would also be cute sitting on an end table or decorating a console table. And I’ve got a free pattern for you below.

I made my fabric Christmas trees in a black and white palette – a black and white gingham, a lightweight striped denim, and a soft Minky. I love that fluffy white tree!
The little trees are easy to make from large scraps of fabric (or fat quarters) and some simple wood shapes. I used a birch wood coaster for the base, and a dowel for the trunk.

These fun fabric Christmas trees are so quick to make, which I think is always good during the busy of the holiday season. I sewed up all tree of my fabric trees in a little over an hour.

You can make your trees from just about any type of fabric. I used quilting weight cotton for the gingham tree, a lightweight denim for the striped tree, and a soft Minky for the white tree. Home dec weight cotton or fleece would also be good fabrics to use.
When I was designing the trees, I couldn’t decide on just one shape. Did I want a tall skinny tree? A tree with rounded edges? Or a fun pointed tip tree? And then I realized I didn’t need to decide anything at all – I could just make all three shapes! So my little grouping of trees has one of each shape. The free pattern includes all three shapes so you can decide which one (or ones) you like the best.
Here’s the simple triangle tree, perfect to show off a faux fur or textured fabric.

The rounded edge tree that would be cute made out of fabric prints.

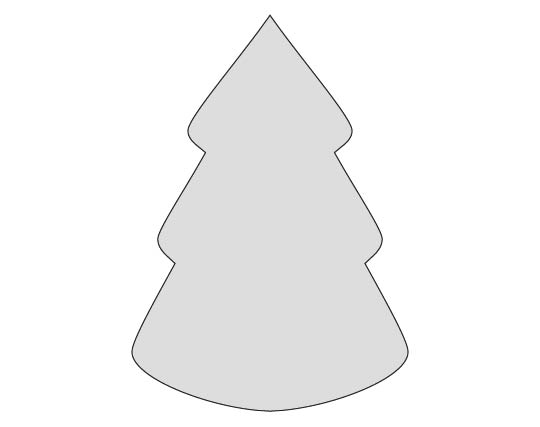
And the pointed tip tree that has more of a whimsical look.

I will say that if you want to make a fluffy furry tree, keep to the simple triangle. Trying to sew those tight curves on the more detailed tree shapes out of a slippery, stretchy fabric would make me cry.
The trees stand about 9 1/2” to 11” tall from the coaster to the tip of the tree. The fabric trees themselves are approximately 6 ½” to 7” tall.
Supplies
For each tree:
Tree fabric – large scraps or fat quarter
Birch coaster or wood round, approx. 3 1/2” diameter
¼” wood dowel, approx. 8 3/4” long
Poly-Fil stuffing
Drill and ¼” drill bit
Hot glue
Ribbon for accent bow
Make the fabric Christmas tree:
These illustrations show the Rounded Edge Tree, but the instructions are the same for all 3 tree shapes.

Drill a ¼” hole in the center of the birch coaster.

Place one end of the dowel into the hole in the coaster. You may need to sand the end of the dowel slightly to make it fit. It should fit tightly enough that it will stay without any glue necessary.

Place the two tree pieces right sides together. Sew around all edges with ¼” seam allowance, leaving a gap at the bottom to turn.
The curves on the Rounded Edge and Pointed Tip tree are pretty tight. For better control around the curves, reduce your stitch length. I also found it helpful to sew one side of the tree from the bottom opening to the tip, then turn the tree piece over and sew the other side the same direction – from the bottom to the tip.

Clip curves and turn right side out.
For a quick way to clip all those curves, trim the seam allowance using pinking shears. Then use regular scissors to snip notches into the sharp corners.
Stuff the tree with the Poly-Fil stuffing. Don’t close the hole yet.
Insert the dowel into the tree through the hole at the bottom
If it’s hard to get the dowel through the stuffing, try first inserting a sharpened pencil into the tree. The point of the pencil will break through the stuffing and create a hole for the dowel.
Use hot glue to close the hole around the dowel.
Tie a bow out of the ribbon and hot glue it at the bottom of the tree, covering the spot where you glued the tree around the dowel.
Your tabletop fabric Christmas tree is finished!

If you love this Christmas project from Anne, then you will love these as well:

Mini Mitten Christmas Ornament Tutorial

Snow Globe Christmas Pillow Tutorial

Latest posts by Anne Weaver (see all)
- Spring Flower Tote Bag – Free Sewing Pattern - April 6, 2024
- St. Patrick’s Day Shamrock Banner Free Sewing Pattern - March 7, 2024
- Upcycled Sweater Valentine Zipper Pouch Sewing Tutorial - February 12, 2024
love it