 I am so excited for Valentine’s Day, so I knew that I wanted to make a heart headband for my little gal to celebrate! (Or, you know….three. I have some problems.) 😉 I hate it when people rip on Valentine’s Day and say their husbands are too romantic regularly to be concerned about Valentine’s Day and how lame it is. Come now, people, what is wrong with a little extra love in the air?? I LOVE Valentine’s Day! I love holidays in general (in case you hadn’t noticed)! Any reason for day to day life to be a little bit more special and exciting is good in my book.
Maybe the reason I love Valentine’s Day and get down on people who bash it and dismiss it is because my mom never focused on it as a “romantic” day between her and my dad. It was a day to celebrate LOVE. ALL love! And, most importantly, FAMILY love. She did so many fun and special things with our family, and the best activity of all was the Secret Cupid tradition that she created and executed long before the era of blogs and Pinterest and printables. She was so fun and so creative. My little family is starting Secret Cupids tonight, and if you are lucky I will write a little post about my mom’s Valentine’s Day traditions eventually. It’s my favorite family holiday tradition.
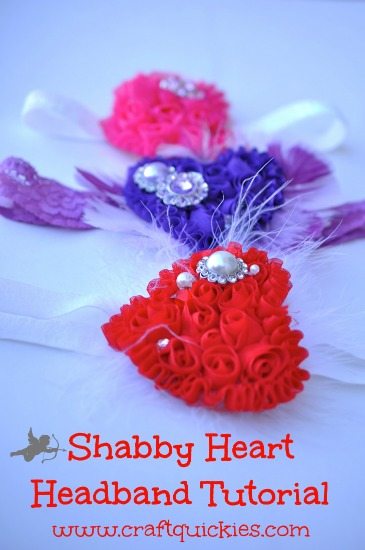
In the meantime, I want to share this SUPER simple and customizable tutorial with you for a Shabby Heart Headband. When I bought these shabby hearts and fabulous rhinestone and acrylic buttons from one of my favorite Etsy shops, Fleuriste Supplies, I intended to make three headbands: one for my daughter, one for a friend’s daughter, and one to give away here on the blog. But then I couldn’t really part with any of them. Hey, every baby girl needs THREE gigantic heart headbands, right?? Yeah……I’ve got problems.
(Find Flueriste supplies on Etsy here or online here…….or if you are lucky like me and live in Denver then look up the address to their brick & mortar shop in Centennial.)
But the nice thing about hearts is that they are great for little girls all year around, not just in February, so grab a shabby heart of your own and let’s get started!
Supplies you will need:
* Shabby Heart
* Felt that is similar in hue to your heart
* Hot glue gun and glue
* Embellishments like pearls, rhinestones, or acrylic and rhinestone buttons
* Feathers or a feather pad (I got mine at Hobby Lobby)
* Elastic (fold over or glitter) or stretch lace for a headband
OR
* Alligator Clip for a clip
Have fun! Be creative! Get WILD with your supplies! 🙂 I had a lot of options. It was hard to narrow down!
 Get ready, folks! This is a simple one!
First cut a felt heart that is just smaller than your heart. Glue it on the back of the heart. (The hearts are fairly transparent, so this makes them look better while on baby heads.)
Now play around with your buttons, pearls, and rhinestones. Once you decide what looks glorious glam in your mind then simply secure it in place with dabs of hot glue.
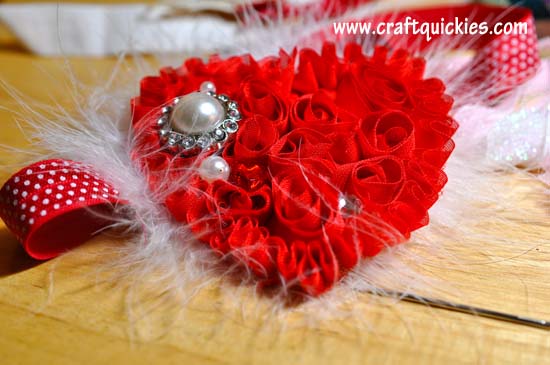
 Now glue your headband on top of any other outrageous embellishments that you would like. As you will see in the finished product photos below, I glued the red heart onto a pre-made feather pad from Hobby Lobby, I glued the purple heart onto a feather base that I created using this technique, and I glued a mesh flower behind the pink heart to peek out from behind.
 Now you are ready to attach your heart to a headband or clip. I always glue my headband or clip to the felt backing and then layer a square over the headband or clip to secure it in place, as shown in the tutorial for this other Valentine’s Day headband.
If you are using elastic to make a headband then you will need to measure your little one’s head. If the elastic is very soft and stretchy, like the polka dot elastic shown below, I would cut two inches off of the measurement. If the elastic is a bit stiffer, like the glitter elastic, I would cut one inch off of the measurement.
 Now either sew the elastic together with a sewing machine or with a few large stitches using a strong thread like embroidery floss.
 Now glue. VOILA! Simple and fun, right?! Fun enough to make three, apparently. Sheesh.
 Here are the finished products. I’m sort of obsessed with the purple one.


 See, now THIS is why I love Valentine’s Day. There is just so much to LOOOOVE!!!!
Which heart headband is YOUR favorite?

Latest posts by Sarah Westover McKenna (see all)
- Harry Potter Birthday Party - March 22, 2019
- Christmas Caramels - December 14, 2018
- Christmas Sugar Cookies Recipe - December 12, 2018
So adorable! Thanks so much for sharing at Monday Funday!
Take care,
Trish
I love that you added a little extra bling! Of course, right? 😉
Yes, of course. 😉
That baby!! Gorgeous little model for the cutest head bling!
I have to agree. 😉 THanks!!